- "In a desperate bid to bring peace once again to this sceptred isle, the USS Nimitz today arrived off the coast with a full complement of F-14 fighters. Now ordinarily, the might of the US Navy's flagship would be no match for the robots on Robot Wars, but tonight, things are a little different. Tonight, it's a lightweight [sic] special, where all the robots weigh less than 12kg. They're small, but don't worry, they're still vicious. So let's go and meet the only machines in the world that are brave enough to spill Prince Naseem's pint!"
- — Jeremy Clarkson introducing the featherweight heat
Heat D of Robot Wars: The First Wars (also referred to as Heat 4 in recaps) was the fourth of six heats which determined the Grand Finalists of Robot Wars: The First Wars. The episode featuring Heat D was originally broadcast on 13 March 1998 on BBC Two.
Competing robots[]

| ||
|---|---|---|
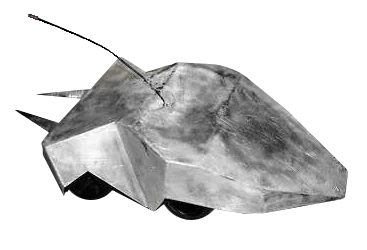
| Vector of Armageddon | ||
| Weight | 10.7kg | |
| Dimensions | 0.46m x 0.69m x 0.26m | |
| Speed | 20mph | |
| Turning Circle | 0m | |
| Ground Clearance | 1mm | |
| Power | 2 x 14.4V motors | |
| Weapons | None | |
| From: Romford | ||
| Team Members: Adam Clark | ||
| ||
|---|---|---|
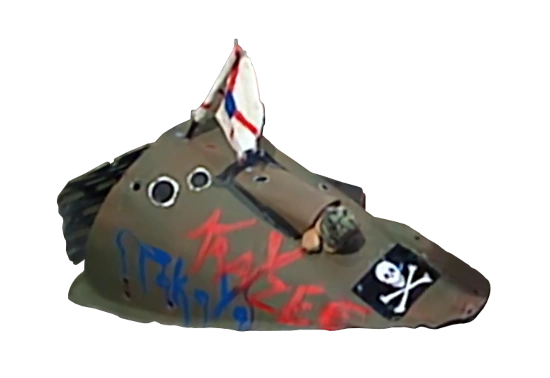
| Krayzee Tokyo | ||
| Weight | 3.2kg | |
| Dimensions | 0.63m x 0.34m x 0.22m | |
| Speed | 12mph | |
| Turning Circle | 0m | |
| Ground Clearance | 10mm | |
| Power | Electric | |
| Weapons | Curved bumper | |
| From: Milton Keynes | ||
| Team Members: Kevin Church, Matthew Davy & Chris Purchase | ||
| ||
|---|---|---|
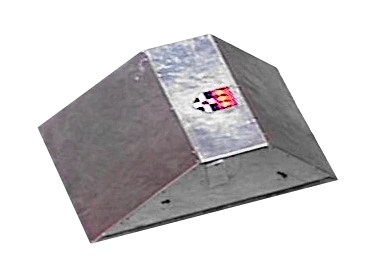
| Cunning Plan | ||
| Weight | 11.5kg | |
| Dimensions | 0.63m x 0.48m x 0.17m | |
| Speed | 10mph | |
| Turning Circle | 0m | |
| Ground Clearance | 10mm | |
| Power | Electric drill motors | |
| Weapons | None | |
| From: University of Reading | ||
| Team Members: Oliver Steeples | ||
| ||
|---|---|---|
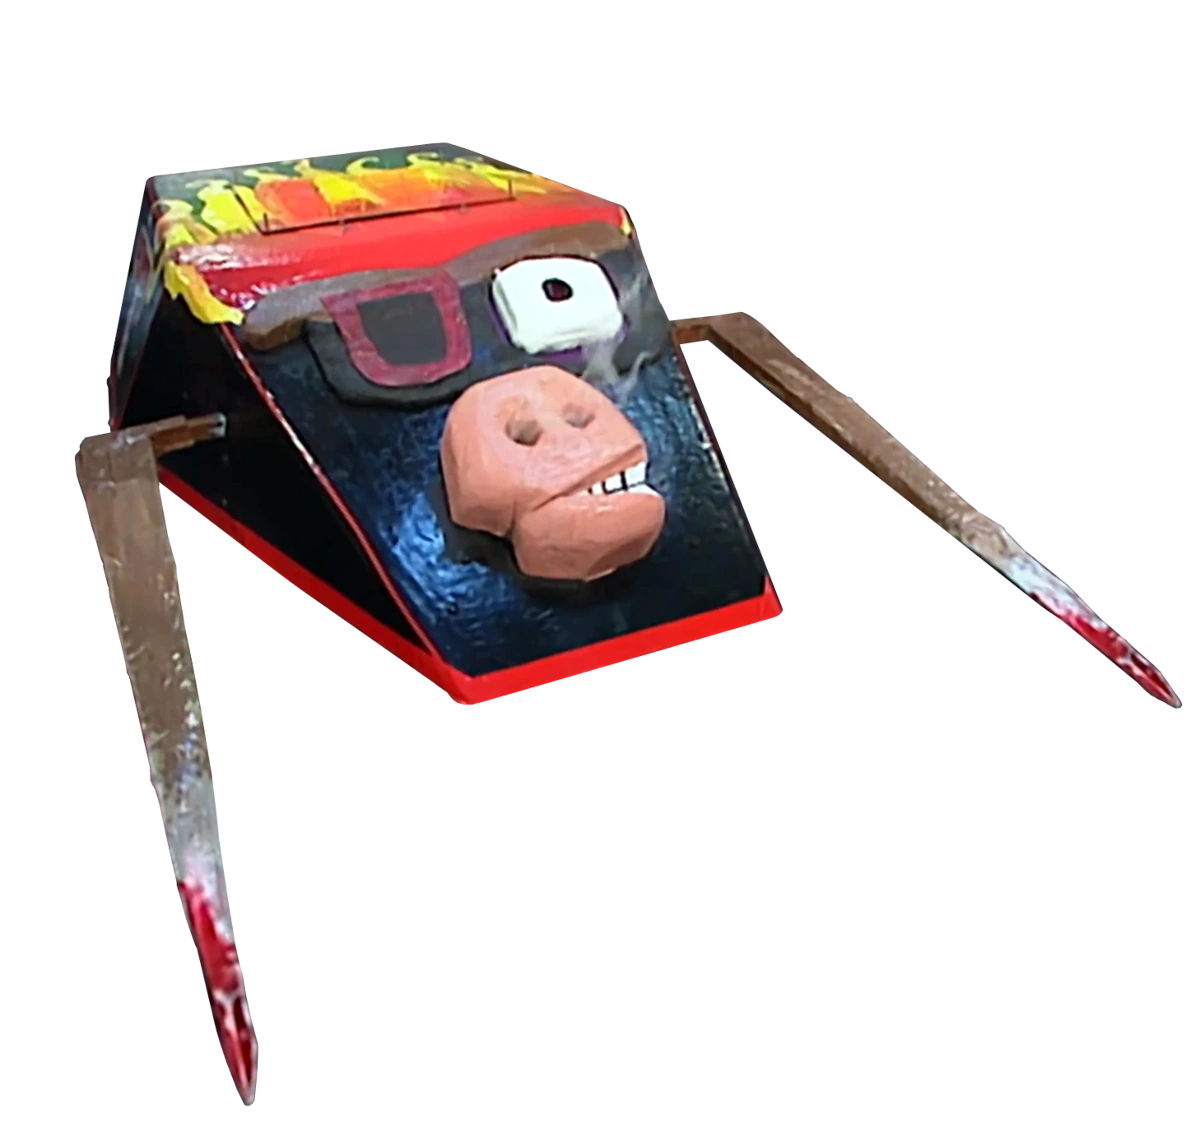
| SAT'arn | ||
| Weight | 10.5kg | |
| Dimensions | 1.27m x 0.60m x 0.21m | |
| Speed | 10mph | |
| Turning Circle | 3m | |
| Ground Clearance | 10mm | |
| Power | 8.4V motors | |
| Weapons | Pointed horns | |
| From: Billericay | ||
| Team Members: Tom Barber & Sam Barber | ||

| ||
|---|---|---|
| Bugs | ||
| Weight | 7.3kg | |
| Dimensions | 0.70m x 0.55m x 0.40m | |
| Speed | 4mph | |
| Turning Circle | 0m | |
| Ground Clearance | 40mm | |
| Power | 12V motors | |
| Weapons | Ramming blade | |
| From: Cheshunt School | ||
| Team Members: Michael Stacey, Michael Langdon & Stephen Devereau | ||
| ||
|---|---|---|
| The Demolisher | ||
| Weight | 2.9kg | |
| Dimensions | 0.60m x 0.34m x 0.17m | |
| Speed | 40mph | |
| Turning Circle | 0m | |
| Ground Clearance | 5mm | |
| Power | Electric motor | |
| Weapons | Aluminium spikes | |
| From: London | ||
| Team Members: Sam Rudgard, Gary Speed-Macey & Bill Rudgard | ||
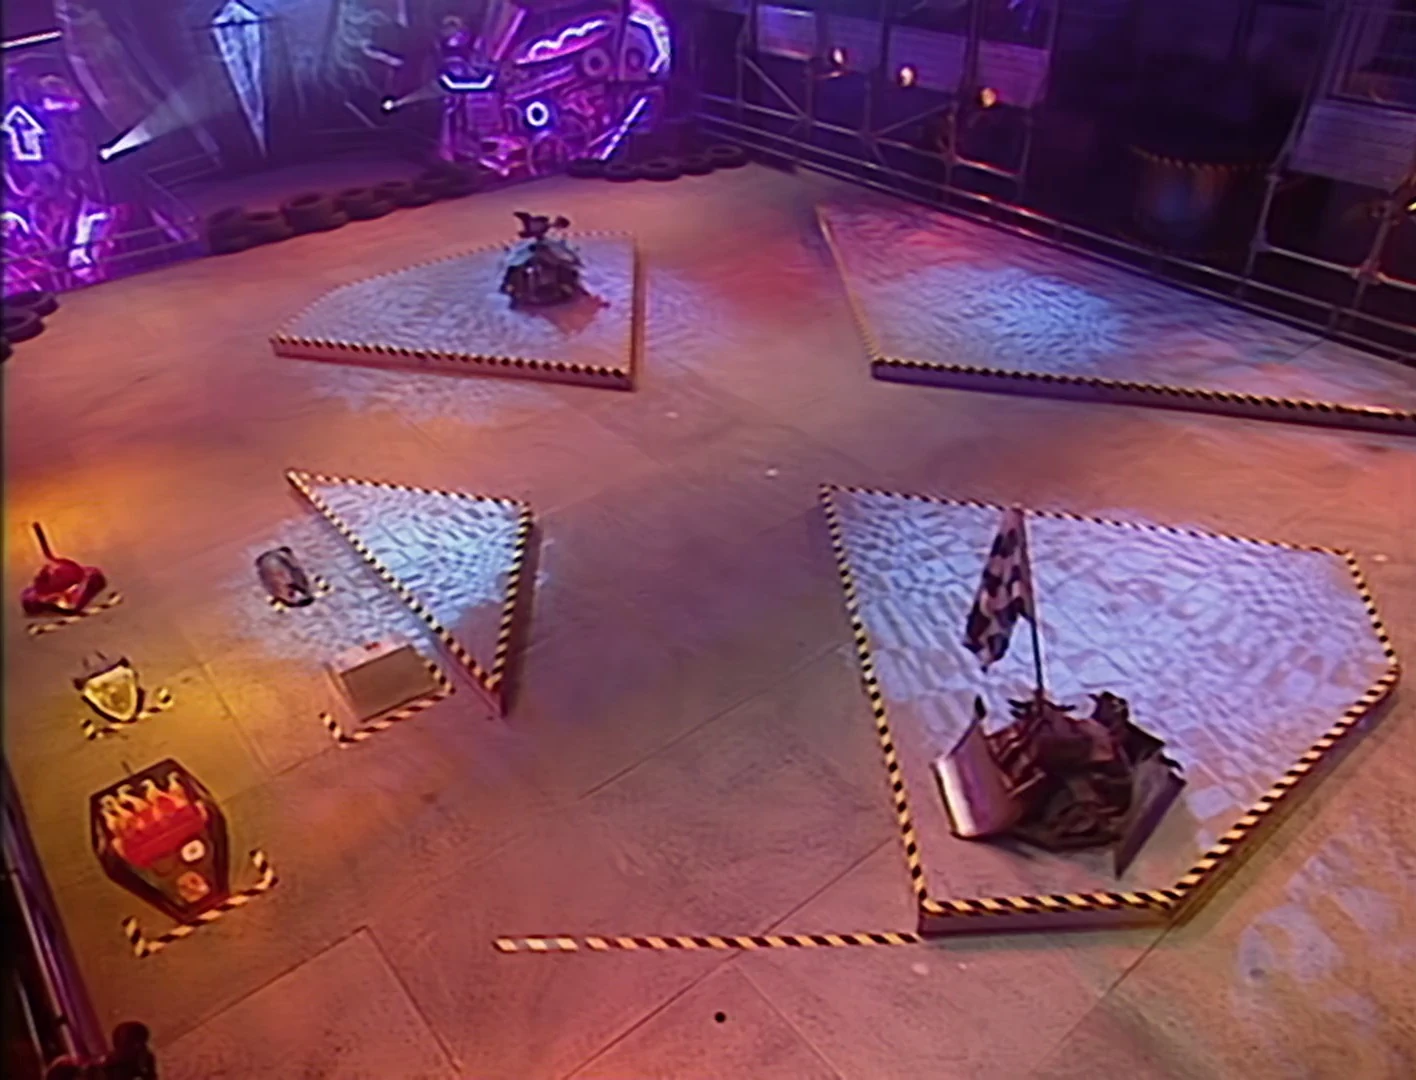
Gauntlet[]
Cunning Plan[]

Cunning Plan drives through the spikes
Cunning Plan exited the turntable and spun on the spot and bounced into the fence on the right route. Cunning Plan carefully steered around the maze until the end. Cunning Plan waited for the drills to retract before moving forwards and driving into the obstacles. Cunning Plan reversed in again, passing one drill and backing onto the springs. Cunning Plan waited for too long, so Matilda drove in hard, forcing Cunning Plan back as the drills tried cutting into it. Matilda spun around, knocking Cunning Plan free where it got lifted by the spikes before being released, where it crossed the line to complete the run.
- Jeremy Clarkson: "Appropriate name, Cunning Plan."
- Oliver Steeples: "Maybe."
- Jeremy Clarkson: "You were looking pretty pleased there."
- Oliver Steeples: "The spikes were a bit tricky, but the robot didn't give me any problems."
- Jeremy Clarkson: "What, the spikes are tricky, but Matilda isn't?"
- — The post-Gauntlet interview.
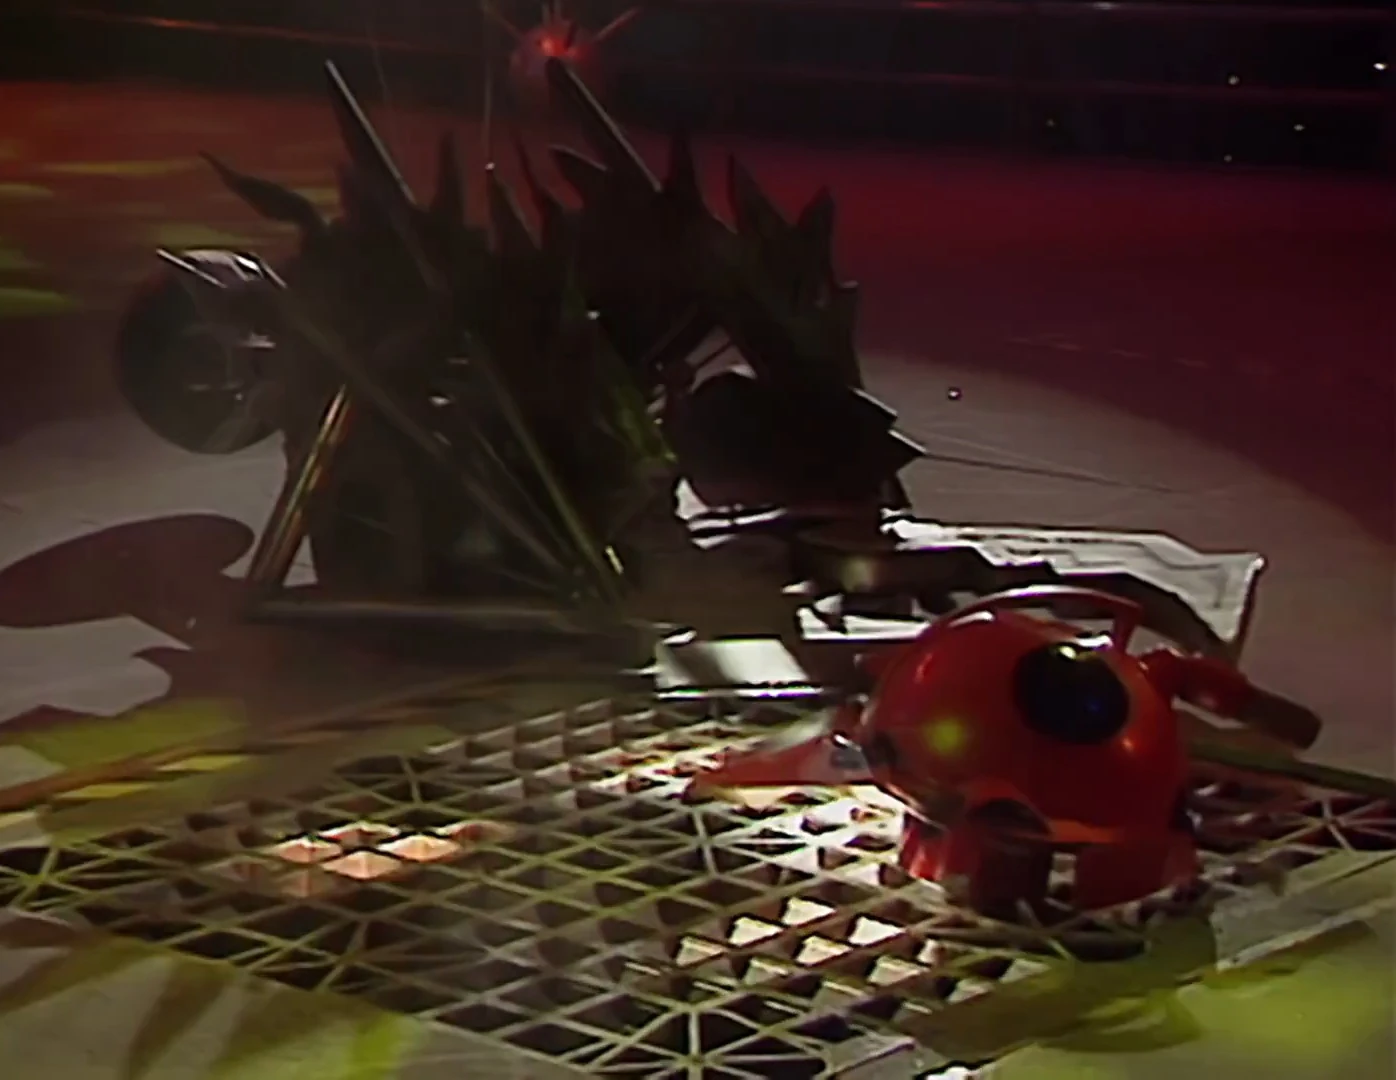
Krayzee Tokyo[]
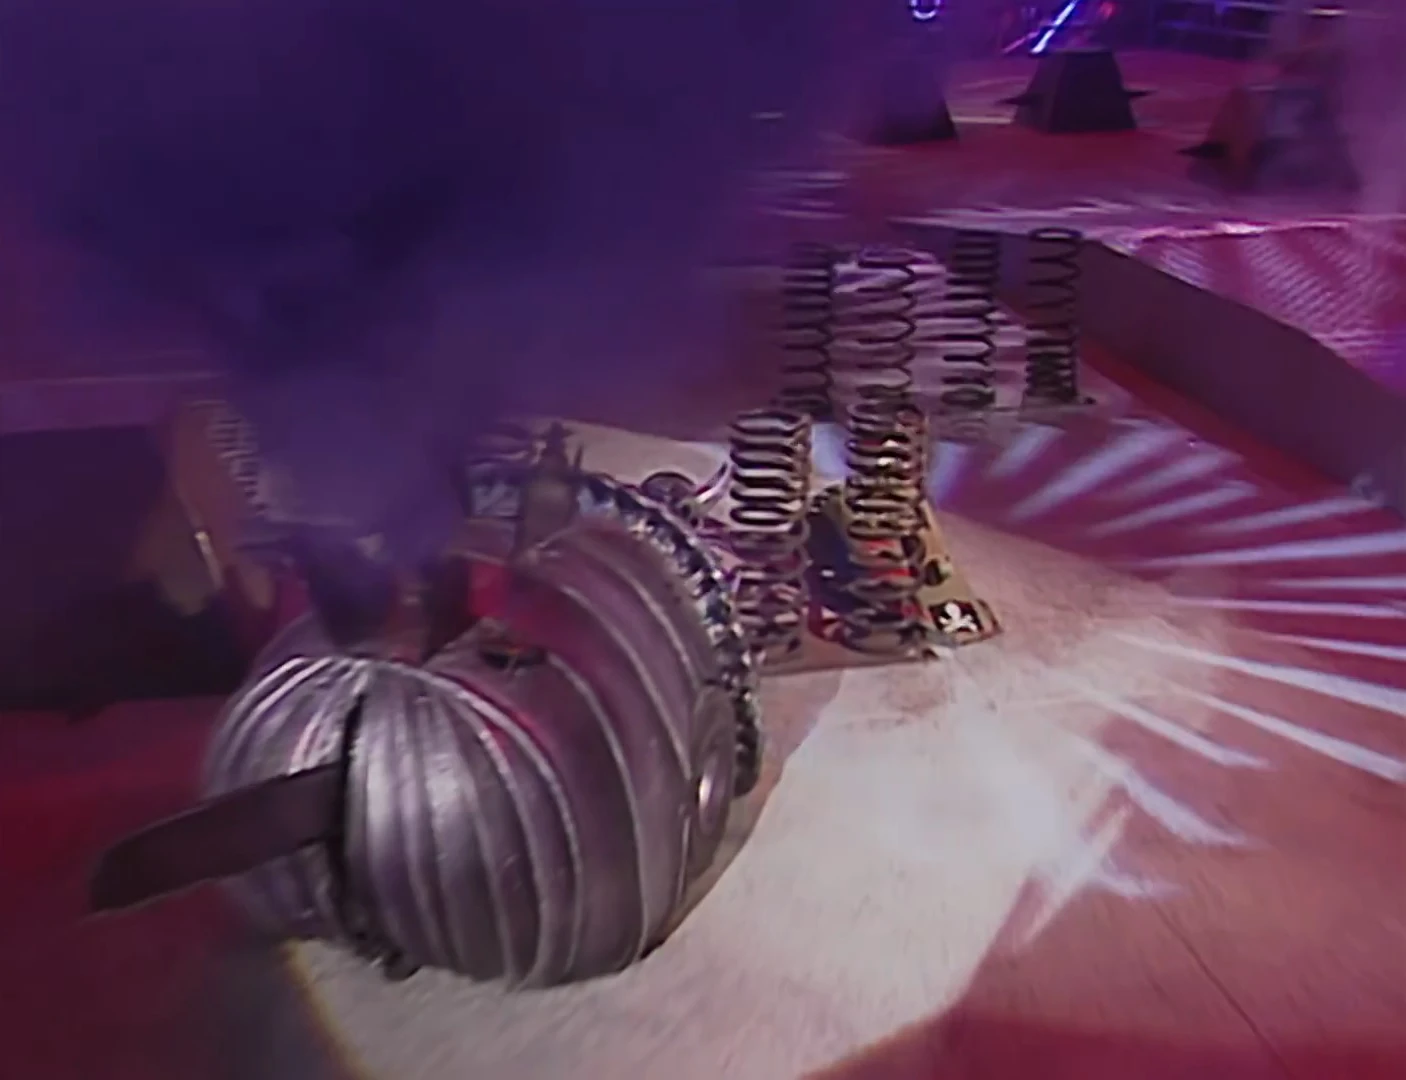

Smoke pours from Matilda (left) as she and Krayzee Tokyo get stuck on the springs
Krayzee Tokyo whizzed out of the turntable and turned straight into a wall. Krayzee Tokyo backed up and went down the right route, taking the corners slowly but carefully. As Krayzee Tokyo reached the end of the maze, Matilda pushed the springs in front of the drills, blocking that route. Krayzee Tokyo dodged around the drill box, drove into the middle route and moved towards the end. However, it got stuck on the final set of springs, so Matilda was able to ram the block of springs, but got stuck herself. As time ran out, a huge plume of black smoke poured out of the top of Matilda.
SAT'arn[]

SAT'arn zips around Matilda
SAT'arn reversed out of the turntable and then drove forwards to go down the left route. SAT'arn dodged past Sergeant Bash and drove towards the side of the ramp, getting stuck. SAT'arn reversed out and drove around Matilda, past the pendulum to finish the course.
- Jeremy Clarkson: "I can't believe you beat both of them!"
- Tom Barber: "Brilliant!"
- Jeremy Clarkson: "That was brilliant, well done."
- — The post-Gauntlet interview
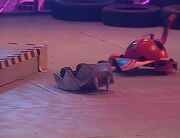
The Demolisher[]
The Demolisher completes the course
The Demolisher chose the left route and passed Sergeant Bash instantly. The Demolisher bumped into Matilda, but was able to drive around the House Robot and wiggled its way to the finish line. (Unseen on television, The Demolisher got flipped over as it ran into Matilda before it was re-righted twenty seconds later and finished the course, thus explaining why it was placed third overall on the leaderboard.)
- "That's taking the Michael!"
- — Jonathan Pearce in response to Demolisher's very quick run.
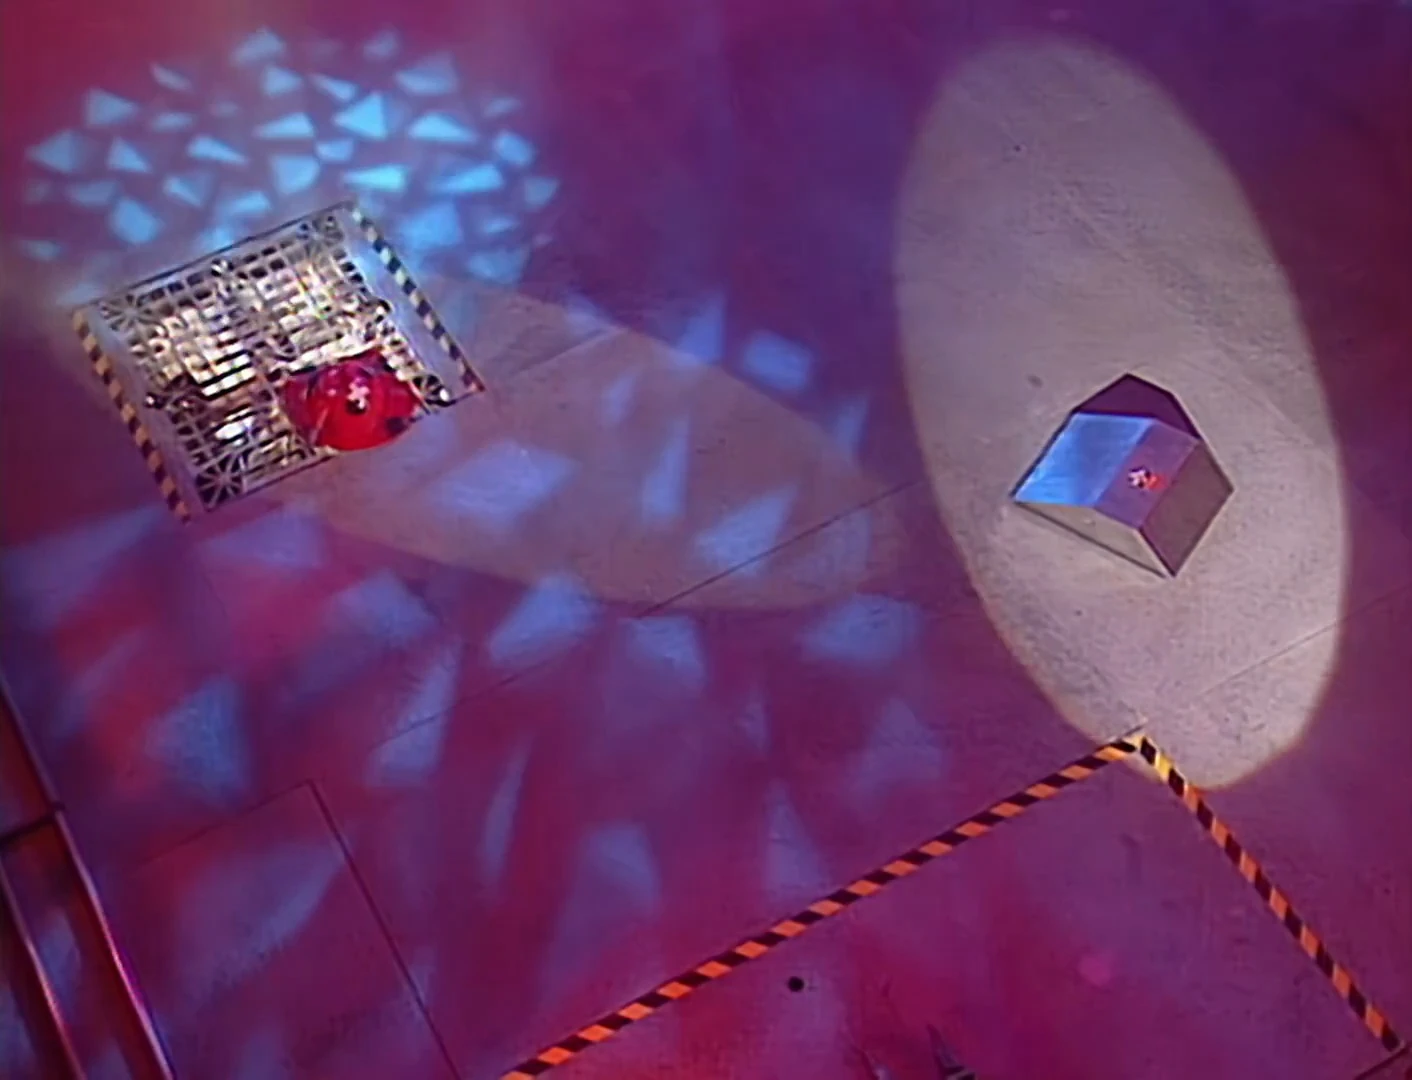
Bugs[]


Matilda stops Bugs
Bugs reversed out of the turntable, straight into indecision as to which route to pick. Bugs drove forwards, hitting the turntable again, eventually reversing down the left route. Bugs passed Sergeant Bash and carried on to Matilda near the end zone. Bugs was pushed back before impaling itself on the spikes. Matilda parked itself and blocked the end zone, and eventually pushed Bugs back as time ran out.
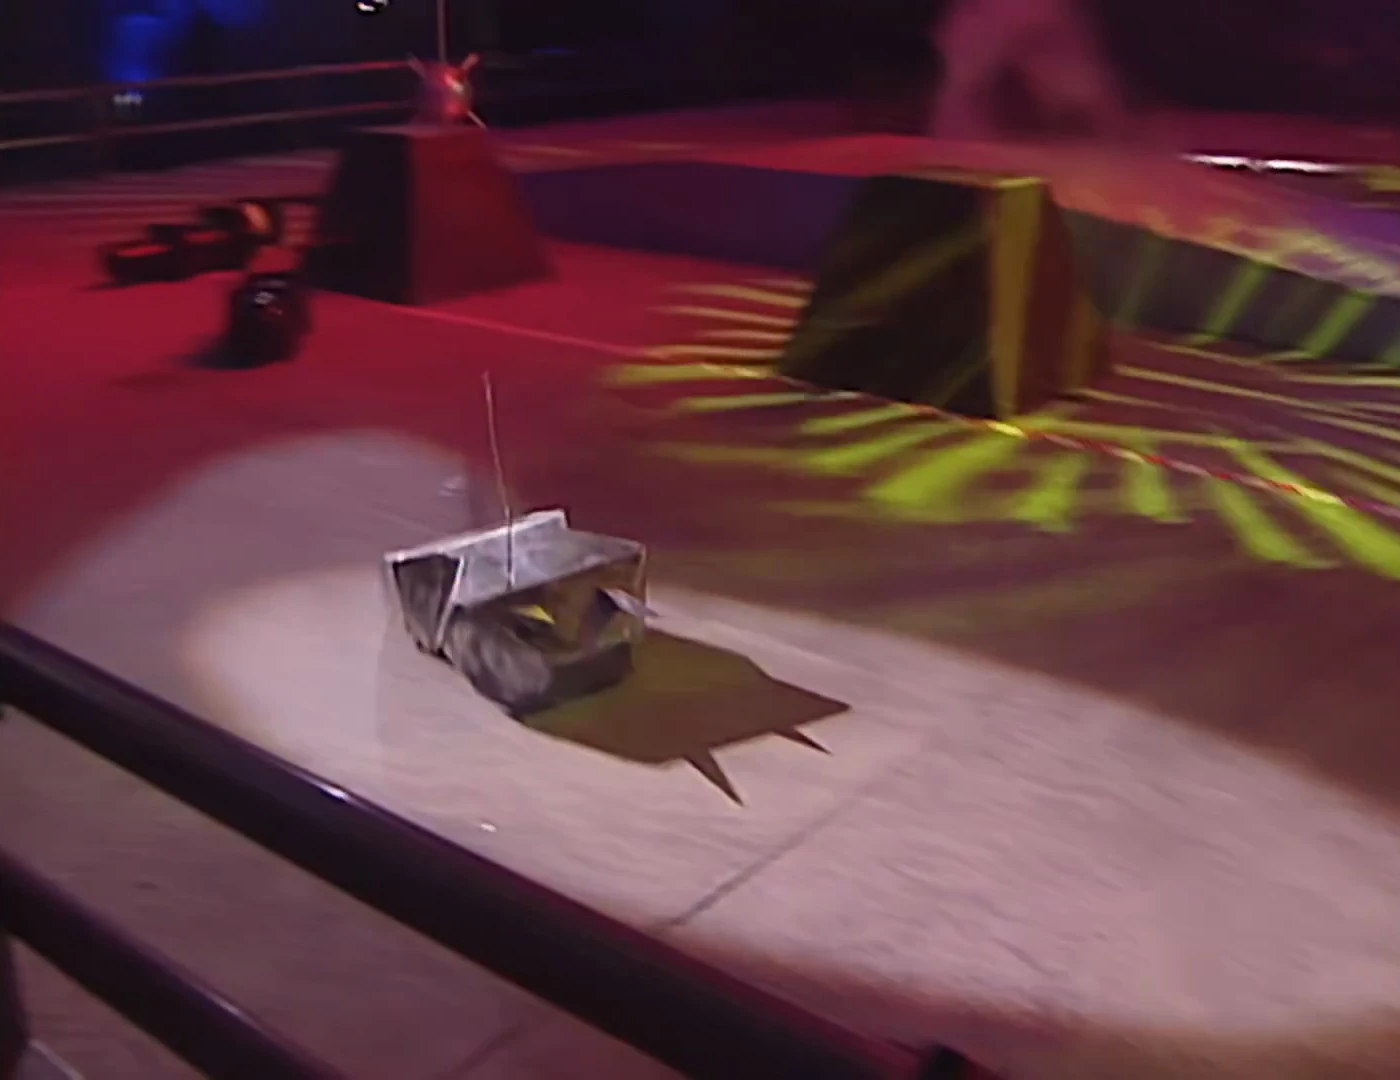
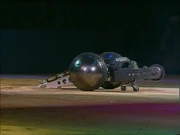
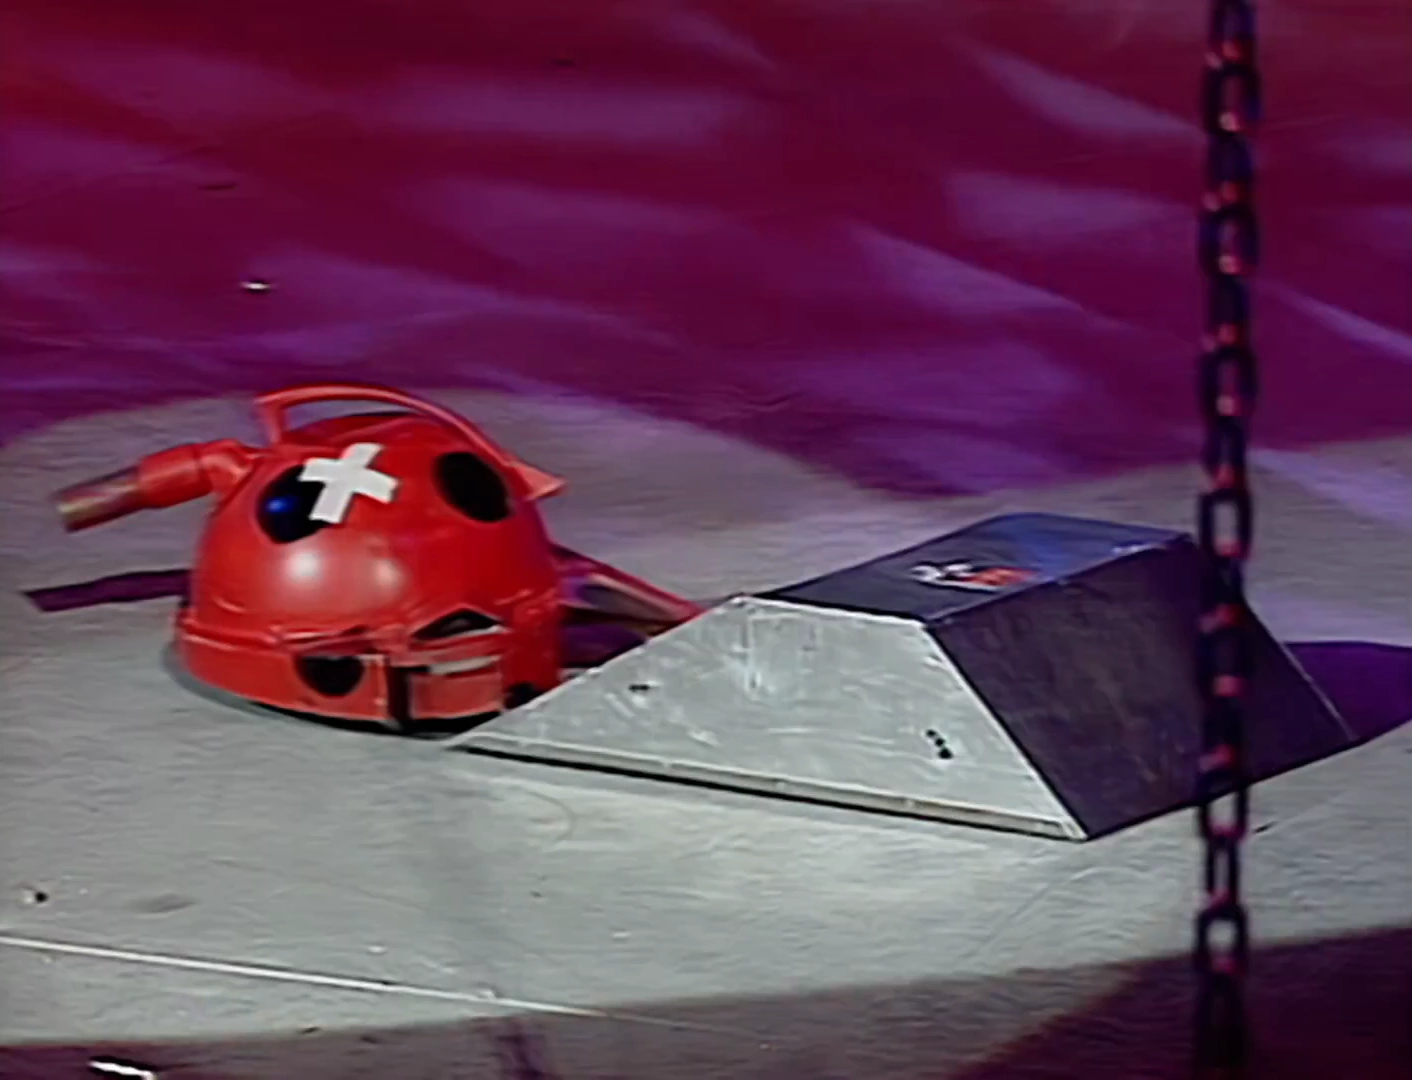
Vector of Armageddon[]

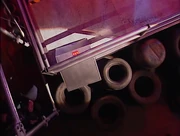
Vector of Armageddon is stuck on the ramp
Vector of Armageddon drove out of the turntable and headed towards the first ramp, making its way up and over. As Vector of Armageddon came off the first ramp, it stopped to let the drills come out and drove backwards out of their way. Vector of Armageddon drove to the second ramp, but the low ground clearance beached it on the change in gradient.
Results[]
| Rank | Robot | Distance |
|---|---|---|
| SAT'arn | Completed | |
| Cunning Plan | Completed | |
| The Demolisher | Completed | |
| Krayzee Tokyo | 12.65m | |
| Bugs | 11.45m | |
| Vector of Armageddon | 8.55m |
1995 UK Open Competition Final[]
- "And now it's time to strap yourselves in and cry mercy, as we leave you with the ultimate robotic confrontation!"
- — Craig Charles in Robot Wars: The First Great War
In between the Gauntlet and Trial stages, highlights of the 1995 UK Open Competition battle between US heavyweights Thor and The Master were shown. This was billed as the overall final of the event serving as proof-of-concept and pilot for the UK Series, though the actual order in which this battle occurred in the competition remains unknown.
- "We'll revisit the 1995 Robot Wars UK Championships in London, featuring two of the most powerful robots in the world today! The Master, built by Mark Setrakian, and Thor, designed by Schilling Robotics, both from America, and what a night it was!"
- — Jonathan Pearce


The Master slices through Thor's armour

The Master's disc sheds upon impact with Thor
The Master initially turned to face Thor using its lifting panel, but Thor made no aggressive movements, and The Master bumped into it, before continuing to circle Thor. After a sustained period of hostility, The Master made the first move and drove up the surface of Thor, burying its circular saw through the armour of Thor, which could only flail its weapon at no target in defence. The Master's attack also caused Thor to start leaking fluids. The Master withdrew its saw and bumped into Thor using its left wheel. After Thor retreated, The Master held off until it found the right moment to charge in with its saw, shearing a loose piece of armour from the top of Thor.
- "And there, surely a killing blow! Smashing right to the heart of the hydraulic cabling!"
- — Jonathan Pearce


The Master attacks Thor's exposed wheel
With no saw remaining, The Master celebrates its victory
While Thor pushed back, The Master brought its saw onto the top of Thor, causing damage while shearing the circular saw in the process, creating a shower of dust. The Master continued to grind away despite the damage, cutting into the top of Thor's weapon, and briefly throwing sparks. The Master almost managed to drive up the side of the retreating Thor, but The Master brought what remained of its saw onto the front of Thor, creating a gash, before finally sacrificing the remainder of its saw to cut into a front wheel of Thor. This attack had immobilised Thor, and The Master won the battle.
- "And The Master is surely one of the most powerful robots in the world, and for me, the star of the 1995 UK London Robot Wars!"
- — Jonathan Pearce
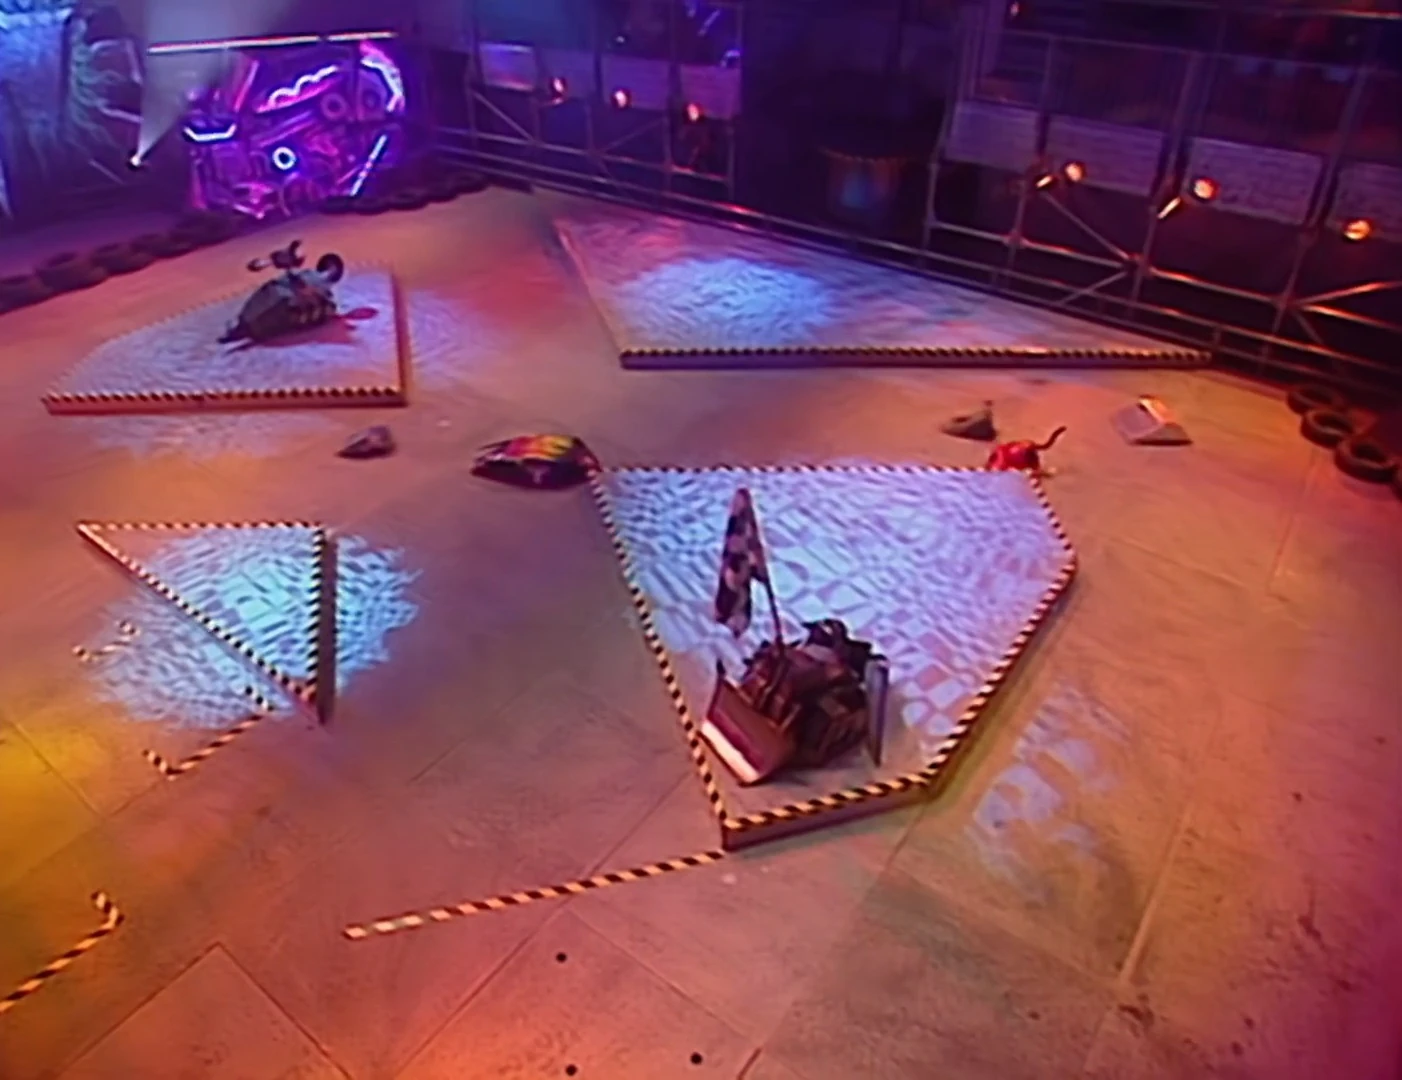
Trial (Stock Car)[]

The robots in their starting positions
- "Now for some motor racing where pit-stops are banned, but ramming is actively encouraged. It's a sport that could've been designed specifically for Michael Schumacher... a three-lap race around this figure-of-eight course, and the one that crosses the line last, or covers the least distance, is eliminated. Unless of course, they were sensible enough to give the government a million pounds."
- — Jeremy Clarkson explains the format for the Stock Car Trial


The opening pile-up
Krayzee Tokyo jumped the start and bounced into The Demolisher, as SAT'arn understeered into the fence, and was followed into the wall by Cunning Plan and The Demolisher. Cunning Plan reversed, flipping The Demolisher over a few times, but it landed on its wheels. Bugs and Krayzee Tokyo also made mistakes on the first corner, with both robots spinning on the inside line.

The diminutive Demolisher leads the field
Eventually, SAT'arn made it around turn 2 in the lead, but clipped a wall and allowed The Demolisher to take the lead. The Demolisher completed the first lap, as the other robots all struggled to make it around the track cleanly. The Demolisher pushed Cunning Plan out of the way as it was lapped, before lapping SAT'arn, which was squeezing Krayzee Tokyo into a wall.
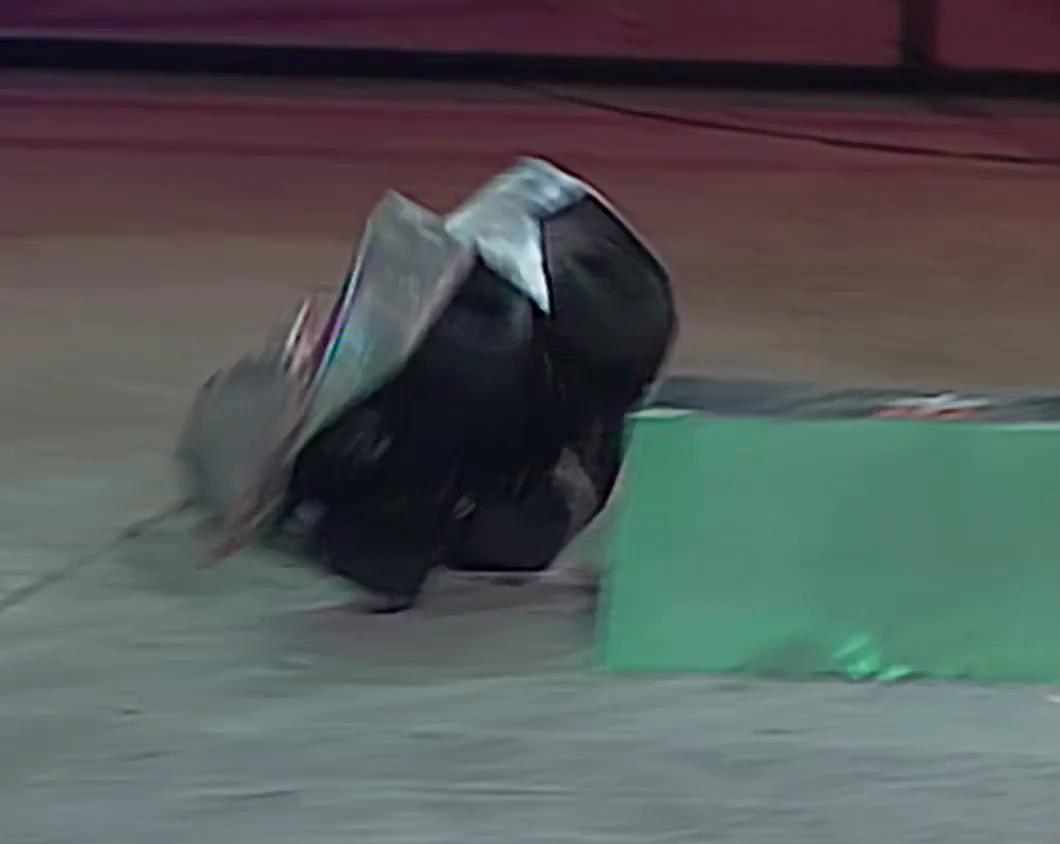
The Demolisher completed a second lap before anyone else had completed their first, and made it through the crossover through the middle of three other robots. However, as The Demolisher entered the last corner, it clipped the inside wall and flipped itself over. Bugs rammed the upturned Demolisher and carried on past.
- "Back down the centre stretch, around the final corner, it could all be over here – OH MY GOODNESS ME! HE'S FLIPPED! It's flipped over, The Demolisher!"
- — Jonathan Pearce as The Demolisher flips itself over on its would-have-been final lap

The Demolisher lies on its back after clipping the wall
Cunning Plan attempts to right The Demolisher
Cunning Plan took the lead of the remaining robots, getting a small nudge from Bugs as it lapped the red robot. During its second lap however, Cunning Plan collided into a wall while traversing the intersection. Krayzee Tokyo appeared to have broken down near the end of lap 1, and SAT'arn was stuck trying to get past the overturned Demolisher, but it still continued to progress.
As it rounded the final corner on its third lap, Cunning Plan pushed The Demolisher forwards and propped it up against a wall, where it fell on its side. Bugs finally managed to cross the start line, with some help from SAT'arn as both robots completed a first and second lap respectively. Shortly after, Cunning Plan whizzed over taking the chequered flag waved by Shunt, thus eliminating Krayzee Tokyo who got flipped onto its side whilst in the path of Cunning Plan's final spurt.
- Jeremy Clarkson: "Oh, no, no, no, the one that looks like a dustbin or something is out. And you jumped the start! Come on."
- Kevin Church: "It wasn't my fault!"
- Jeremy Clarkson: "Well, whose fault is it? Father Christmas'?"
- Kevin Church: "It's whoever's got the other controller on the same frequency."
- Jeremy Clarkson: "That's the worst excuse I've ever heard in my entire life."
- — Krayzee Tokyo is eliminated
Results[]
| Rank | Robot | Laps |
|---|---|---|
| Cunning Plan | 3 Laps | |
| The Demolisher | 2 Laps | |
| SAT'arn | 2 Laps | |
| Bugs | 1 Lap | |
| Krayzee Tokyo | 0 Laps |
American Robot Wars 1996 Highlights[]
- "And before we move on to tonight's Semi-Finals, let's take another trip down memory lane. This time visiting the American 1996 finals which take place in the birthplace of Robot Wars - San Francisco - in August every year. We join the action in one of the final Melees of that live event, and its worthwhile reminding ourselves that Robot Wars has been huge in America for five years..."
- — Jonathan Pearce
In between the Trial and Arena stages, two further montages from the 1996 US Robot Wars competition were also aired. This marked one of the few instances of the term 'live event' being used onscreen in Robot Wars media, differentiating the 1996 event from the televised show. Battles highlighted in the first montage included:
- La Machine vs DooMore (Heavyweight Face-Off, Semi-Final)
- Tazz vs The Master (Heavyweight Face-Off, Round 2)
- Vlad the Impaler vs Punjar (Heavyweight Face-Off, Quarter-Final)
- BioHazard vs Killbborg (Heavyweight Face-Off, Quarter-Final)
- La Machine vs South Bay Mauler (Heavyweight Face-Off, Round 2)
- BioHazard vs Robert Redford Jr. (Heavyweight Face-Off, Round 1)
La Machine throws DooMore over a moving wall section in the 1996 Heavyweight Melee highlights
The second montage consisted of footage from one of the preliminary Heavyweight Melees, featuring 1996 Face-Off champion BioHazard, DooMore, La Machine, The Master and Vlad the Impaler. Emphasis was placed in Jonathan Pearce's commentary on The Master (including Mark Setrakian's background as a special effects specialist), and La Machine's dominant victory.
- "The ultimate winner here, La Machine, dumping that one [DooMore] over the edge. Undisputed World Champion for two years until losing its crown to an even meaner killing machine!"
- — Jonathan Pearce comments on La Machine's Melee performance
Arena[]
- "If I may liken this show to a cup of cappuccino, we have now reached the point where the froth is gone. It's neat wake-up juice from now on in."
- — Jeremy Clarkson's introduction to the Arena stage
Semi-Finals[]
Cunning Plan vs Bugs[]

Cunning Plan gets underneath Bugs

Bugs drives onto the grille
Cunning Plan shot forwards towards Bugs, which hardly moved, but Cunning Plan still missed. Bugs spun on the spot but managed to drive a little way as Cunning Plan took time to position itself for an attack. Both robots soon came together as Cunning Plan drove its wedge under Bugs's, lifting it up and over the body, but nothing more as Bugs fell back down onto its wheels. Cunning Plan ran into a side rail and backed away, as Bugs stayed spinning on the spot too close to a grille, and eventually turned onto it.

Dead Metal closes in on Bugs
Stuck in place, Dead Metal moved in, spinning around and whacking Bugs with the pincers. Meanwhile, Cunning Plan was busy teasing about with Sergeant Bash by pushing into its front and circling around the House Robot, before cease was called.
- "You will not escape from there, Bugs! I didn't think it had the manoeuvrability it had earlier...that's Dead Metal. Those pincers could crush the life out of the bug..."
- — Jonathan Pearce
It was later revealed that a change in the castor wheel had cost Bugs the battle as it decreased Bugs' manoeuvrability.
Winner: Cunning Plan
The Demolisher vs SAT'arn[]
- "SAT'arn, like a bull, rushes at the Demolisher - oh, you silly moo, you missed him!"
- — Jonathan Pearce

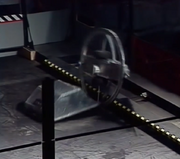
SAT'arn rams Demolisher
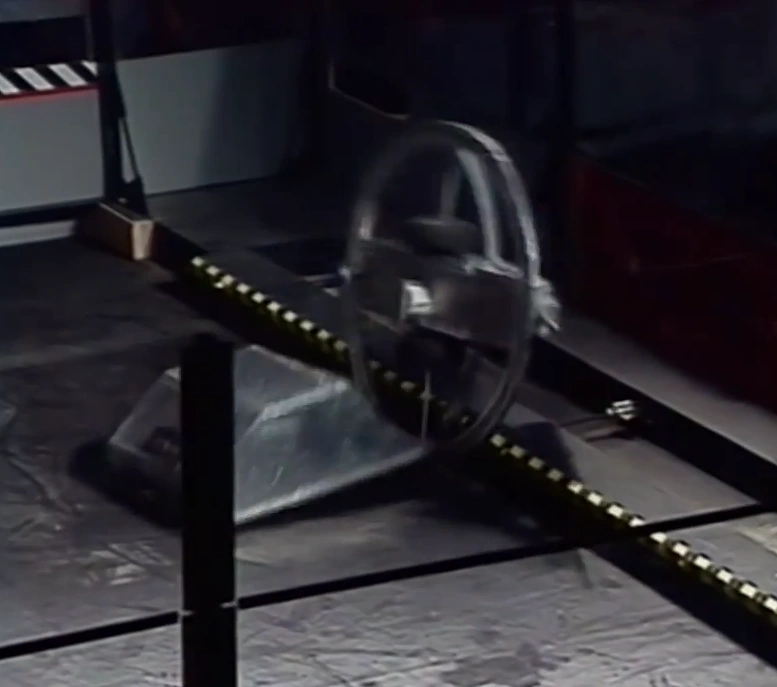
Matilda's chainsaw begins its descent
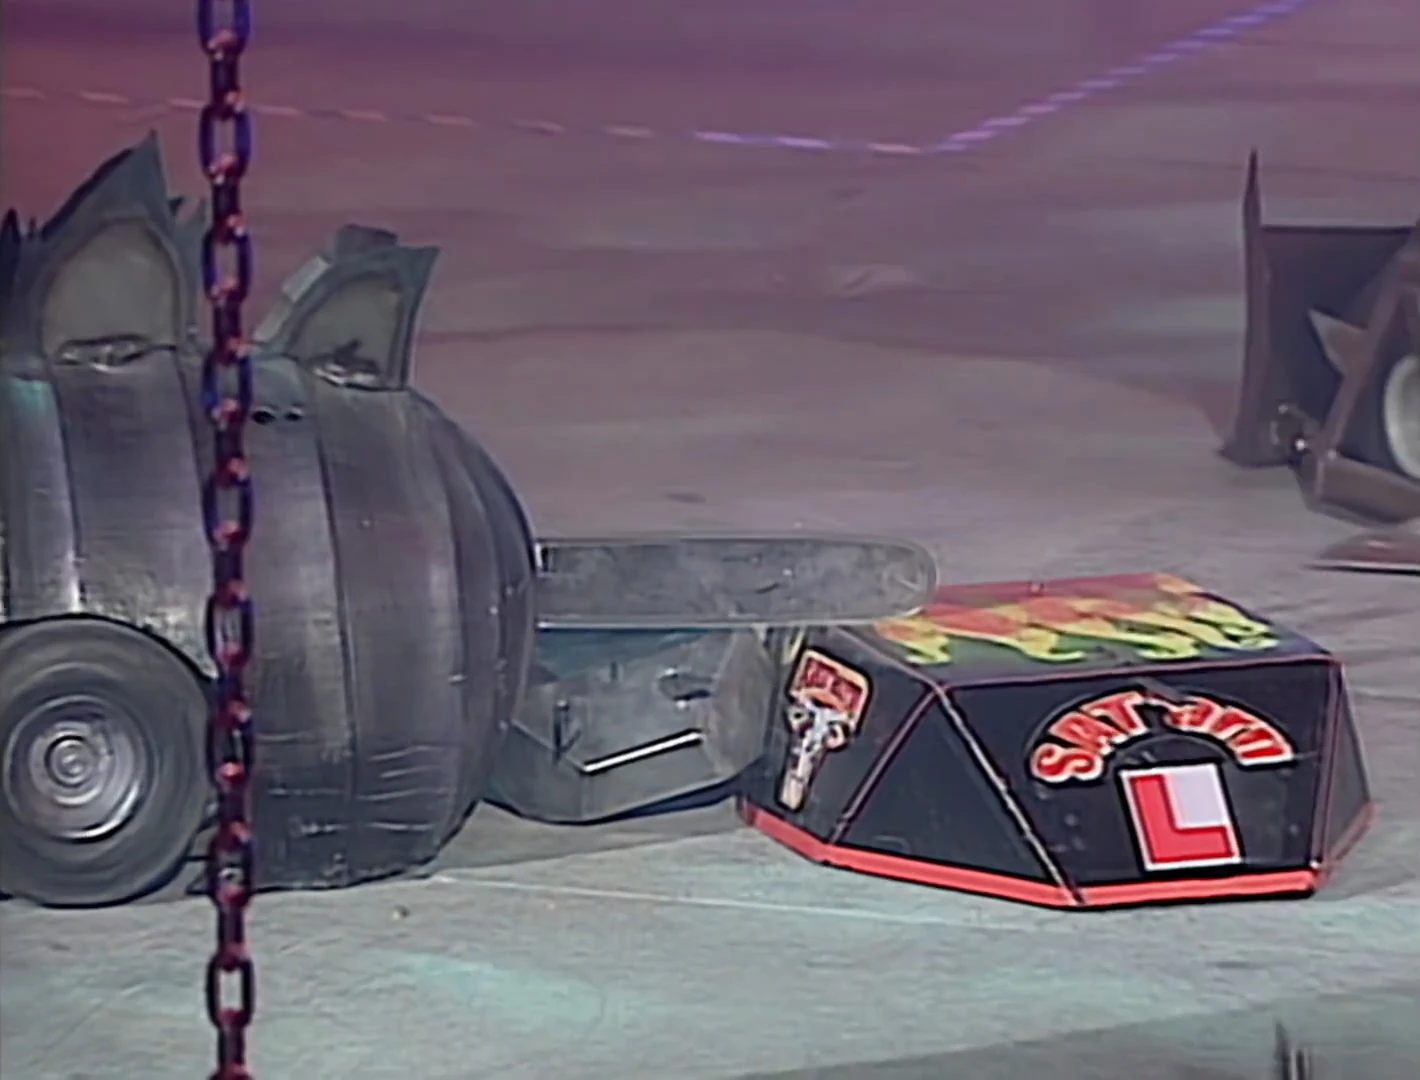
SAT'arn charged and missed The Demolisher as it swerved and sped the other way, so it was forced to reverse and drive around. SAT'arn bumped The Demolisher aside on another charge. Then after repositioning itself SAT'arn hit The Demolisher with the spikes, whilst trying to push it into Shunt's CPZ, but The Demolisher managed to escape. As both robots crossed the arena, SAT'arn suddenly stopped moving, and The Demolisher gave a light nudge before brushing past Sergeant Bash, already astray from its own CPZ. The Demolisher prepared a rear spiking attack on SAT'arn, but was pushed back and almost toppled by Shunt before it could make contact, and then together with Shunt rammed into the immobile SAT'arn. However, The Demolisher was subsequently pinned against SAT'arn by Matilda, as she attacked with the chainsaw. Matilda cut through the wooden armour of SAT'arn, but the saw stopped when it touched The Demolisher's metal armour. When released, The Demolisher retreated and SAT'arn was bullied by the other house robots as cease was called.
- "There was a connection that came off...we had problems with it yesterday."
- — The crestfallen SAT'arn team explain
Winner: Demolisher
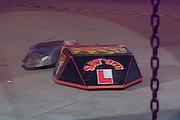
Final[]
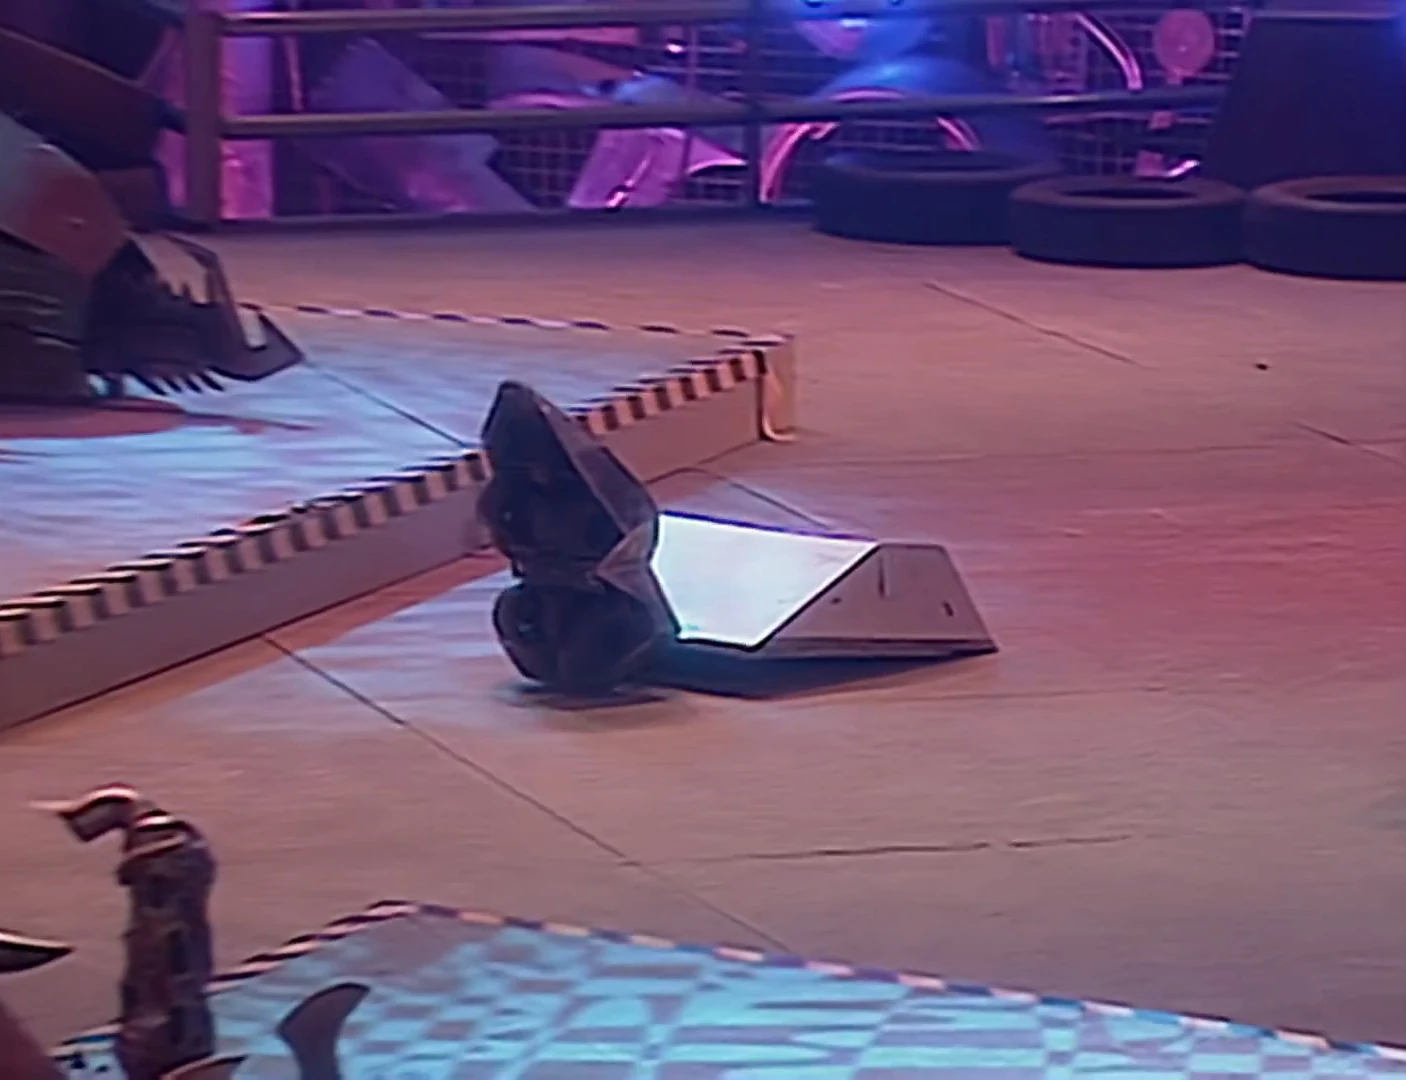
Cunning Plan vs The Demolisher[]
- "In the Stock Car, Cunning Plan actually tried to rescue Demolisher. That’s not going to be happening in the final!"
- — Jeremy Clarkson

Cunning Plan gets underneath Demolisher
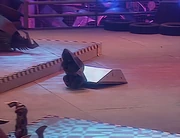
Demolisher, overturned in 14 seconds
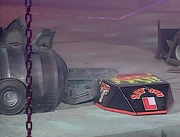
Cunning Plan moved forwards as The Demolisher decided to reverse away. It came back to the start position, as both squared off temporarily. Eventually, Cunning Plan darted under The Demolisher, which rolled off the wedge and landed upside-down as Cease was called.
- "Demolisher, at the top of your picture, is the quicker, but Cunning Plan is the heavier of these two featherweights. Demolisher will be trying to keep out of trouble, with young Sam at the wheels- Oh, but the wheels have come off! The Demolisher is beaten by the Cunning Plan of Oliver Steeples. I'm not too sure whether the crowd wanted young Sam Rudgard to go through, but he had no chance with power like that."
- — Jonathan Pearce
Heat Winner: Cunning Plan
Trivia[]
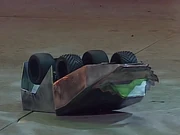
The Demolisher almost drives through the wall

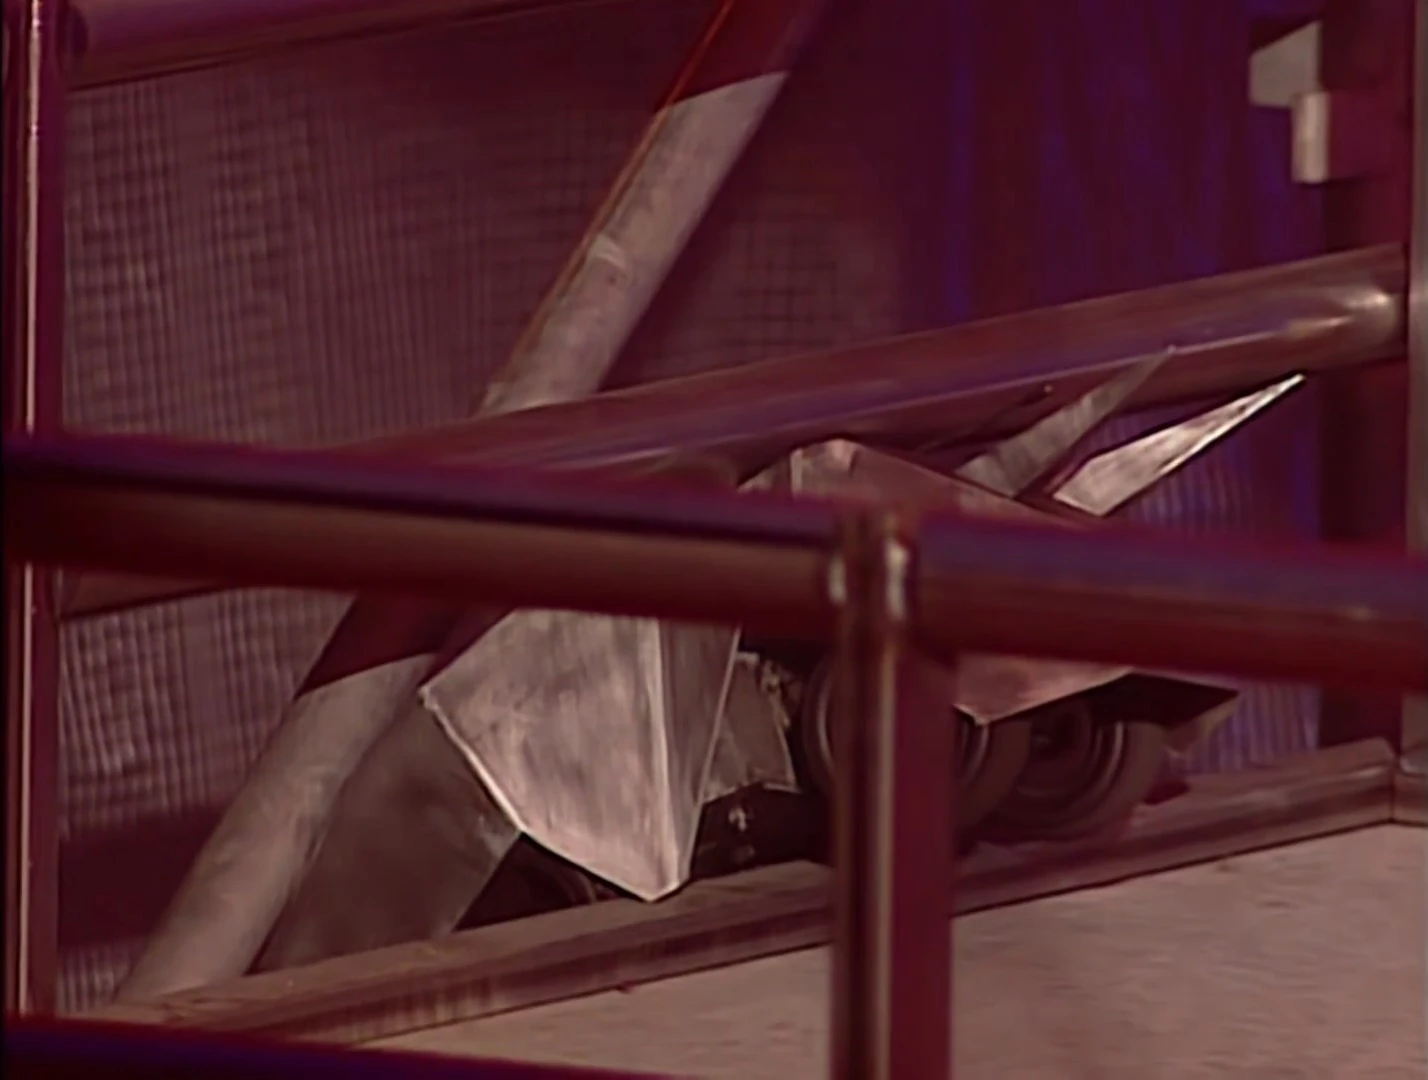
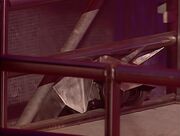
Cunning Plan slots into the end railings
- Likely due to the small size of the competing featherweights, this Heat featured two instances where competitors nearly ejected themselves from the arena:
- The Demolisher's arena introduction ended with it driving through and getting caught in between the wall railings.
- While successful, Cunning Plan's Gauntlet run ended with it performing the same action, following a short burst of speed into the end zone.
- While the other five Heats of the series featured robots of various weight categories, Heat D only featured featherweight competitors, although Jeremy Clarkson stated incorrectly that it featured lightweight robots.
- Excluding VHS releases, this episode marked the only time where prolific US competitors BioHazard, Vlad the Impaler, Tazz (later competing as Tazbot), La Machine and Punjar made an appearance in a televised Robot Wars series. All would later become associated with the US show BattleBots, where BioHazard and Vlad the Impaler would go on to win heavyweight championships.
- Though their 1995 UK Open battle was briefly shown in the introduction to Heat A, The Master and Schilling Robotics' Thor also make their only substantial televised appearances in this episode.
- South Bay Mauler's defeat against La Machine in the 1996 highlights also indirectly marked the robot's debut on the show. Later versions (simply named Mauler or The Mauler) would be entered into The First World Championship and the unaired American Robot Wars 2000 pilot.
- Cunning Plan's defeat of The Demolisher in the Heat Final broke the record for shortest battle in the UK Series, at just 14 seconds. As of Series 10, the battle ranks joint-eighth in the shortest battles of UK Robot Wars.
- Jonathan Pearce introduced Cunning Plan by stating that Oliver Steeples, builder of the robot, was a Star Wars fan. Steeples would later build a robot for Star Wars: The Force Awakens in 2015.
[]
| ||||||||