BizarroKing (talk | contribs) |
|||
| Line 18: | Line 18: | ||
==Competing Robots== |
==Competing Robots== |
||
===Newcomers=== |
===Newcomers=== |
||
| + | {{2ndStats |
||
| − | |||
| + | |name=[[Destruct-A-Bubble]] |
||
| − | {| class="wikitable" |
||
| − | + | |image=[[File:Destruct-a-bubble.jpg|200px|center]] |
|
| + | |weight=77.3kg |
||
| − | !'''Specifications''' |
||
| ⚫ | |||
| − | |+ |
||
| + | |clearance=0.02m |
||
| ⚫ | |||
| ⚫ | |||
| − | |'''Weight:''' 77.3kg |
||
| ⚫ | |||
| − | |- |
||
| ⚫ | |||
| ⚫ | |||
| + | |from=Chelmsford in Essex |
||
| − | |- |
||
| ⚫ | |||
| − | |'''Clearance:''' 0.02m |
||
| ⚫ | |||
| − | |- |
||
| + | {{clr}} |
||
| ⚫ | |||
| − | |- |
||
| ⚫ | |||
| − | |- |
||
| ⚫ | |||
| − | |- |
||
| ⚫ | |||
| ⚫ | |||
===Veterans=== |
===Veterans=== |
||
| + | {{2ndStats |
||
| ⚫ | |||
| ⚫ | |||
| + | |weight=78.2kg |
||
| ⚫ | |||
| + | |clearance=0.01m |
||
| ⚫ | |||
| ⚫ | |||
| ⚫ | |||
| + | |from=Dagenham in Essex |
||
| + | |team=Ray Tait, Matthew Tait & Jeff Bradford |
||
| ⚫ | |||
| + | {{2ndStats |
||
| − | {| class="wikitable" |
||
| ⚫ | |||
| ⚫ | |||
| ⚫ | |||
| − | !'''Specifications''' |
||
| + | |weight=80.0kg |
||
| − | |+ |
||
| ⚫ | |||
| − | |rowspan="6"|[[File:Centurion.jpg|200px|center]] |
||
| + | |clearance=0.01m |
||
| − | |'''Weight:''' 78.2kg |
||
| ⚫ | |||
| − | |- |
||
| ⚫ | |||
| ⚫ | |||
| ⚫ | |||
| − | |- |
||
| + | |from=Framfield in East Sussex |
||
| − | |'''Clearance:''' 0.01m |
||
| ⚫ | |||
| − | |- |
||
| ⚫ | |||
| ⚫ | |||
| − | |- |
||
| ⚫ | |||
| − | |- |
||
| ⚫ | |||
| − | |- |
||
| − | |colspan="2"|'''From:''' Dagenham in Essex<br/>'''Team Members:''' Ray Tait, Matthew Tait & Jeff Bradford |
||
| ⚫ | |||
| − | |||
| − | {| class="wikitable" |
||
| ⚫ | |||
| − | !'''Specifications''' |
||
| − | |+ |
||
| ⚫ | |||
| − | |'''Weight:''' 80.0kg |
||
| − | |- |
||
| ⚫ | |||
| − | |- |
||
| − | |'''Clearance:''' 0.01m |
||
| − | |- |
||
| ⚫ | |||
| − | |- |
||
| ⚫ | |||
| − | |- |
||
| ⚫ | |||
| − | |- |
||
| ⚫ | |||
| ⚫ | |||
| + | {{2ndStats |
||
| − | {| class="wikitable" |
||
| − | + | |name=[[Killerhurtz]] <small>(seeded 16th)</small> |
|
| ⚫ | |||
| − | !'''Specifications''' |
||
| + | |weight=80.0kg |
||
| − | |+ |
||
| ⚫ | |||
| ⚫ | |||
| + | |clearance=0.04m |
||
| − | |'''Weight:''' 80.0kg |
||
| ⚫ | |||
| − | |- |
||
| ⚫ | |||
| ⚫ | |||
| ⚫ | |||
| − | |- |
||
| + | |from=Oxford |
||
| − | |'''Clearance:''' 0.04m |
||
| ⚫ | |||
| − | |- |
||
| ⚫ | |||
| ⚫ | |||
| − | |- |
||
| ⚫ | |||
| − | |- |
||
| ⚫ | |||
| − | |- |
||
| ⚫ | |||
| ⚫ | |||
| + | {{2ndStats |
||
| − | {| class="wikitable" |
||
| − | + | |name=[[Small Torque]] |
|
| ⚫ | |||
| − | !'''Specifications''' |
||
| + | |weight=78.3kg |
||
| − | |+ |
||
| ⚫ | |||
| ⚫ | |||
| + | |clearance=0.02m |
||
| − | |'''Weight:''' 78.3kg |
||
| ⚫ | |||
| − | |- |
||
| ⚫ | |||
| ⚫ | |||
| ⚫ | |||
| − | |- |
||
| + | |from=Edinburgh in Scotland |
||
| − | |'''Clearance:''' 0.02m |
||
| + | |team=Richie McBride, Alex McBride & Martyn Sloss |
||
| − | |- |
||
| ⚫ | |||
| ⚫ | |||
| − | |- |
||
| ⚫ | |||
| − | |- |
||
| ⚫ | |||
| − | |- |
||
| − | |colspan="2"|'''From:''' Edinburgh in Scotland<br/>'''Team Members:''' Richie McBride, Alex McBride & Martyn Sloss |
||
| ⚫ | |||
| + | {{2ndStats |
||
| − | {| class="wikitable" |
||
| − | + | |name=[[Splinter]] |
|
| ⚫ | |||
| − | !'''Specifications''' |
||
| + | |weight=80.0kg |
||
| − | |+ |
||
| ⚫ | |||
| ⚫ | |||
| + | |clearance=0.03m |
||
| − | |'''Weight:''' 80.0kg |
||
| ⚫ | |||
| − | |- |
||
| ⚫ | |||
| ⚫ | |||
| ⚫ | |||
| − | |- |
||
| + | |from=Norwich |
||
| − | |'''Clearance:''' 0.03m |
||
| + | |team=Stuart Weightman & Craig Weightman |
||
| − | |- |
||
| ⚫ | |||
| ⚫ | |||
| + | {{clr}} |
||
| − | |- |
||
| ⚫ | |||
| − | |- |
||
| ⚫ | |||
| − | |- |
||
| − | |colspan="2"|'''From:''' Norwich<br/>'''Team Members:''' Stuart Weightman & Craig Weightman |
||
| ⚫ | |||
==Eliminators== |
==Eliminators== |
||
Revision as of 01:26, 5 November 2012
Heat I of Robot Wars: The Fourth Wars was the ninth of sixteen heats which determined the semi-finalists of Robot Wars: The Fourth Wars. The episode featuring Heat I was originally broadcast on November 24, 2000 on BBC Two.
- This heat saw relatively poor performances by both of the seeds with neither making it to the heat final (the only other occasions when this happened in The Fourth Wars were in Heat G and Heat K).
- As well as this, it featured the third of four newcomers to make it to the series semi-finals in Splinter.
Competing Robots
Newcomers
 | ||
|---|---|---|
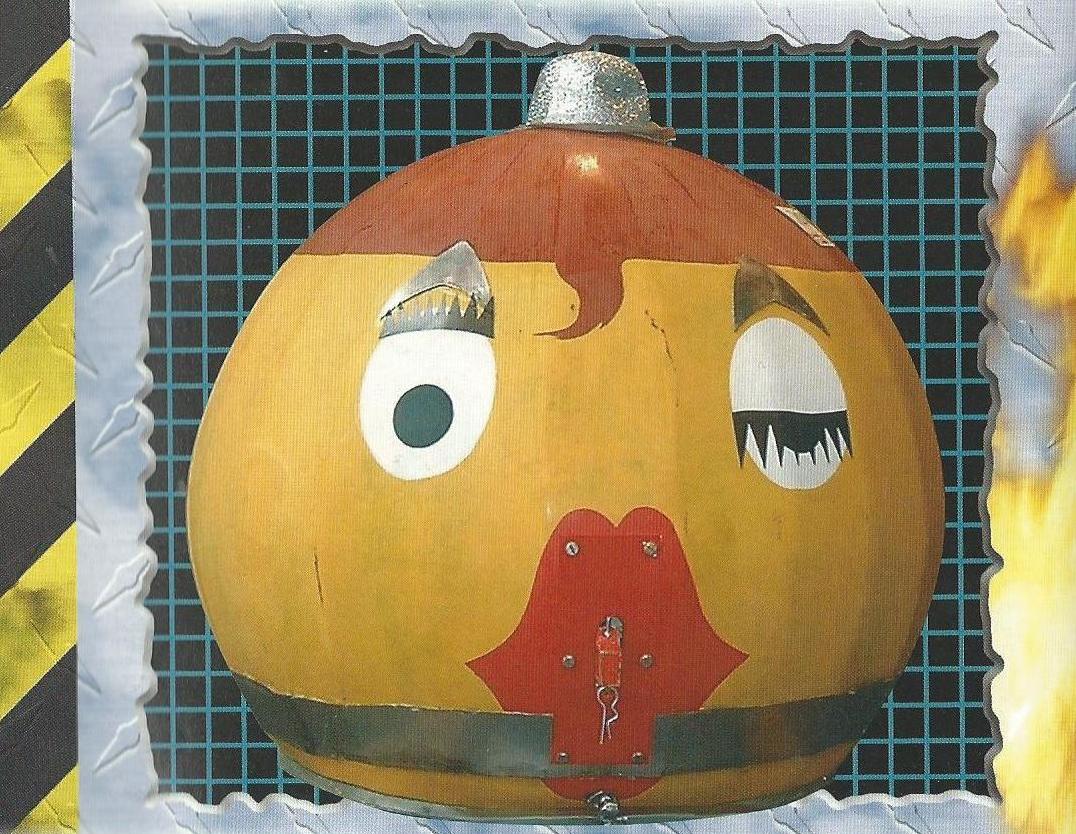
| Destruct-A-Bubble | ||
| Weight | 77.3kg | |
| Dimensions | 0.80 x 1.00 x 1.00m | |
| Clearance | 0.02m | |
| Power | 2 x Wheelchair motors | |
| Weapons | Pneumatic lance | |
| Notes | Shell is carbon fibre | |
| From: Chelmsford in Essex | ||
| Team Members: Bill Cozens, Lawrence Cozens & Malcolm Burrells | ||
Veterans
 | ||
|---|---|---|
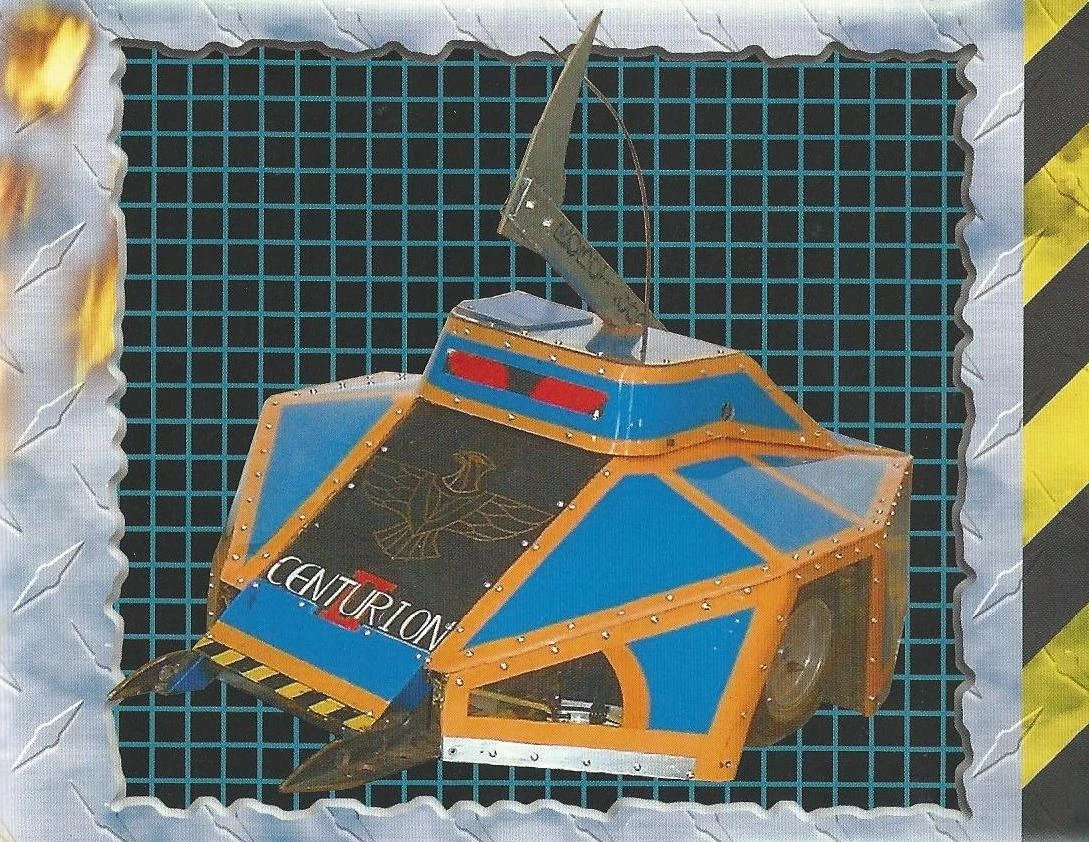
| Centurion (seeded 31st) | ||
| Weight | 78.2kg | |
| Dimensions | 0.50 x 1.10 x 0.80m | |
| Clearance | 0.01m | |
| Power | 2 x Industrial motors | |
| Weapons | Pneumatic axe and front lifter | |
| Notes | 2 x Wet go-kart wheels | |
| From: Dagenham in Essex | ||
| Team Members: Ray Tait, Matthew Tait & Jeff Bradford | ||
 | ||
|---|---|---|
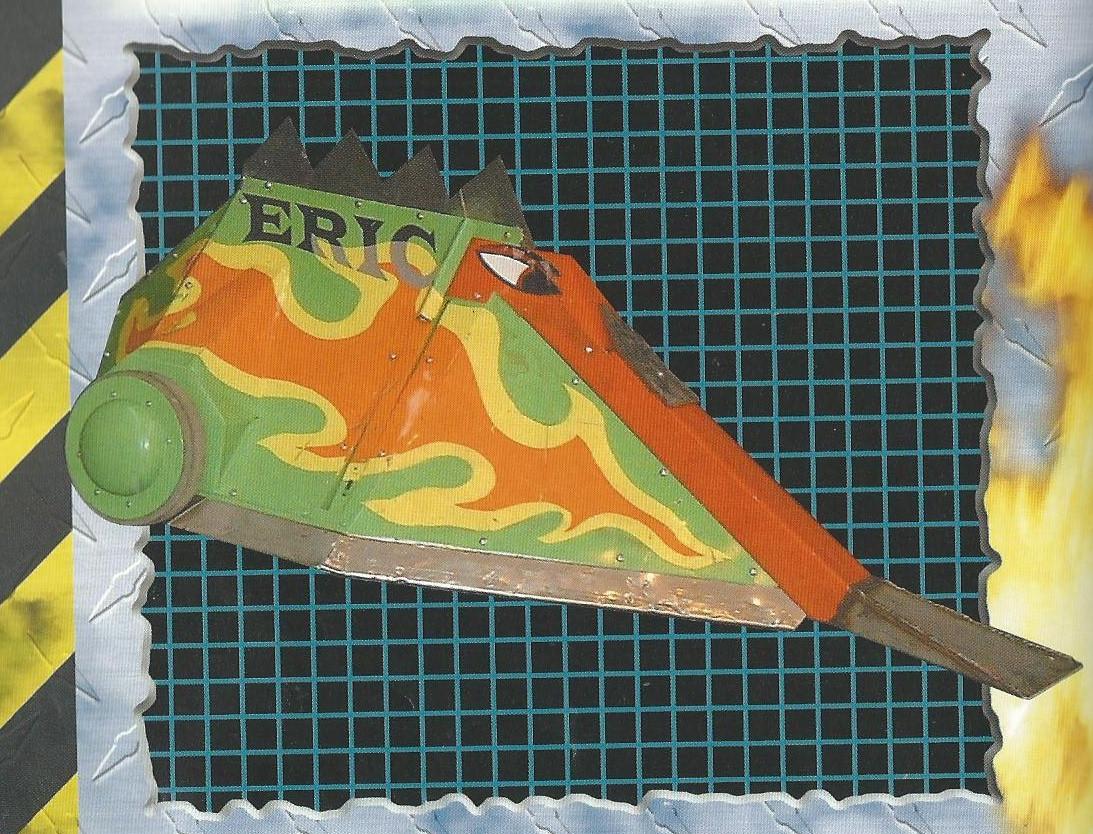
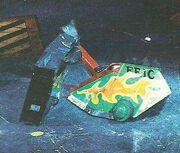
| Eric | ||
| Weight | 80.0kg | |
| Dimensions | 0.55 x 1.35 x 0.75m | |
| Clearance | 0.01m | |
| Power | 2 x Wheelchair motors | |
| Weapons | Hydraulic lifting jaw | |
| Notes | Stainless steel shell | |
| From: Framfield in East Sussex | ||
| Team Members: Mike Hammerton, Ian Nicholson & Bruce Nicholson | ||
 | ||
|---|---|---|
| Killerhurtz (seeded 16th) | ||
| Weight | 80.0kg | |
| Dimensions | 0.30 x 1.20 x 0.80m | |
| Clearance | 0.04m | |
| Power | 2 x Electric motors | |
| Weapons | Pneumatic axe and steel blade | |
| Notes | Car style steering | |
| From: Oxford | ||
| Team Members: John Reid, Dominic Parkinson & Rebecca Reaston-Brown | ||
 | ||
|---|---|---|
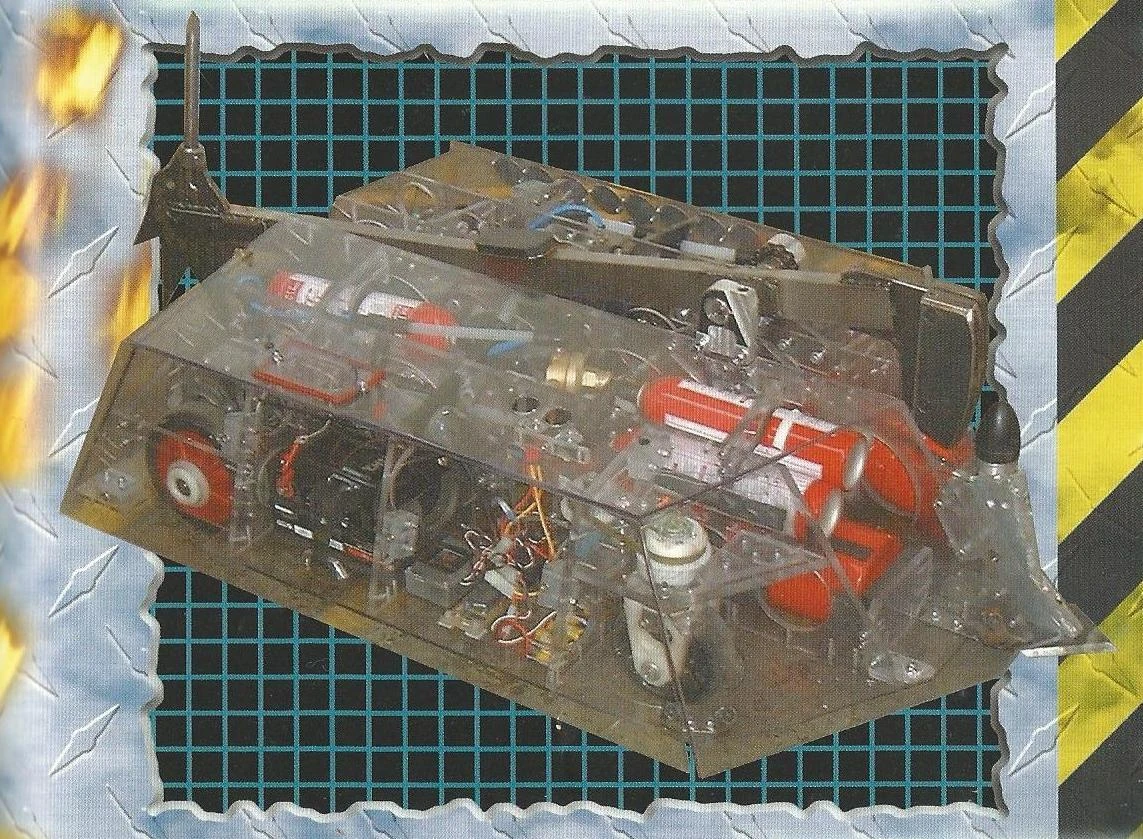
| Small Torque | ||
| Weight | 78.3kg | |
| Dimensions | 0.30 x 0.70 x 0.70m | |
| Clearance | 0.02m | |
| Power | 2 x Electric motors | |
| Weapons | Spinning disc and sharp teeth | |
| Notes | Shell is bullet proof plastic | |
| From: Edinburgh in Scotland | ||
| Team Members: Richie McBride, Alex McBride & Martyn Sloss | ||
 | ||
|---|---|---|
| Splinter | ||
| Weight | 80.0kg | |
| Dimensions | 0.60 x 1.00 x 0.75m | |
| Clearance | 0.03m | |
| Power | 2 x 750W motors | |
| Weapons | Motor powered claws | |
| Notes | Made from plastic oil drum | |
| From: Norwich | ||
| Team Members: Stuart Weightman & Craig Weightman | ||
Eliminators

Killerhurtz gets an axe blow on Eric
Killerhurtz (16) vs Eric vs Destruct-A-Bubble
The fight started slowly, until Killerhurtz drove over the top of Eric. The two veterans then ganged up on Destruct-A-Bubble: Eric managed to push it into the CPZ, but it got away. Killerhurtz then pushed Destruct-A-Bubble into the arena wall; Eric came in from behind and nearly flipped Killerhurtz over. Killerhurtz responded by piercing Eric with its axe, before doing the same to Destruct-A-Bubble. Killerhurtz axed Destruct-A-Bubble again as time ran out. The judges unanimously voted Destruct-A-Bubble out, putting Eric and Killerhurtz through.
Qualified: Eric & Killerhurtz
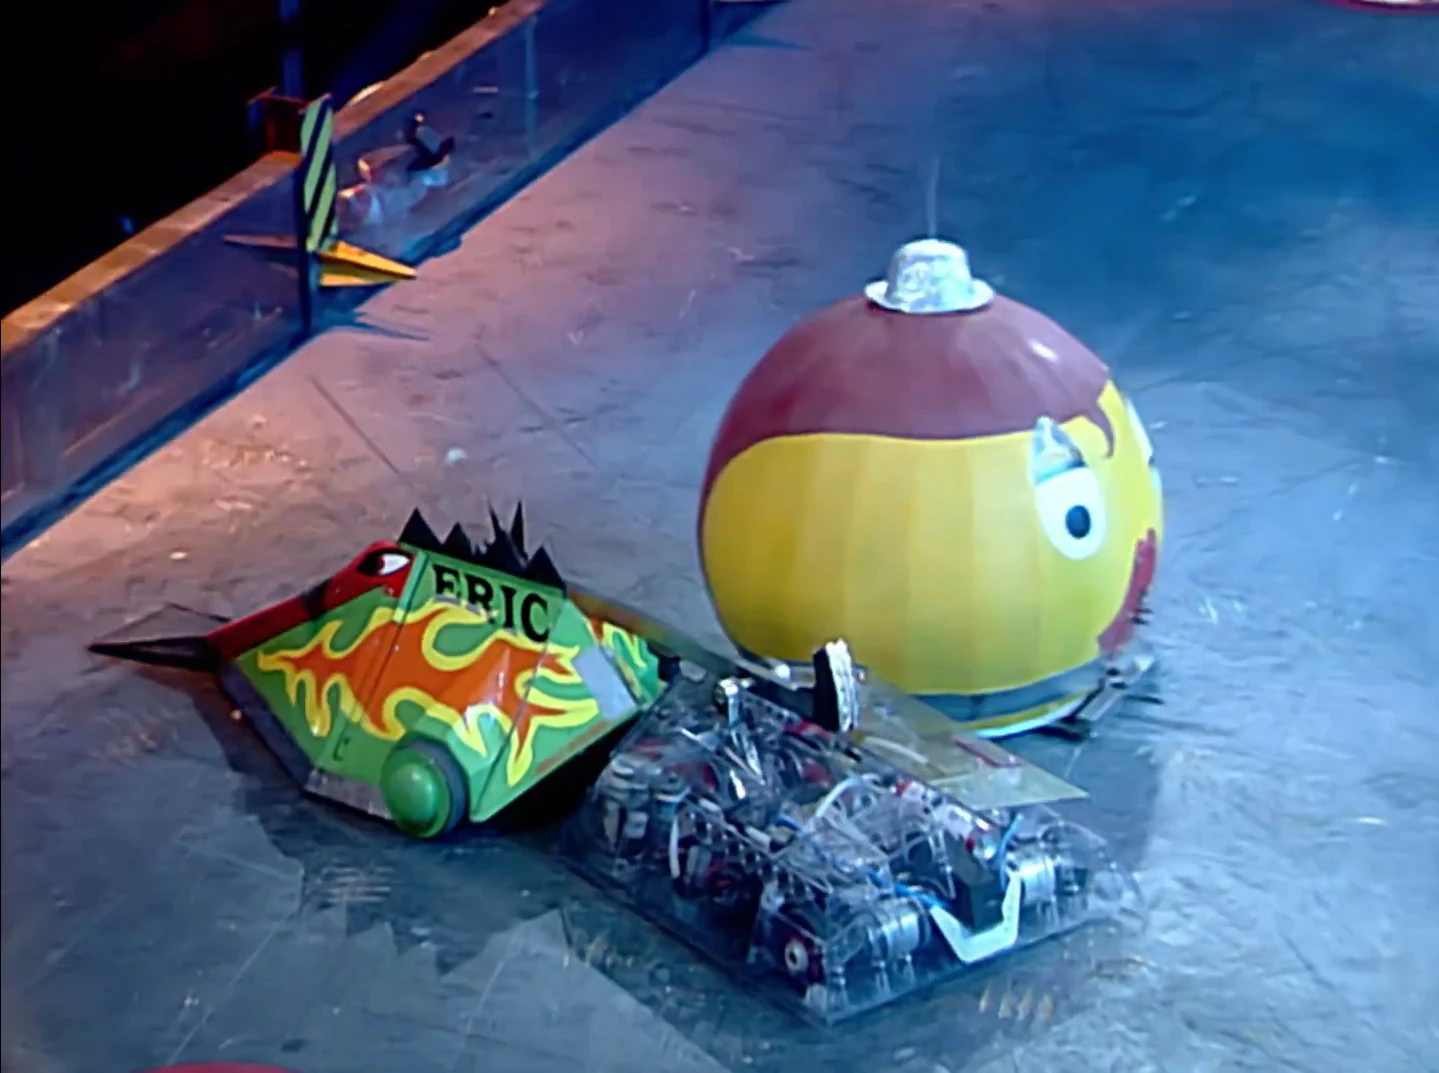
Sir Killalot disposes of Centurion
Centurion (31) vs Splinter vs Small Torque
Centurion immediately tried unsuccessfully flip Splinter; Small Torque pushed Splinter into Sergeant Bash, but it got away. Centurion seemed to stop, but then drove into the arena wall. Splinter then grabbed Small Torque by pushing it into Shunt, who axed through Small Torque's so called 'bullet proof' top. Centurion was still on the arena wall. Dead Metal came in and sliced into the side, before Sir Killalot pitted the seeded machine.
Qualified: Splinter & Small Torque
Semi-Finals
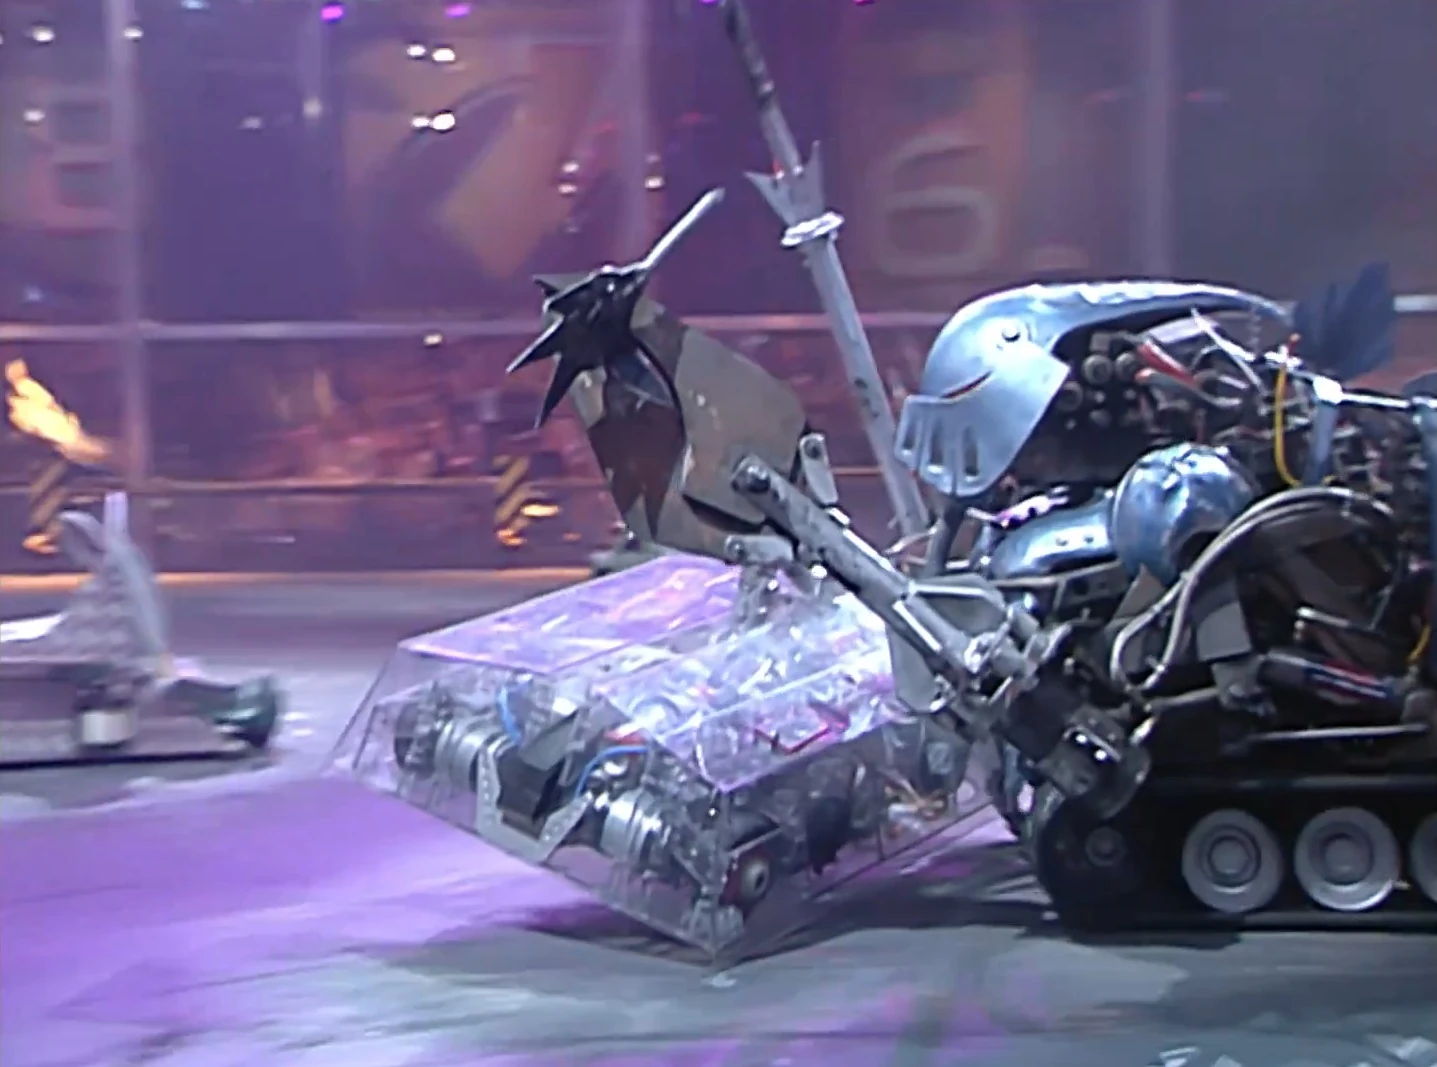
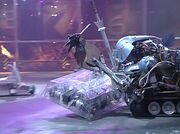
Sir Killalot grabs hold of Killerhurtz
Killerhurtz (16) vs Splinter
Splinter immediately grabbed Killerhurtz with the arms and pushed it around the arena repeatedly. Killerhurtz escaped and slammed at Splinter, damaging the front slightly, but then drove into Shunt and got axed. It escaped, but then slammed into the arena wall and started smoking. Sir Killalot picked Killerhurtz up by the axe and span it around in circles. Killerhurtz then came back to life and axed Sergeant Bash's flamethrower. But it had been immobile too long, so Splinter was given the win.
Winner: Splinter
Eric vs Small Torque

Eric turns Small Torque over
Small Torque tried to use its disc on Eric, but it was ineffective. Eric flipped Small Torque over, but it was invertible. However, Small Torque then stopped and caught fire internally. The special cooling system evidently hadn't worked. Eric then was mugged by Sir Killalot, but managed to get away. Sergeant Bash pushed Small Torque onto an angle grinder, which caused fantastic sparks.
Winner: Eric
Final
Splinter vs Eric
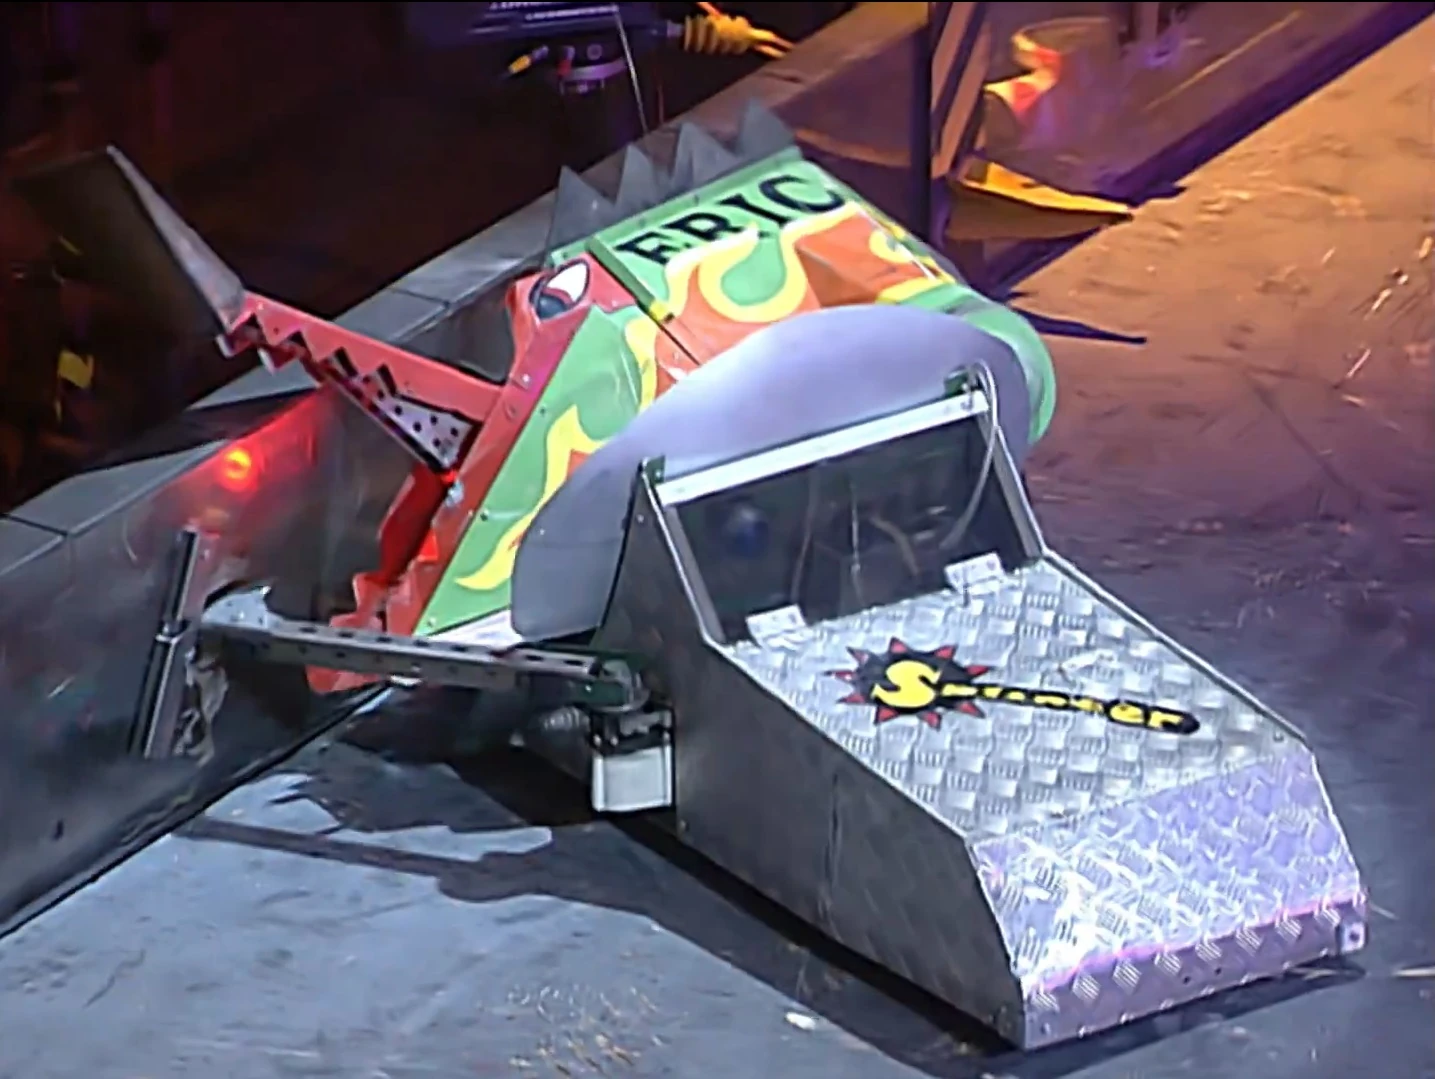

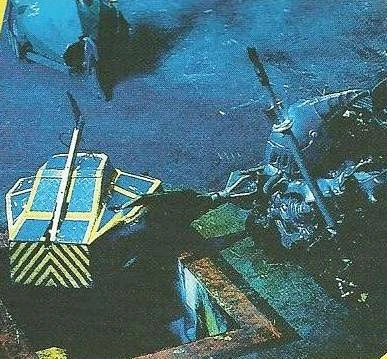
Splinter forces Eric into the wall
The fight started slowly until Splinter pushed Eric into Shunt, who axed it. Eric escaped, but Splinter pushed it into the arena wall (twice), also once getting their arm caught on the wall. Eric got a flip on Splinter, but it rolled back down onto its wheels. Splinter pushed Eric into the arena wall again as time ran out. The judges put Splinter through to the series semi-finals.
Heat Winner: Splinter
Trials

King B beats Matilda to the target
During the Fourth Wars, alongside the main competition, a Pinball Warrior and Sumo Basho Competition were also held. Unlike the similar competitions of the Third Wars, these trials featured successful qualifiers for Series 4. In between the first and second rounds of each heat, a Pinball run took place, and two sumo attempts took place in between Round 2 and the Heat Final in each of the first eight heats. For Heat I, the Pinball featured King B3.
Pinball Warrior - King B3
Score: 225 points
| ||||||||||||||