Snowdog140 (talk | contribs) |
Headbanger14 (talk | contribs) No edit summary |
||
| Line 16: | Line 16: | ||
*Three robots in this heat were the exact same weight. [[Groundhog]], [[Sting]] and [[Cassius]] all weighed in a 79.3kg. In addition, [[Wizard]] weighed 79.4kg. |
*Three robots in this heat were the exact same weight. [[Groundhog]], [[Sting]] and [[Cassius]] all weighed in a 79.3kg. In addition, [[Wizard]] weighed 79.4kg. |
||
*Only one veteran entered this heat, fifth seed [[Cassius]], who went on to win the heat. |
*Only one veteran entered this heat, fifth seed [[Cassius]], who went on to win the heat. |
||
| + | *This is the first episode to feature Matilda's spark gun. |
||
==Competing Robots== |
==Competing Robots== |
||
Revision as of 00:34, 21 June 2012
Heat H of Robot Wars: The Second Wars was the eighth of twelve heats which determined the Semi-Finalists of Robot Wars: The Second Wars. The episode featuring Heat H was originally broadcast on January 8, 1999 on BBC Two.
- This heat was the debut of the famous Team Firestorm.
- Three robots in this heat were the exact same weight. Groundhog, Sting and Cassius all weighed in a 79.3kg. In addition, Wizard weighed 79.4kg.
- Only one veteran entered this heat, fifth seed Cassius, who went on to win the heat.
- This is the first episode to feature Matilda's spark gun.
Competing Robots
Newcomers
| Groundhog | Specifications |
|---|---|
 |
Weight: 79.3kg |
| Dimensions: 1.15 x 0.86 x 0.4m | |
| Speed: 8mph | |
| Turning Circle 0m | |
| Ground Clearance: 350mm | |
| Power: 3 x 12V batteries | |
| Weapons: Horizontal 12' cutting disc | |
| Notes: Groundhog took 6 weeks to build at a cost of £450 | |
| From: Durham Team Members: Graham Bone & Alex Mordue | |
| Loco | Specifications |
|---|---|
 |
Weight: 73.0kg |
| Dimensions: 1.0 x 0.7 x 0.7m | |
| Speed: 10mph | |
| Turning Circle 1.5m | |
| Ground Clearance: 40mm | |
| Power: 4 x 12V, 2 x 6V batteries | |
| Weapons: Spring powered ram | |
| Notes: Wheelchair motors and stainless steel shell | |
| From: Bristol Team Members: Richard Memion, David Iles & Eric Manion | |
| Rampage | Specifications |
|---|---|
 |
Weight: 82.7kg |
| Dimensions: 0.8 x 1.2 x 0.63m | |
| Speed: 8mph | |
| Turning Circle 0m | |
| Ground Clearance: 20mm | |
| Power: 2 x 12V batteries | |
| Weapons: Scoop and rear 7' cutting disc | |
| Notes: Took 3 months to build and cost over £300 | |
| From: Derby Team Members: Robert Whittle & Peter Wearing | |
| Sting | Specifications |
|---|---|
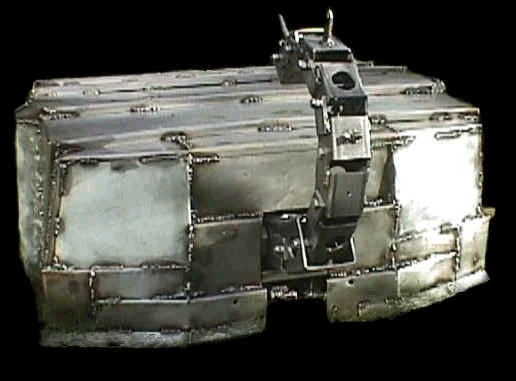 |
Weight: 79.3kg |
| Dimensions: 1.6 x 0.7 x 0.4m | |
| Speed: 12mph | |
| Turning Circle 0m | |
| Ground Clearance: 100mm (max) | |
| Power: 2 x 12V batteries | |
| Weapons: Spikes and scorpion tail | |
| Notes: Go=-kart wheels, 2 wheel drive and 0.7mm steel shell | |
| From: Swadlincote in Derbyshire Team Members: David Barker, Matthew Barker & Ian Pritchard | |
| Wizard | Specifications |
|---|---|
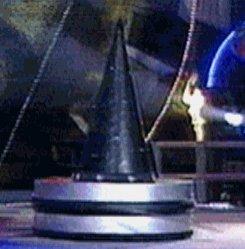 |
Weight: 79.4kg |
| Dimensions: 0.75 x 0.75 x 1.1m | |
| Speed: 15mph | |
| Turning Circle 0m | |
| Ground Clearance: 4mm | |
| Power: 2 x 12V batteries | |
| Weapons: Chain whips and 10mm drill bit | |
| Notes: Composite wood, metal and plastic chassis | |
| From: Kettering Team Members: Ozzie Boulter, Richard Johnson & Susan Darby | |
Veterans
| Cassius (Seeded 5th) | Specifications |
|---|---|
 |
Weight: 79.3kg |
| Dimensions: 1.45 x 0.84 x 0.35m | |
| Speed: 25mph | |
| Turning Circle 0m | |
| Ground Clearance: 0-110mm (Variable) | |
| Power: 2 x 12V batteries | |
| Weapons: 1.5 tonne gas powered ram | |
| Notes: Controlled with 2 microprocessors, weapon powered with CO2 | |
| From: Stowmarket Team Members: Rex Garrod, Simon West & Edward Bull | |
Gauntlet
| Left route: The Sentinel, two pits and Dead Metal.
Centre route: Spikes, static ramp, barrels, Sphere and Sir Killalot.
| ||||
|---|---|---|---|---|
| Ranking | Competing Robot | Report | Distance | |
| 1 | 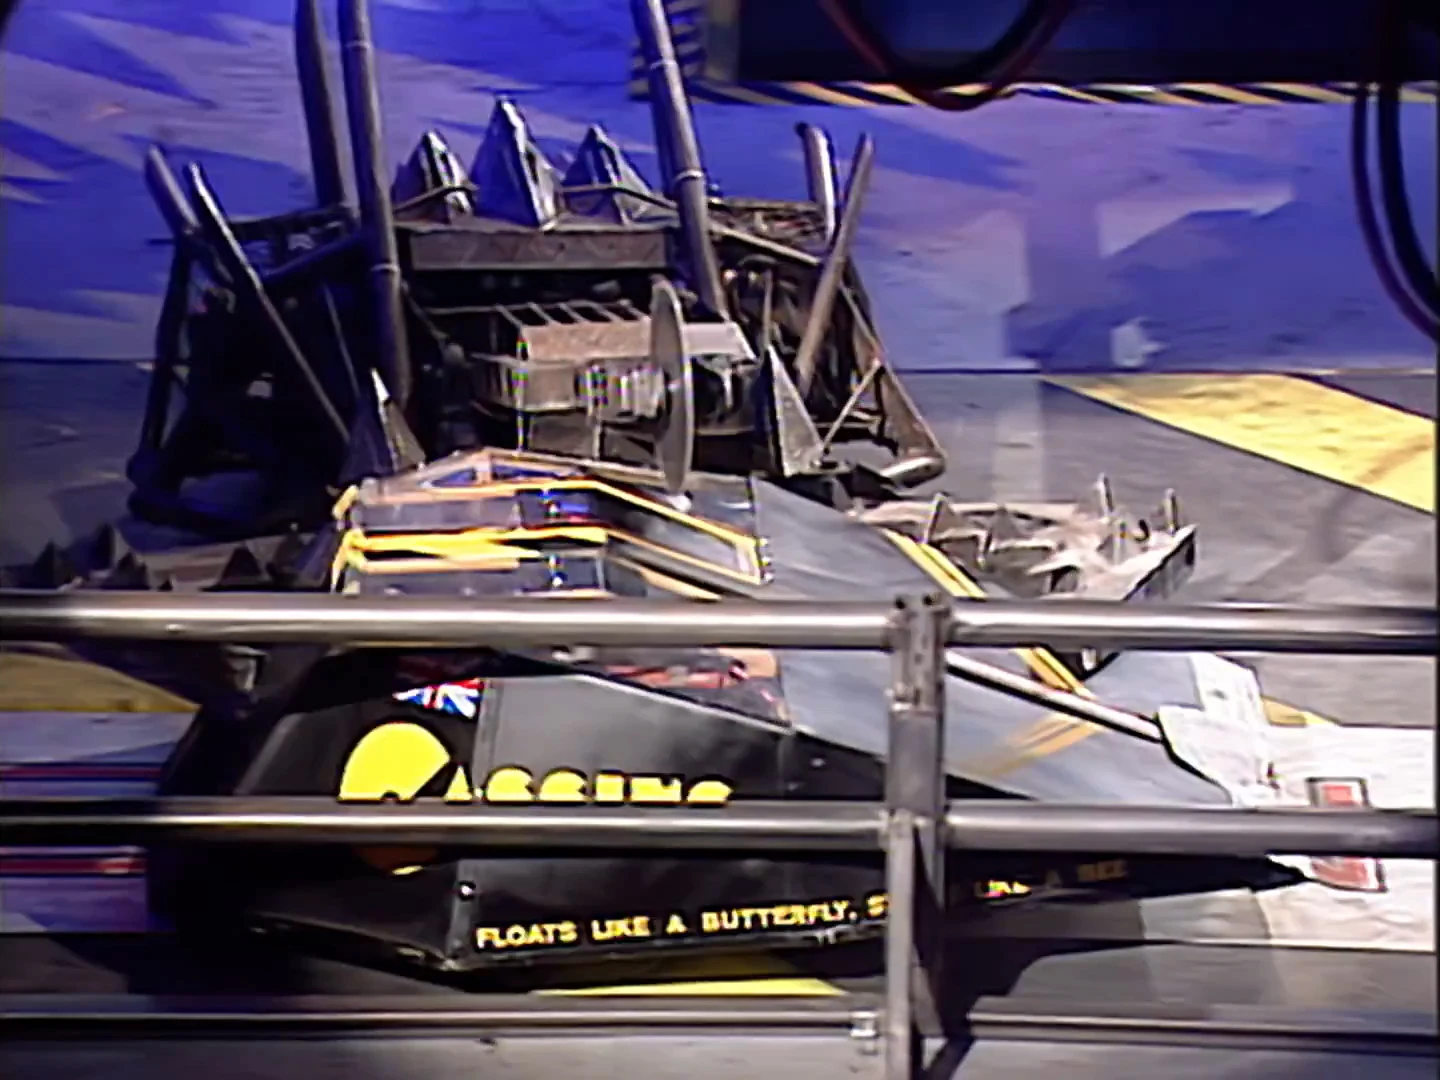 |
Cassius | Cassius' speed took it beyond The Sentinel and the lack of House Robots defending the course gave it a clear route to the finish. | Completed |
| 2 |  |
Loco | Loco sped past the Sentinel into Dead Metal's pincers and were pitted soon after. | 10.6m |
| 3 | 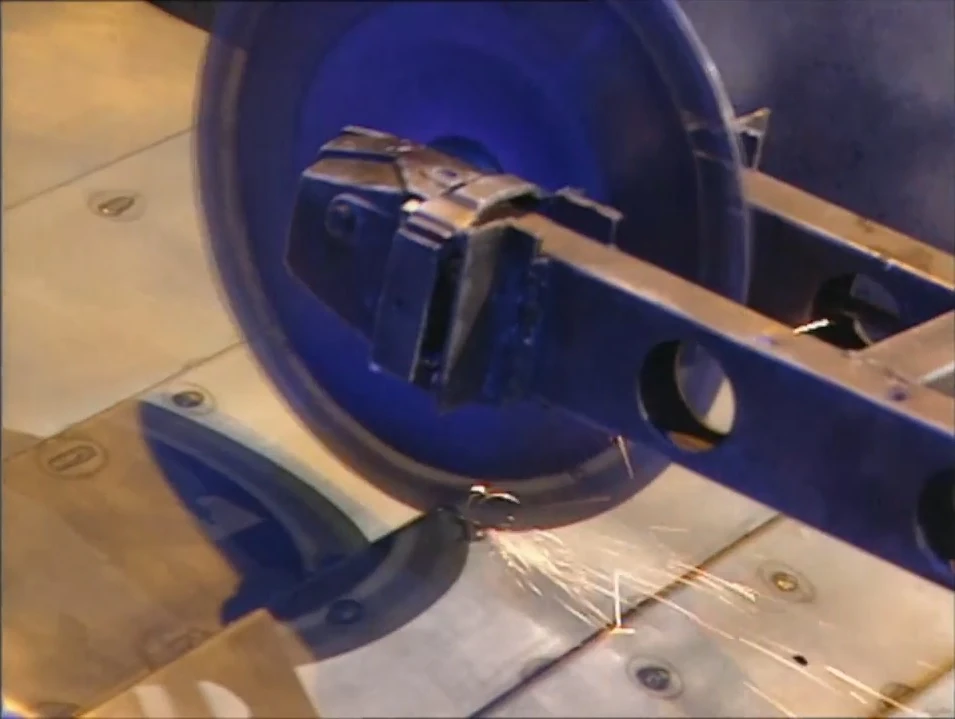 |
Sting | Its steady approach got Sting beyond The Sentinel but Dead Metal was blocking the route and used its saw to cause damage to Sting's outer shell before pitting it. | 10.5m |
| 4 | 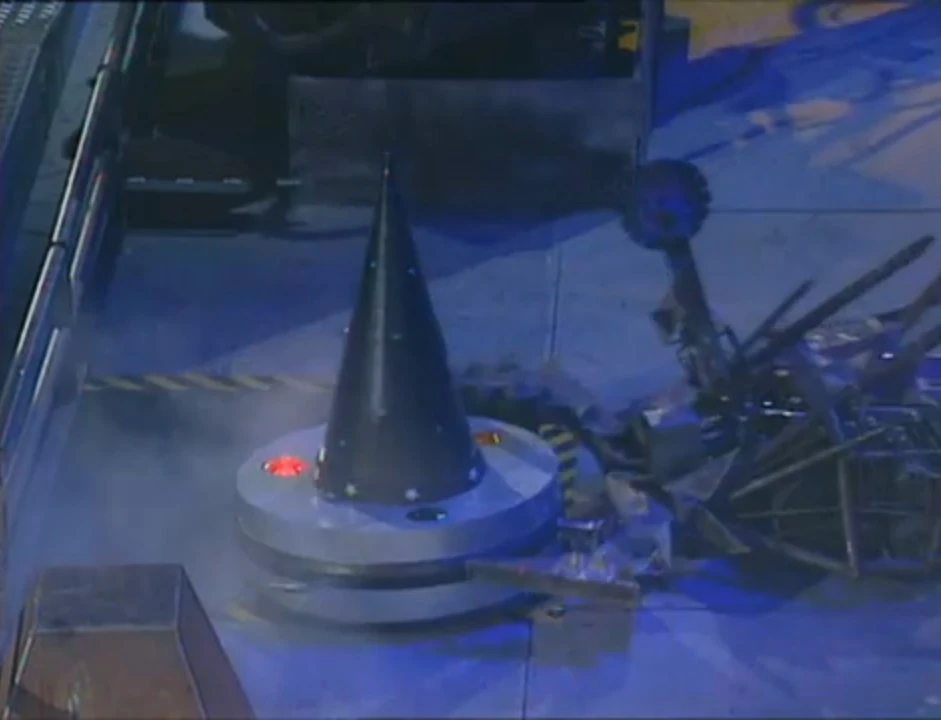 |
Wizard | Wizard approached The Sentinel route and (possibly due to its round shape making it difficult for the team to remember which way was the front) drove itself right next to the pit making it an easy job for Dead Metal to push it in and saw into the hat, which was sticking out of the pit due to Wizards height. | 5.4m |
| 5 | 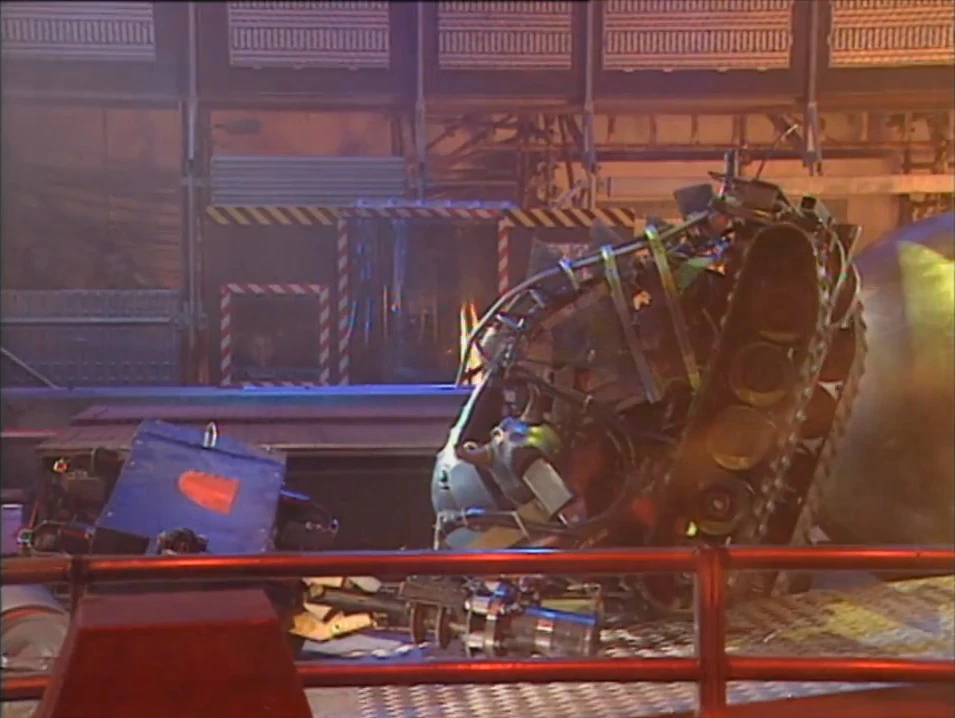 |
Groundhog | Groundhog had patented innovative wheels (later used by Razer) that had castors built into them meaning it had traction against the castors when driving forwards but could slip sideways easily. This didn't help it when they approached the ramp and its legs made it easy for Killalot to pick it up but then as it drove forward, Sir Killalot overbalanced and was dragged to the ground by Groundhog's weight, much to the enjoyment of the audience, the pits and the team (who admitted afterwards that it had been accidental). | 4.4m |
| 6 | 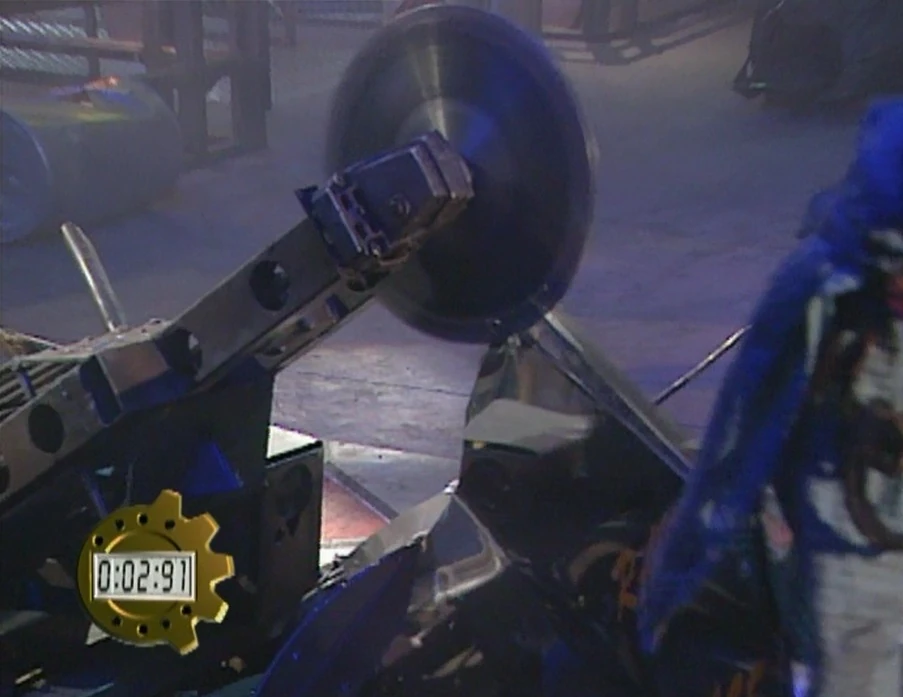 |
Rampage | It started to approach the Sentinel but before it could reach it a spike came up from the floor taking out one of Rampage's drives leaving it spinning in circles. Dead Metal cut into its scoop destroying the support for it. | 3.0m |
| Eliminated: Rampage | ||||
Trial (Football)

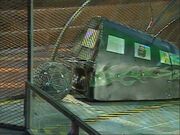
Loco scores

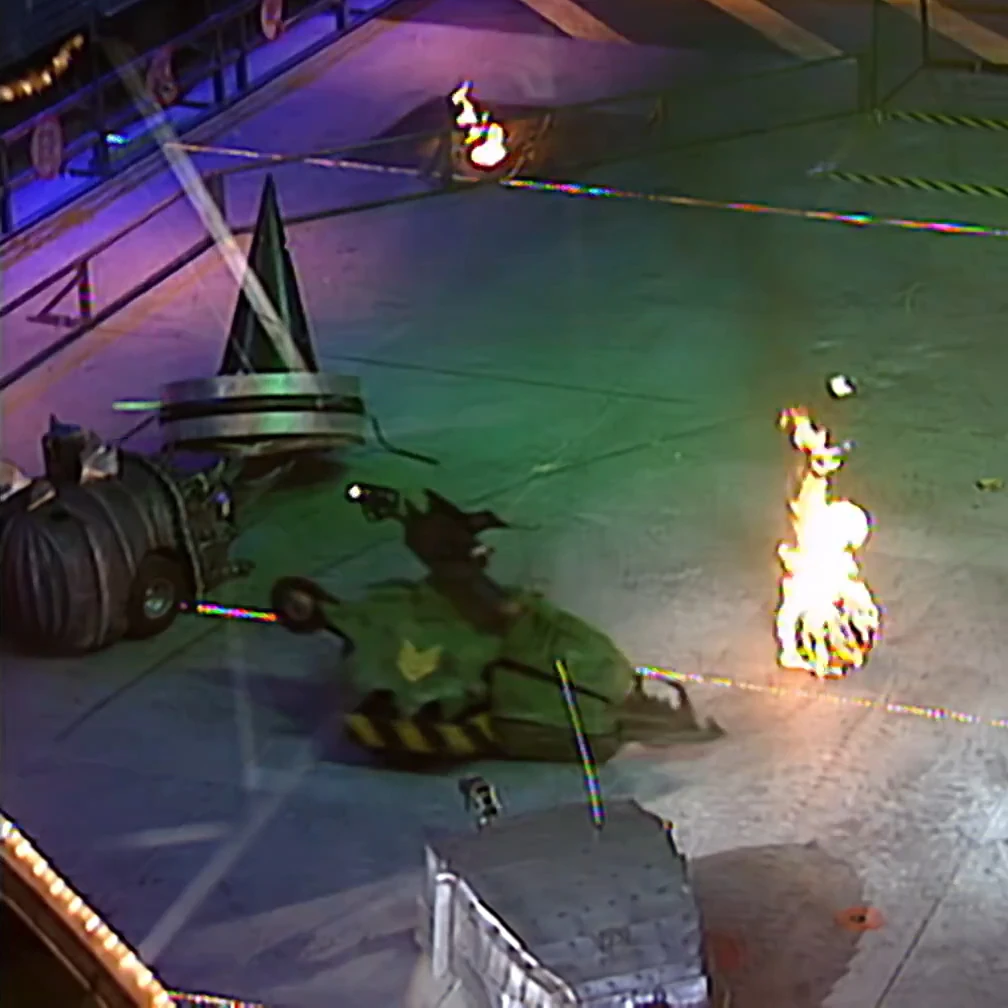
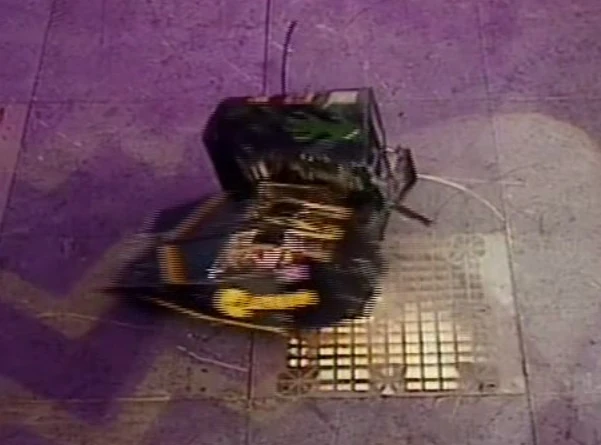
The football blazes, whilst Matilda flips Wizard in the background
1. Loco - 1st Goal - Groundhog's huge ground clearance, Wizards round shape and Cassius' wedge shape (with added scoop) made it difficult for these robots to get hold of the ball. Loco's flat front however was perfect for getting hold of the ball and it swept through all opposition to take the first goal.
2. Cassius - 2nd Goal - Cassius got to the ball quickly and spent a long time getting the ball from one side of the arena towards the goal with Matilda blocking it. Sting had been immobilised and with Wizard and Groundhog also nowhere to be seen it was only a matter of time before Cassius took the second goal.
3. Groundhog - Still Active - After trying to score while the ball was set alight, Matilda flipped it over. It had been active enough in the early stages to qualify for the arena.
4. Wizard - Still Active - After being attacked by the house robots, it was still deemed to be more active than Sting, so The Wizard made the heat semi-final.
5. Sting - Sting was still immobile at the side of the arena. Wizard was victimised by the House Robots, in the midst of this Sgt. Bash set the ball alight. With Sting out of the round and Wizard seemingly immobile as a result of the attack by the House Robots, Groundhog made a move on the burning ball but it was flipped over into the side wall by Matilda. As Groundhog was still active and Wizard had only been immobilised in the final round they went through as Sting had been immobilised for much longer.
Eliminated: Sting
Arena
Semi-Finals


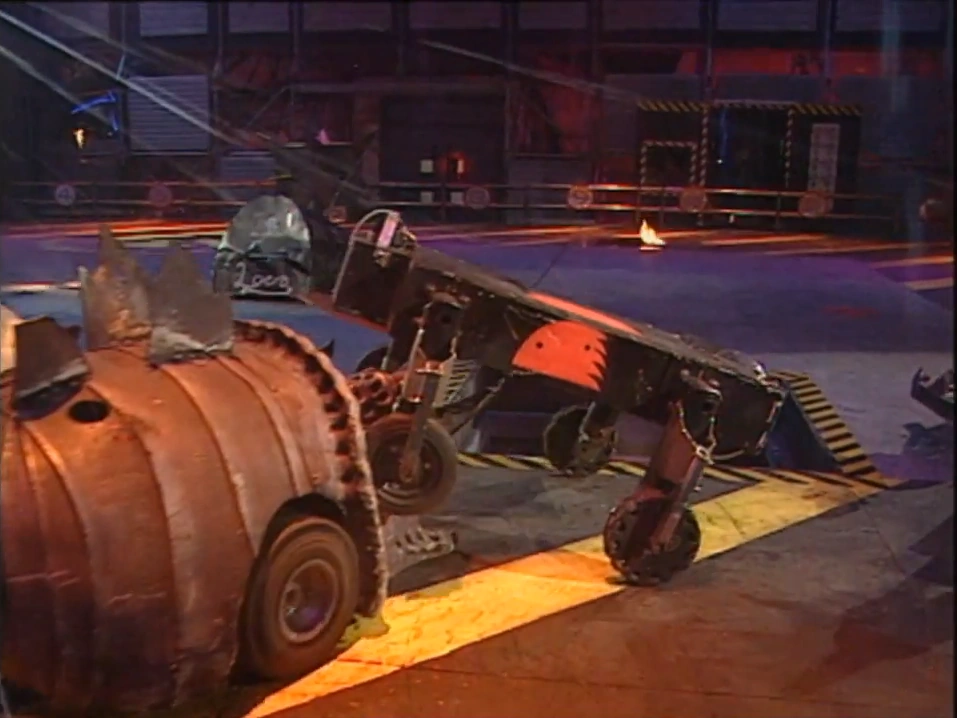
Loco spears Groundhog

Matilda pushed Groundhog in to the pit
Loco vs. Groundhog
Loco got to the side of Groundhog and pushed it into Shunt and the PPZ (Groundhog's wheels ironically working against them in this instance). Groundhog could only drive further into the PPZ and was soon stuck between Shunt and Sir Killalot. Whilst Groundhog was trying to attack Sir Killalot, Dead Metal came in and attacked it with its saw. Matilda then lifted Groundhog up, and dropped it in the Pit of Oblivion.
Winner: Loco
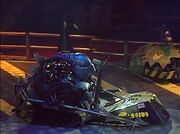
Cassius attempts to flip Sir Killalot
Wizard vs. Cassius (5)
Cassius started by driving straight under Dead Metal, before shoving Wizard into the PPZ between Dead Metal and Sgt.Bash. While they attacked Wizard, Sir Killalot mounted Cassius, but it was not able to flip the House Robot. By now Wizard had been immobilized, and Cassius continued to attack Sir Killalot. Cease was then called.
Winner: Cassius
Final
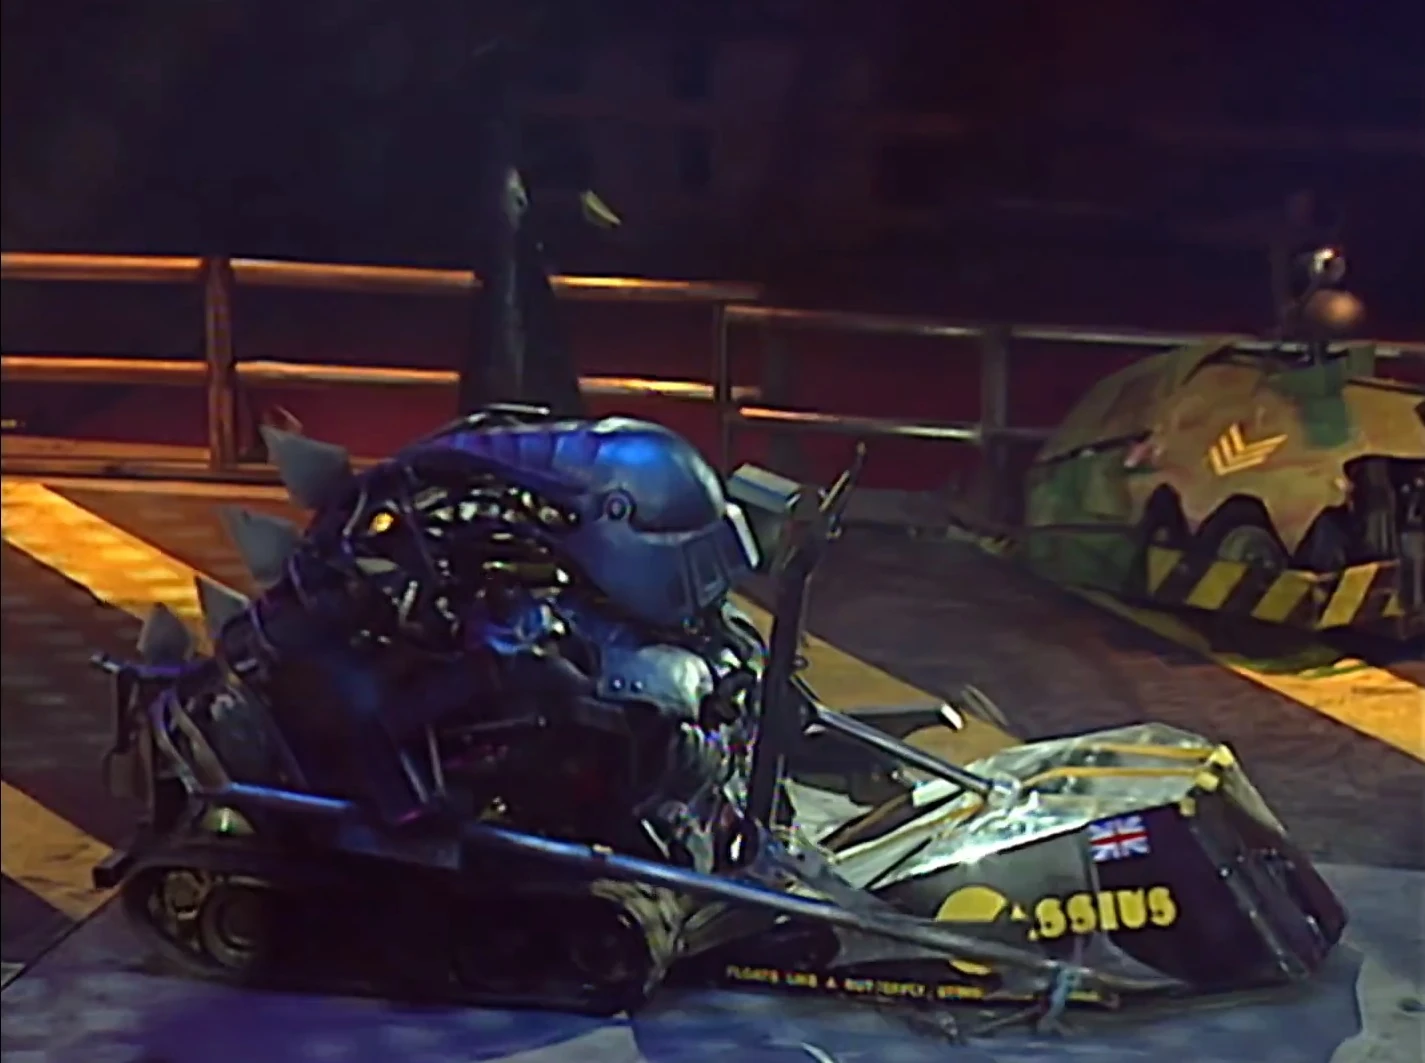
Cassius flips Loco
Loco vs. Cassius (5)
Loco's large ground clearance put it at a disadvantage right from the start. It nevertheless launched an attack on Cassius but was pushed away. As it came in for another attack Cassius slipped under it and flipped it on its side. Cassius proceeded to flip Matilda and attempt an (unsuccessful) assault on Dead Metal before being pushed into the pit by Bash.
Heat Winner: Cassius
| |||||||||||||||||||||||