- "Life is full of little aggravations: tourists who ask the way to Lei-cester square, open toed sandals with white socks, David Hasselhoff! And over the course of the week, these aggravations grow and grow until you're saying to yourself, “the next person that pokes me in the eye will get it shoved....” All right, I’ll calm down! Some people turn to therapy, some people turn to jelly, some people turn to robotic fighting machines and fight it out on Robot Wars. But they don’t just vent anger, they vent fumes."
- — Craig Charles' introduction
Heat I of Robot Wars: The Second Wars was the ninth of twelve heats which determined the Semi-Finalists of Robot Wars: The Second Wars. The episode featuring Heat I was originally broadcast on January 15, 1999 on BBC Two. The broadcast managed to attract 5.58 million viewers, a decrease of 360,000 viewers when compared with the previous episode. According to BARB, this meant it ranked second in the top thirty highest rated BBC 2 broadcasts during 11-17 January, behind only Gimme Gimme Gimme.
A behind-the-scenes spin-off episode was also broadcast on Robot Wars Revealed on BBC Choice.
Competing robots
Newcomers
 | ||
|---|---|---|
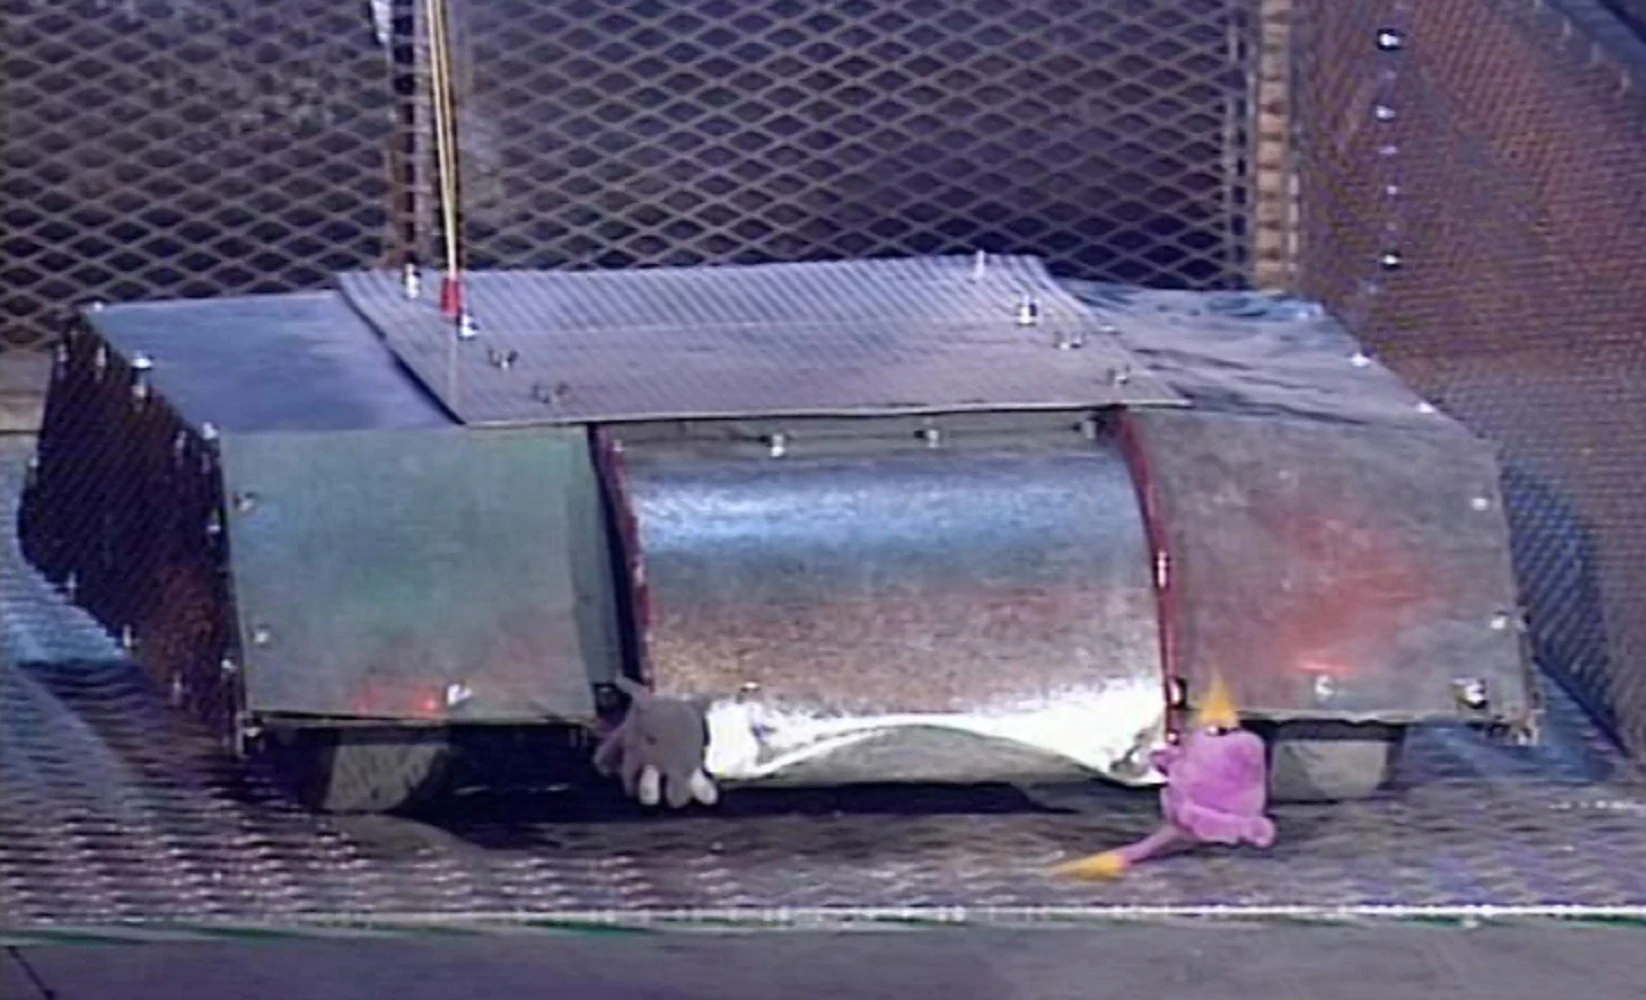
| All Torque | ||
| Weight | 77.8kg | |
| Dimensions | 1.4 x 0.92 x 0.4m | |
| Speed | 20mph | |
| Turning Circle | 0m | |
| Ground Clearance | 505mm | |
| Power | 2 x 12V batteries | |
| Weapons | 2 grinding wheels and spikes | |
| Notes | Body made from galvanised steel, mesh and aluminium | |
| From: Edinburgh | ||
| Team Members: Martyn Sloss, Richie McBride & Robin Iddon | ||
 | ||
|---|---|---|
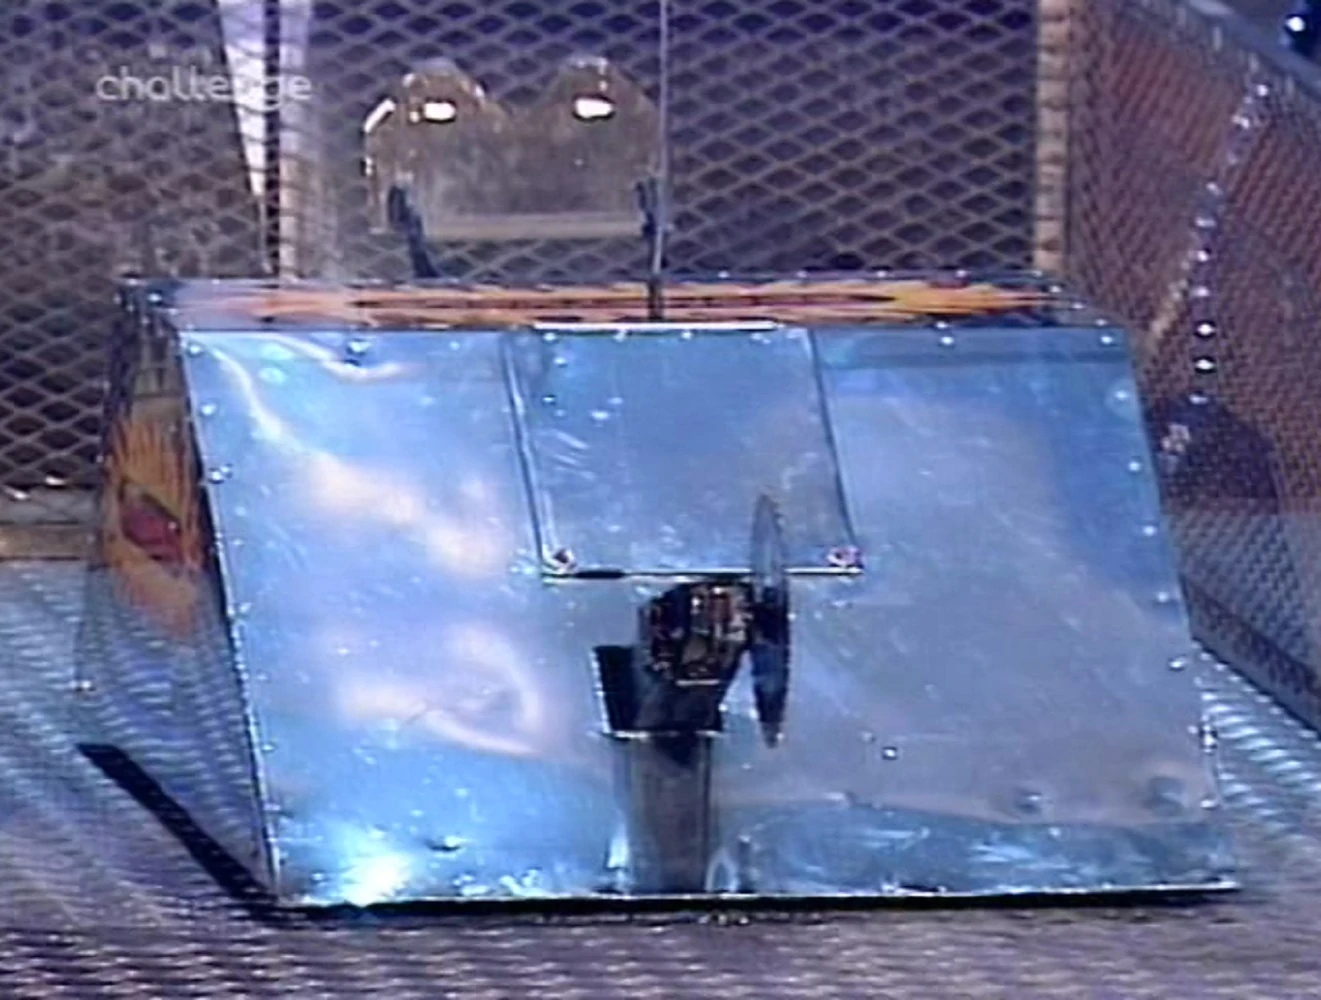
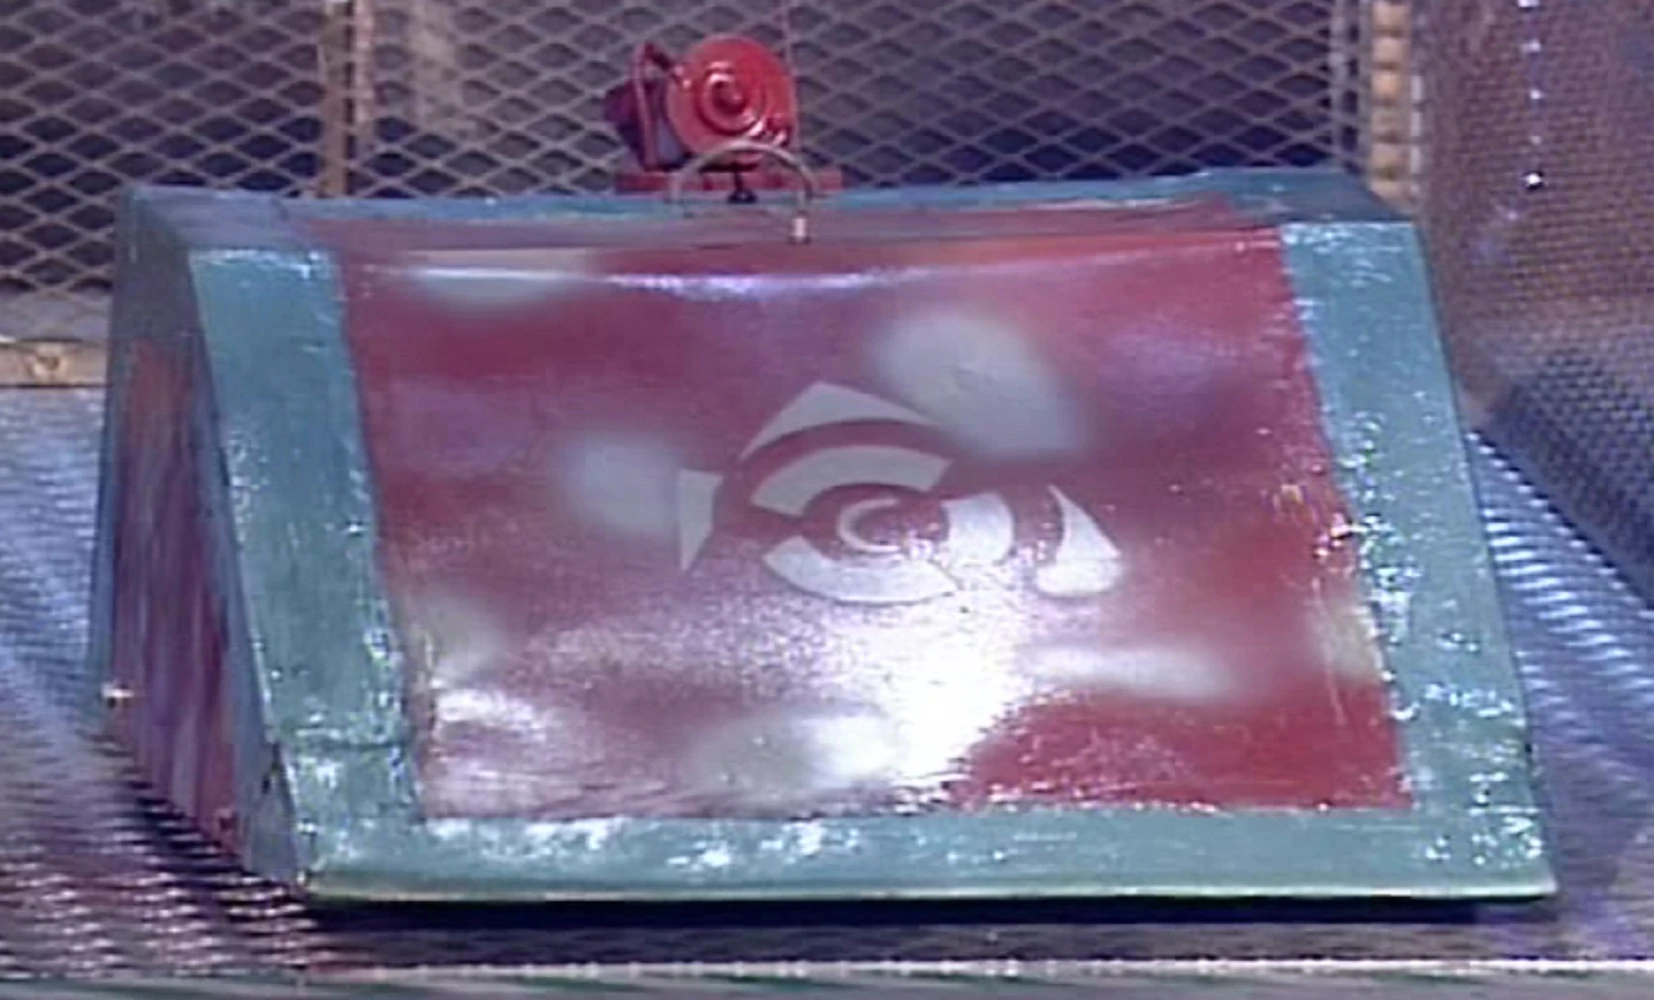
| King Buxton | ||
| Weight | 78.0kg | |
| Dimensions | 0.9 x 0.85 x 0.27m | |
| Speed | 18mph | |
| Turning Circle | 0m | |
| Ground Clearance | 50mm | |
| Power | 2 x 12V batteries | |
| Weapons | Moveable titanium spikes | |
| Notes | 3mm aluminium shell and four wheel drive | |
| From: Hornchurch in Essex | ||
| Team Members: Simon Harrison, Steve Monk & Phil Brett | ||
 | ||
|---|---|---|
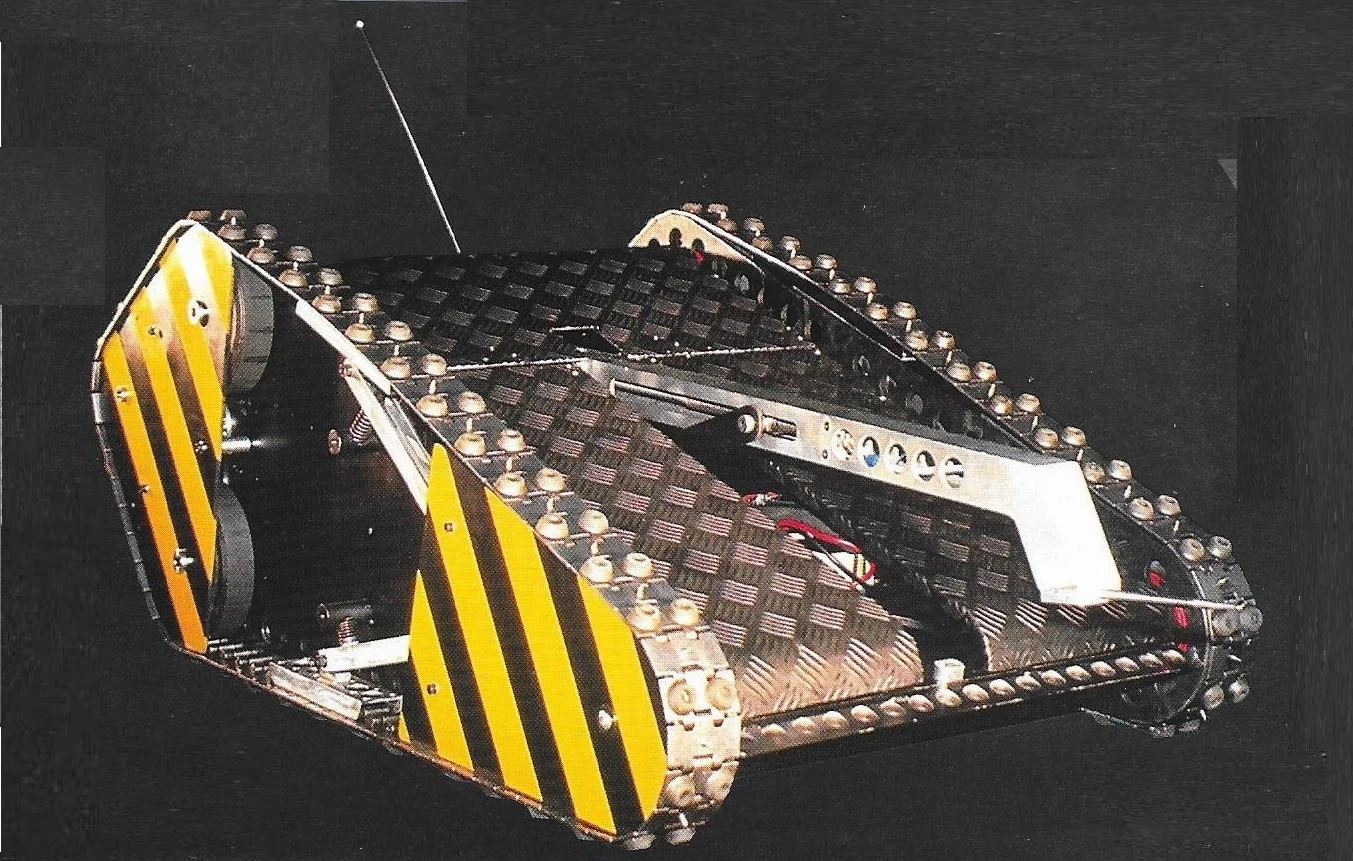
| Prometheus | ||
| Weight | 73.6kg | |
| Dimensions | 1.2 x 0.7 x 0.36m | |
| Speed | 15mph | |
| Turning Circle | 0.5m | |
| Ground Clearance | 5-25mm | |
| Power | 2 x 12V batteries | |
| Weapons | Angle grinder and forklift | |
| Notes | Motors salvaged from 4 different cars in a scrapyard | |
| From: Beverley in Yorkshire | ||
| Team Members: Nigel Sealey & Sarah Burton | ||
 | ||
|---|---|---|
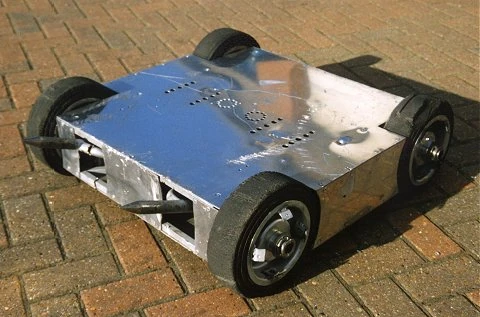
| Robo Doc | ||
| Weight | 79.9kg | |
| Dimensions | 1.0 x 0.78 x 0.54m | |
| Speed | 15mph | |
| Turning Circle | 0m | |
| Ground Clearance | 50mm | |
| Power | 2 x 12V batteries | |
| Weapons | 70kg lifting arm | |
| Notes | Robo Doc took 4 months to build at a cost of £1000 | |
| From: Rushden in Northamptonshire | ||
| Team Members: Mike Franklin, Jason Smith & Paul Johnson | ||
 | ||
|---|---|---|
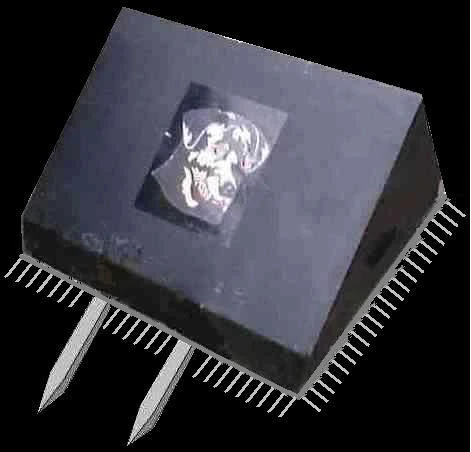
| Rottweiler | ||
| Weight | 79.8kg | |
| Dimensions | 1.24 x 1.65 x 0.68m | |
| Speed | 10mph | |
| Turning Circle | 0m | |
| Ground Clearance | 50mm | |
| Power | 1 x 12V battery | |
| Weapons | Hardened steel spikes | |
| Notes | Driven by 2 x 24V wheelchair motors running at 5000rpm | |
| From: Torquay | ||
| Team Members: Dominic Rott, Werner Rott & Bill Blakey | ||
Veterans
 | ||
|---|---|---|
| Cruella | ||
| Weight | 78.9kg | |
| Dimensions | 1.1 x 0.7 x 0.3m | |
| Speed | 15mph | |
| Turning Circle | 0m | |
| Ground Clearance | 12mm | |
| Power | 1 x 12V battery | |
| Weapons | 6" circular saw | |
| Notes | Sinclair C5 motors. Weapon powered by Ford Granada wiper motor | |
| From: University of East London | ||
| Team Members: Philip Martin & Michelle Wheeley | ||
Gauntlet
| Left route: The Sentinel, Sir Killalot and two pits.
Centre route: Spikes, static ramp, barrels, Sphere and Matilda.
| ||||
|---|---|---|---|---|
| Ranking | Competing Robot | Report | Distance | |
| 1 | 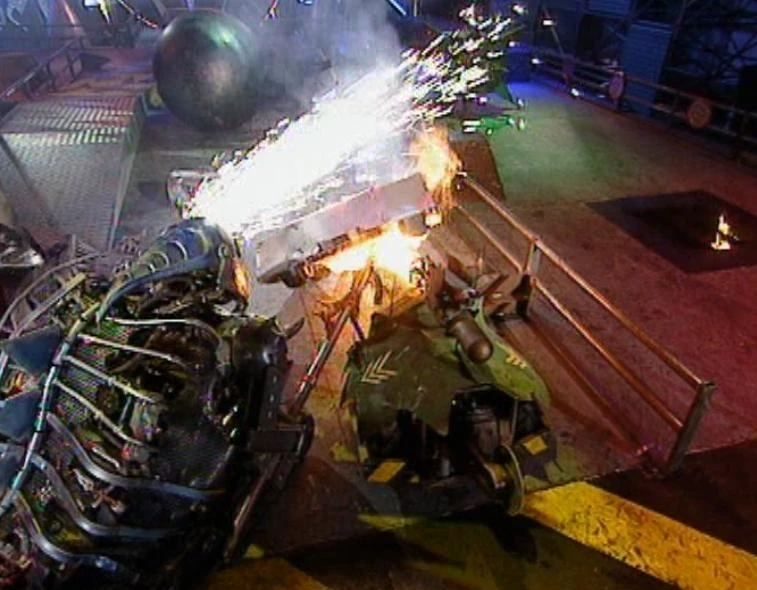 |
All Torque | All Torque's target was the ramp route, as it smoothly got on to the ramp. It made a powerful charge as it burst through the barrels, but became beached on one as it stopped next to Matilda. She pinned All Torque down until Sir Killalot and Sergeant Bash closed in, as Bash fired a lick of flame on it. Buffeted by Matilda, she then used her spark gun on All Torque. Sir Killalot lifted it into the air, as Sergeant Bash charred the underbelly of it. All Torque started smoking, however it reversed and made another charge, but was blocked by Killalot. Matilda lifted it up in the last seconds, as it was revealed that All Torque was on fire. Nonetheless, All Torque came top of the leaderboard. | 11.2m |
| 2 | 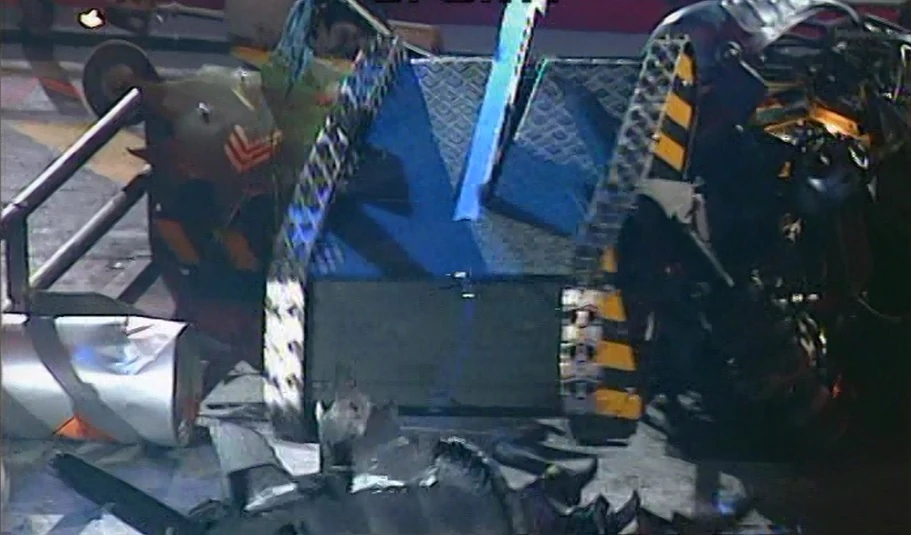 |
Robo Doc | Robo Doc started its run by darting towards the ramp route, lifted by Matilda momentarily, but quickly got on the ramp. It battered the barrels down, then ended its run on the ramp early to avoid Killalot. Unfortunately, Sergeant Bash was one step ahead as he blocked the tank-like robot. It turned away, only to be blocked by Sir Killalot, and then torched by Bash. Matilda closed in also, attempting to use her chainsaw. Pinned by the three, Robo Doc was repeatedly flamed by Sergeant Bash. Sir Killalot grappled Robo Doc and lifted it up, then Sergeant Bash shockingly torched Robo Doc and Sir Killalot, causing the latter to catch fire. As cease was called, Robo Doc had made a reasonable run. | 10.9m |
| 3 |  |
King Buxton | King Buxton turned towards the ram rig route, shaking erratically, seeming to have control problems as it momentarily went back to the start. It reversed towards the spikes, narrowly avoiding them. King Buxton went up the ramp, but fell off halfway. Ramming one of the tank traps, it reversed away and charged at the sphere, only to be blocked by Matilda. The sphere rolled away, as King Buxton reversed for another charge. It got past Matilda, but Sir Killalot caught it and lifted it up. Dropping down, Sergeant Bash torched it, then Killalot pinned it down with his lance. Matilda rammed it from behind, while Bash continued to burn it. King Buxton made no further progress, battered by Killalot and Matilda until cease was called. | 10.6m |
| 4 | 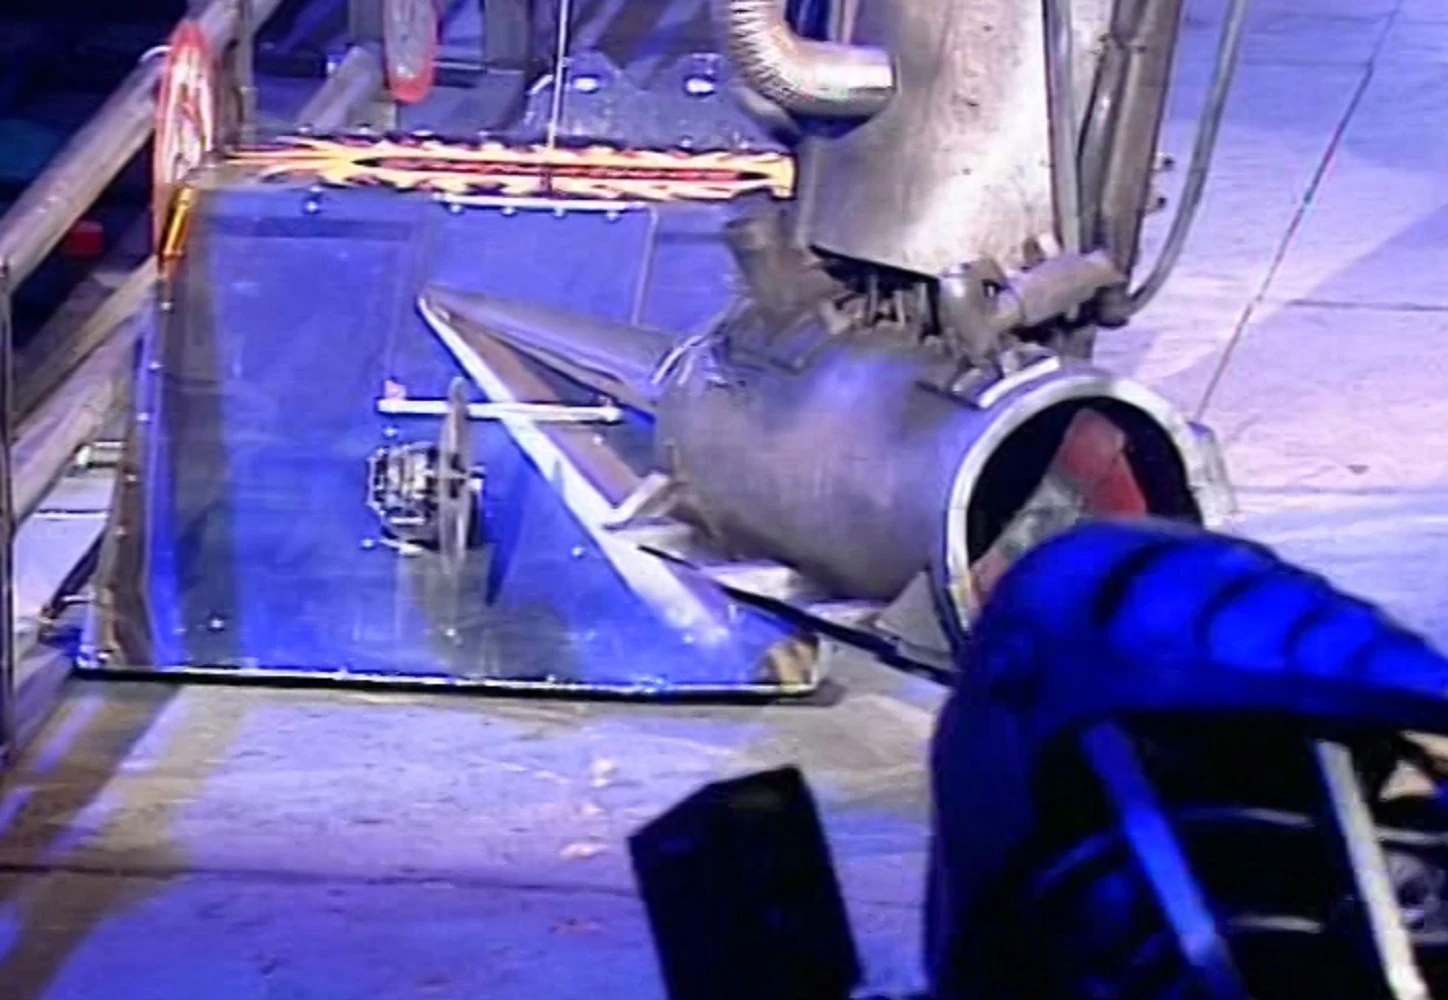 |
Prometheus | Prometheus started well, moving towards the ramp and going up it. It appeared to be stuck for a few seconds, but reversed away. It reversed off the ramp altogether afterwards, then went to The Sentinel's route. It made a good burst of speed and covered a large area of the gauntlet, but was blocked by The Sentinel. The spike on it pierced through Prometheus' armour, then Killalot closed in. It was shunted backwards, but managed to push back against Killalot. It was forced back quickly though, then lifted. In the dying seconds Prometheus was almost pitted, but just avoided that fate until the end. | 6.8m |
| 5 | 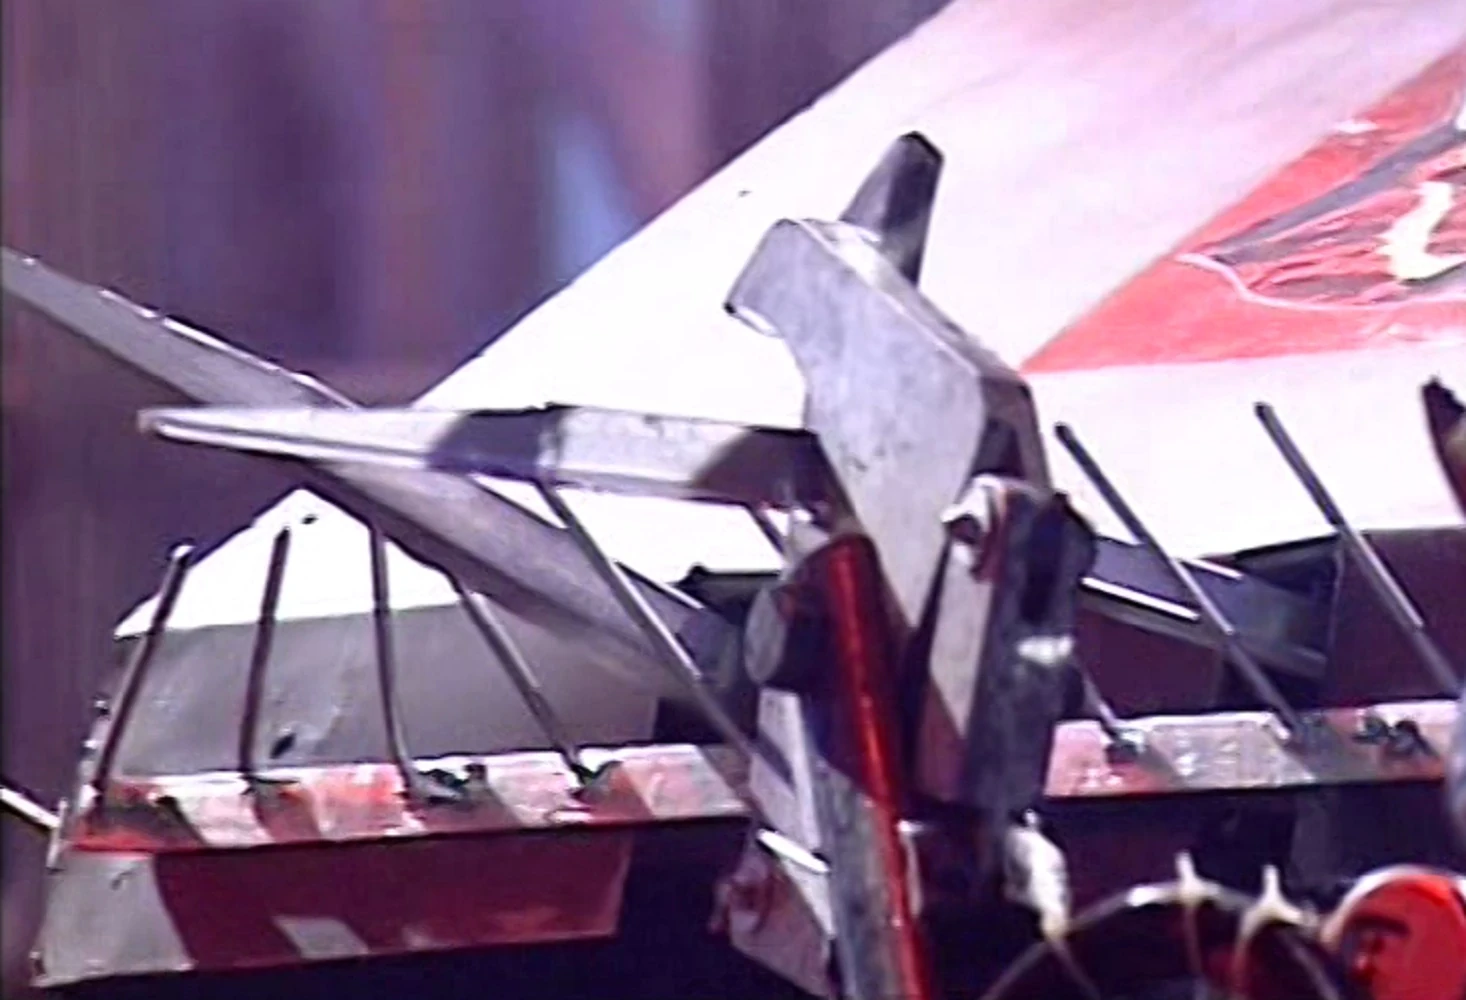 |
Rottweiler | Rottweiler started quickly, but appeared to have some control problems as it spun around on the spot whilst trying to go over the ramp. The house robots then came in and Sergeant Bash cut into Rottweiler's armour, Matilda then tried to flip Rottweiler, but it fell off the ramp and became stuck, sparing Rottweiler from damage until Sir Killalot cut one of Rottweiler's spikes off. | 3.5m |
| 6 | 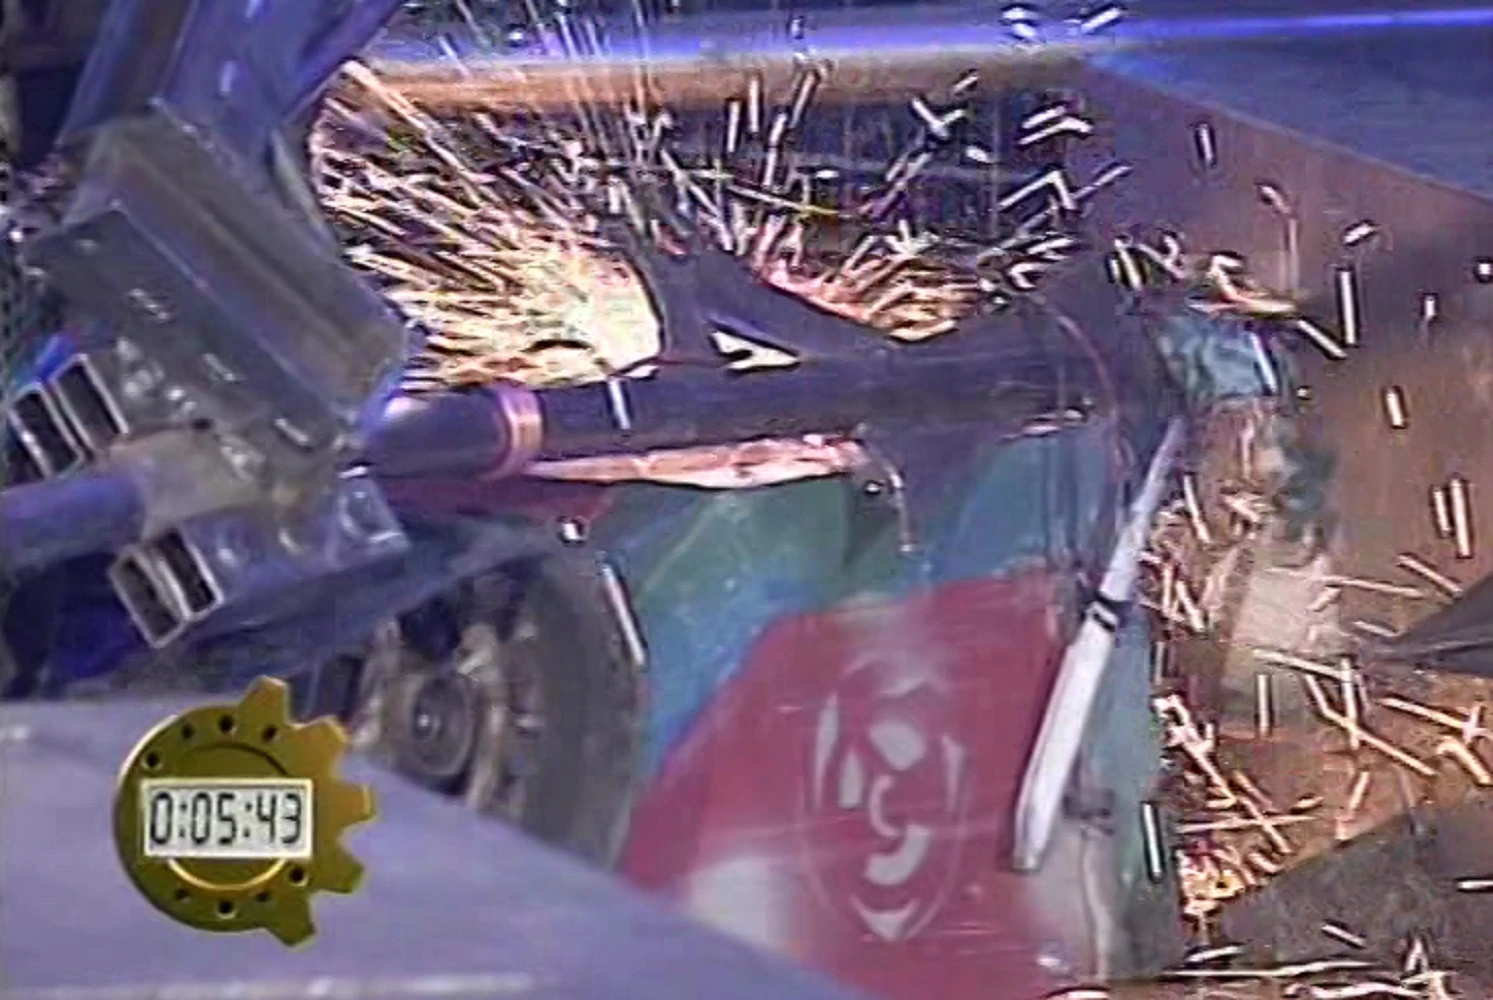 |
Cruella | Cruella decided to go for the ram rig route, hitting it on its way there, but reversed to take a run at it. However, it became stuck on the ram rig once, then turned, but got stuck again. Sergeant Bash rammed and flamed it, freeing Cruella. Because Sergeant Bash was now blocking that route, it reversed away and slammed into a wall backwards. It turned to the ramp route, but turned away as Matilda sliced into Cruella with her chainsaw. It spun madly, as Sir Killalot closed in. Killalot pushed it against the saws in the ram rig route and trampled its wedge. Cruella was pinned for the rest of the run, putting it last on the leaderboard.
|
1.9m |
| Eliminated: Cruella | ||||
Trial (Joust)
|
Competing order: 1. King Buxton 2. Robo Doc 3. All Torque 4. Prometheus 5. Rottweiler | ||||
|---|---|---|---|---|
| Ranking | Competing Robot | Report | Result | |
| 1 | 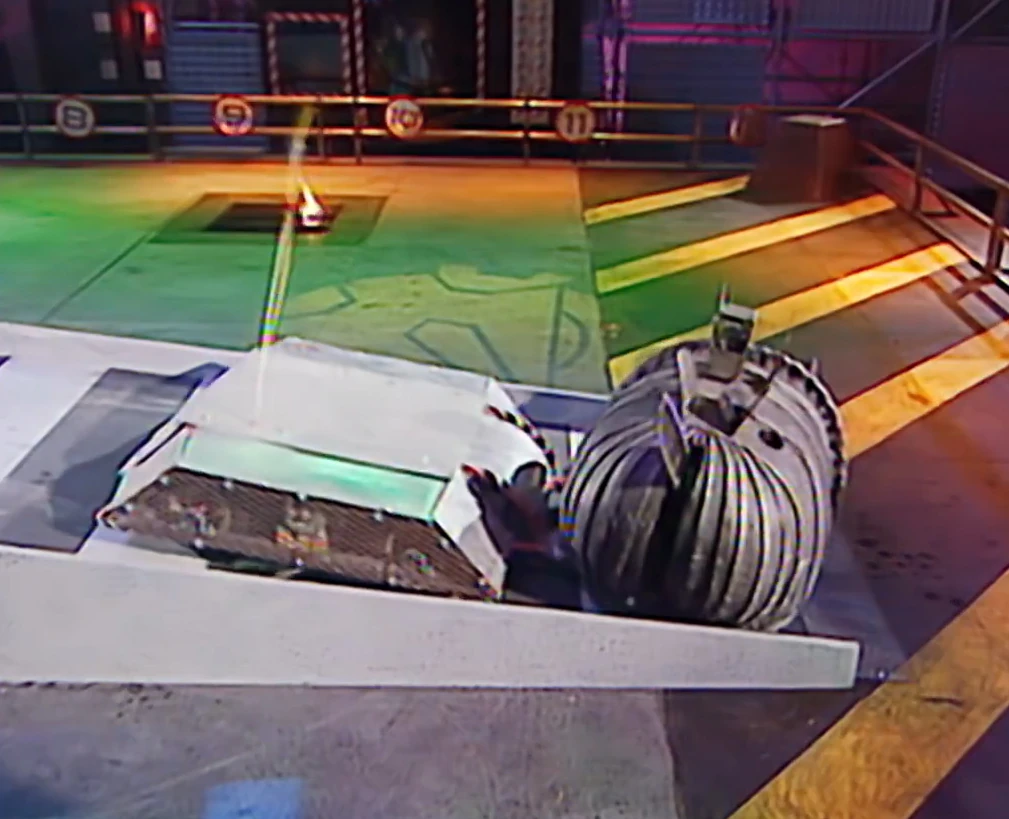 |
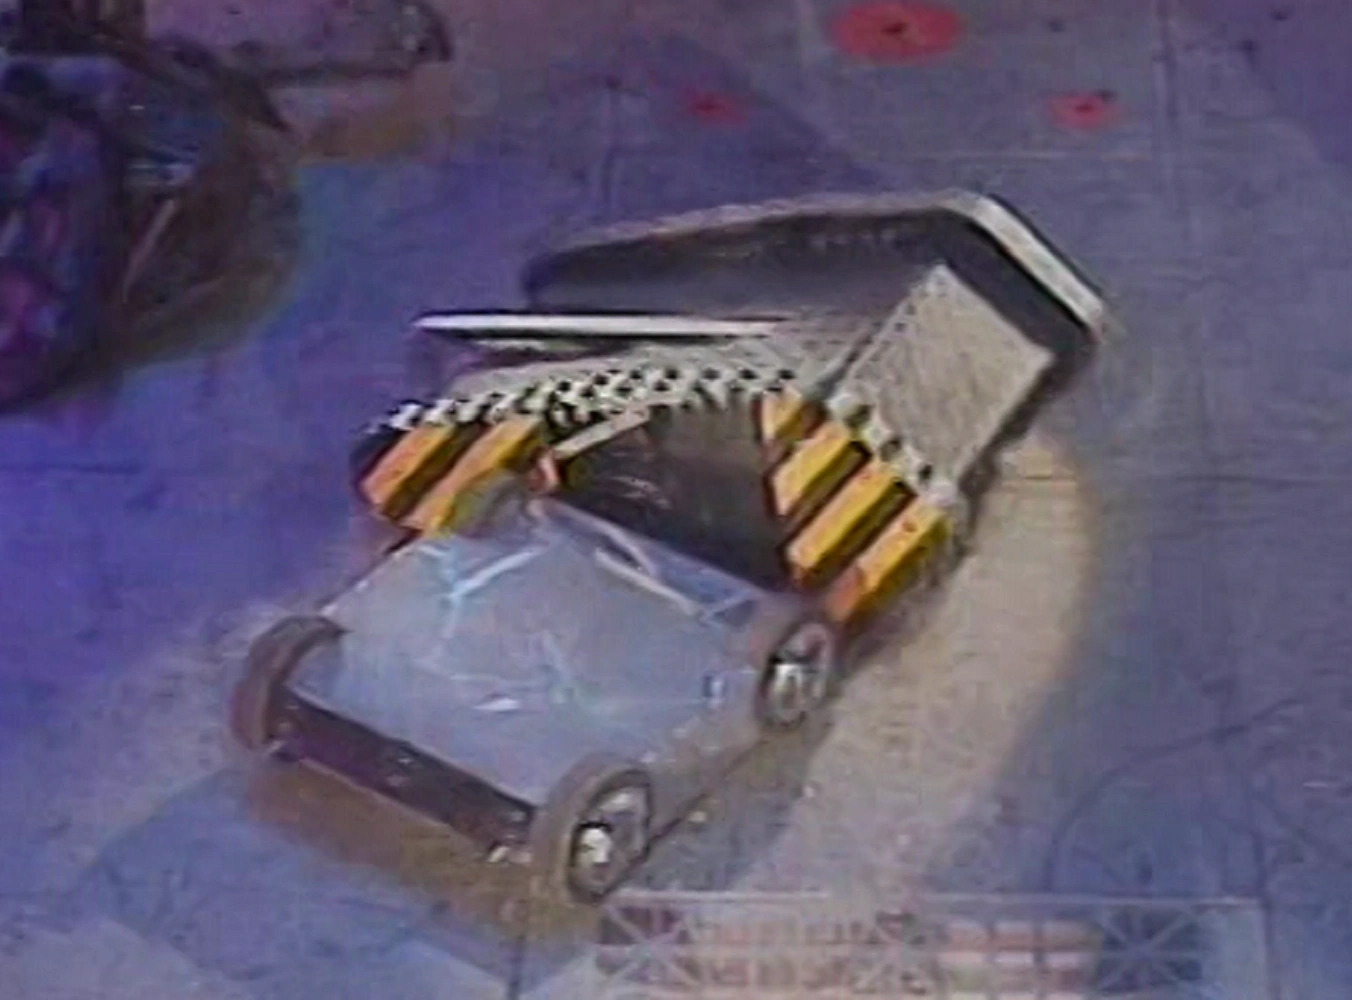
All Torque | It gained full momentum and smashed into Matilda, following this up with a series of rams to push Matilda off the Joust and complete the trial in the best distance. | 13.6m |
| 2 | 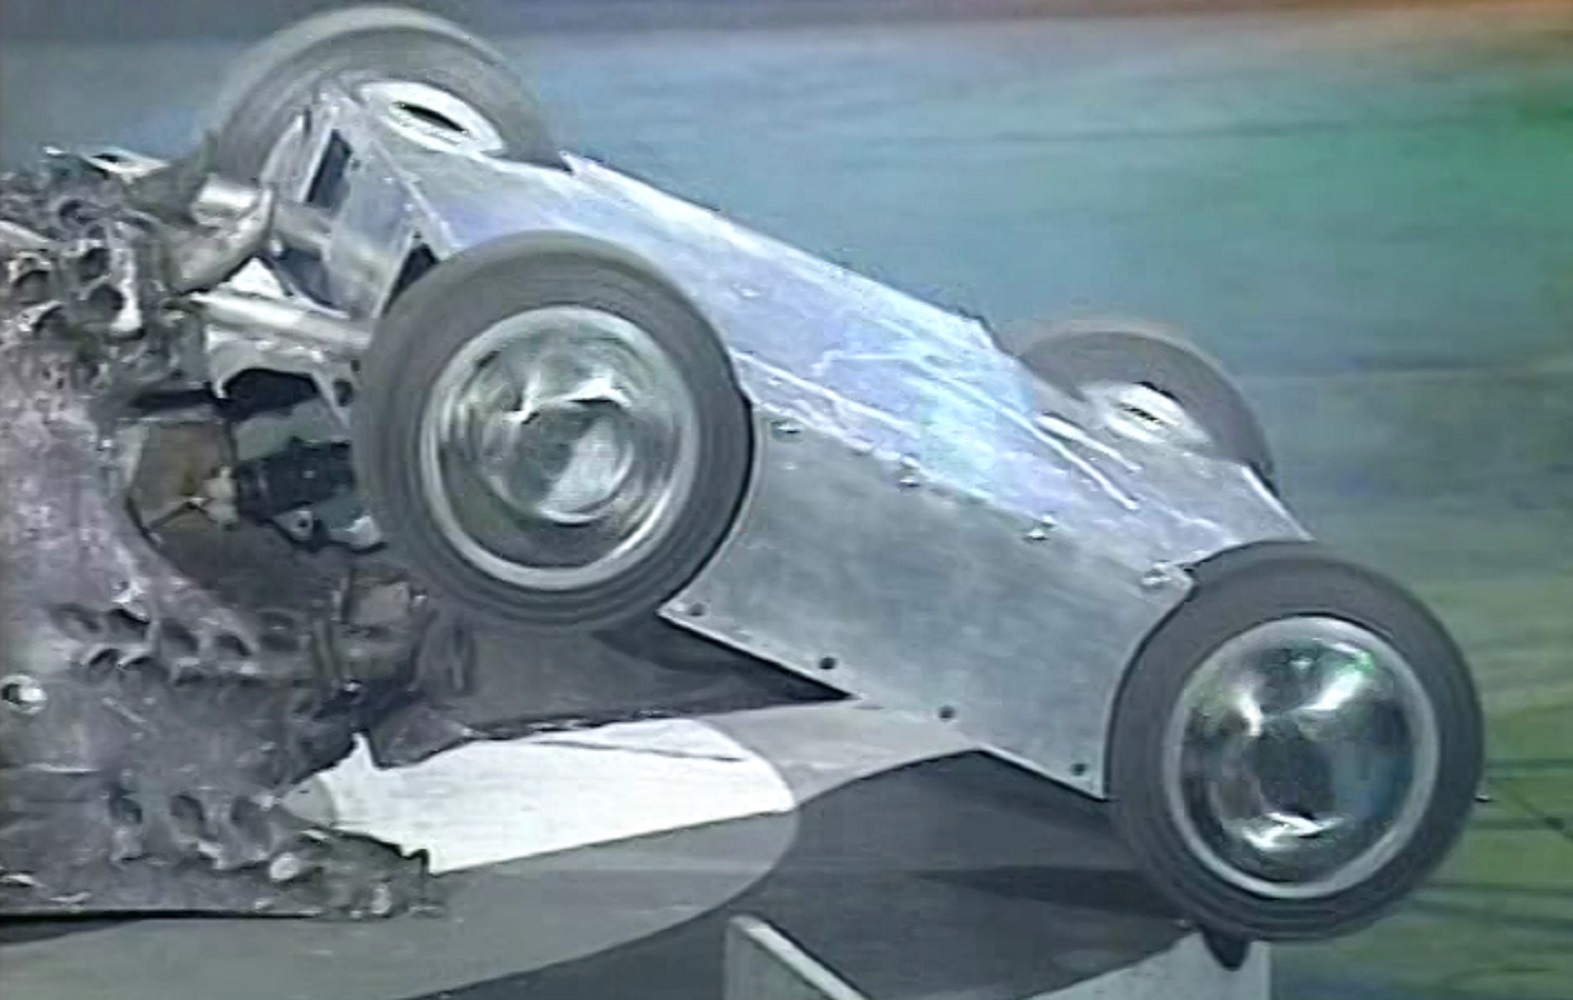 |
King Buxton | King Buxton became momentarily beached on the side of the ramp up to the platform, but recovered and slammed into Matilda, driving up on her face. Using her spark gun, she created a giant amount of smoke, then finished off King Buxton, nudging it off of the platform. | 6.95m |
| 3 | 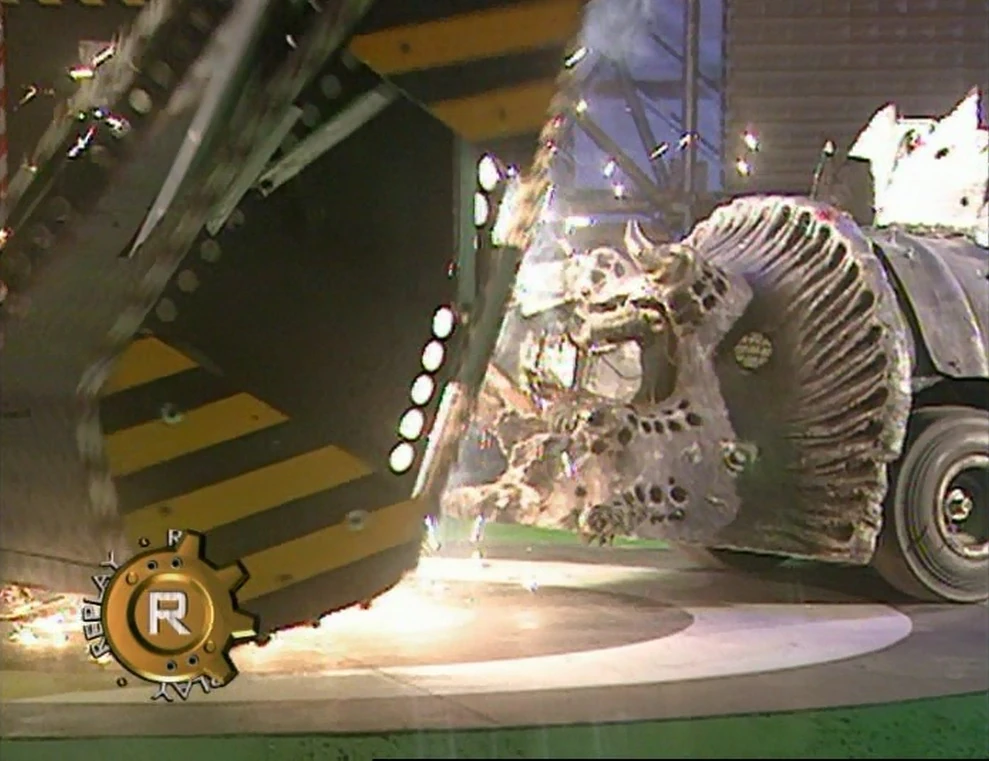 |
Robo Doc | Just as King Buxton had before it, Robo Doc drove onto Matilda's forks. However, Robo Doc fell onto its back, and slammed into reverse, putting the large side of its wedge against Matilda and pushing. This succeeded in raising Matilda's wheels off the ground, and Robo Doc held on to the end. | 6.1m |
| 4 |  |
Prometheus | Here, Prometheus suffered from a lack of power and like in the Gauntlet, could not climb the ramp. Matilda then pushed Prometheus back and almost to the starting gate, meaning Prometheus had gone back 2.1 metres. | -2.1m |
| 5 | 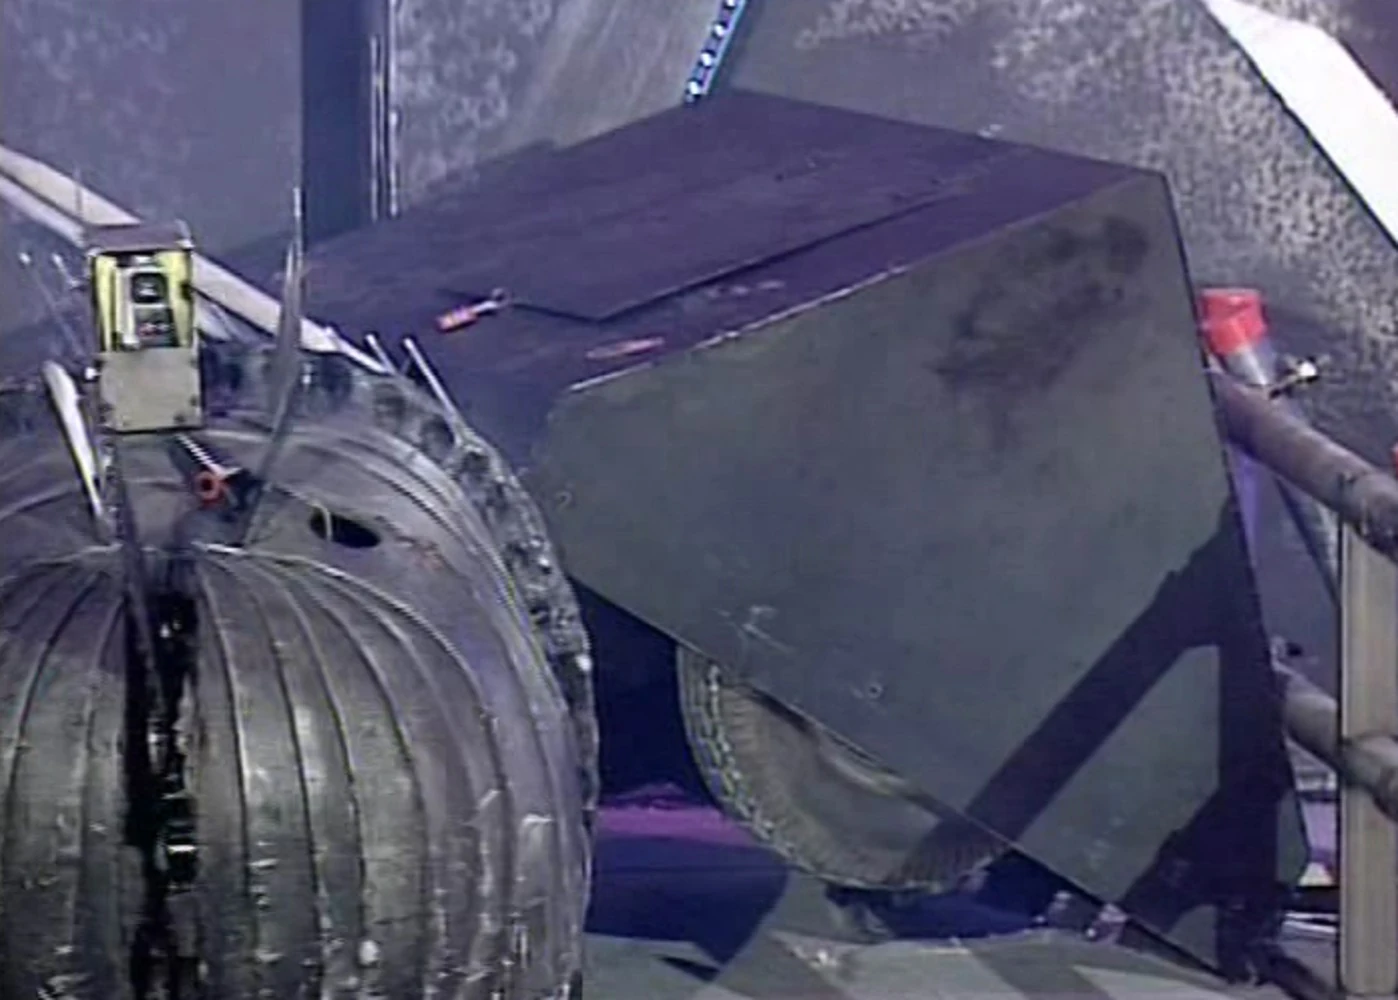 |
Rottweiler | After Prometheus' bad run, all Rottweiler had to do was go forward, but instead it went sideways and Matilda simply pushed Rottweiler back into the entrance door and Rottweiler was eliminated. | -2.8m |
| Eliminated: Rottweiler | ||||
Arena
Semi Finals
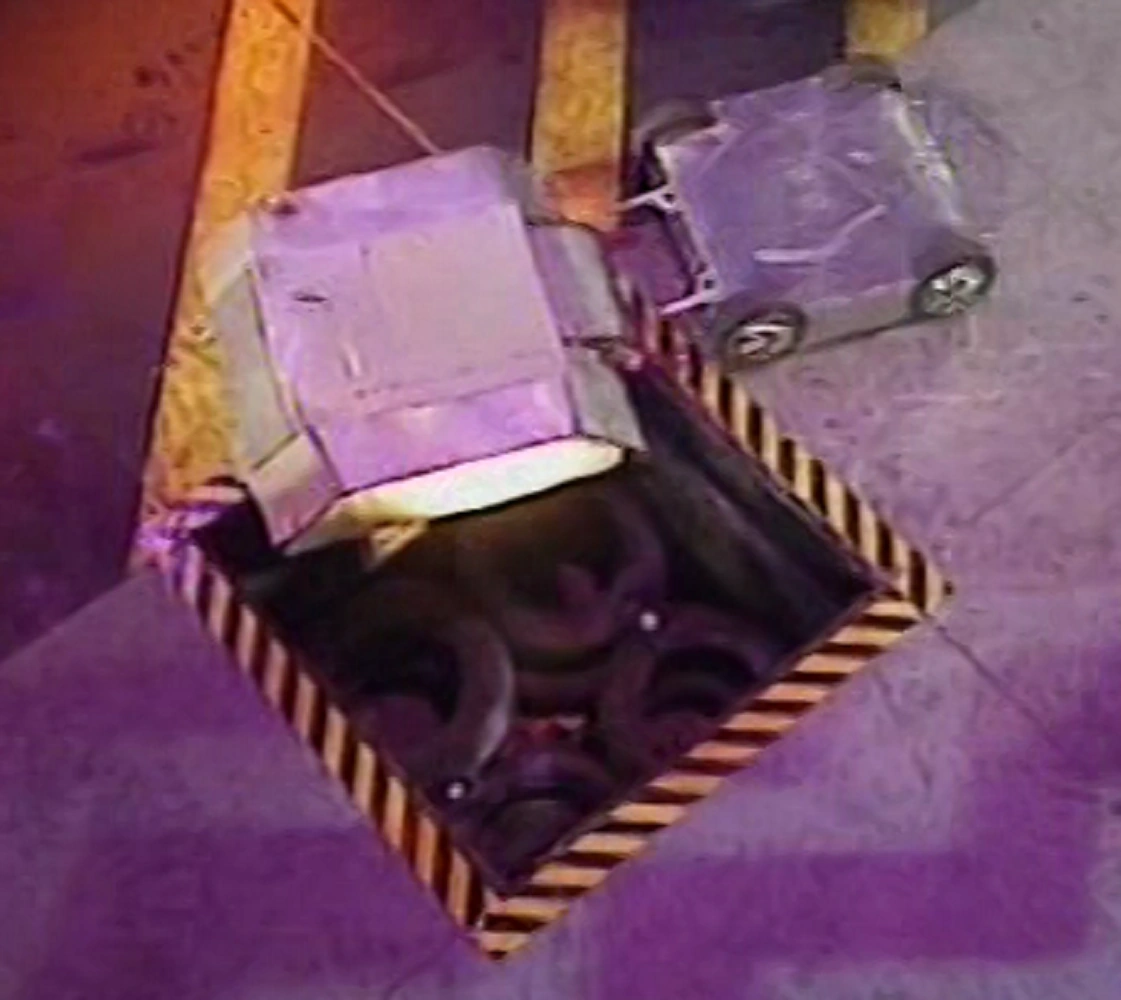
Robo Doc vs. King Buxton

King Buxton rams Robo Doc from the side

Robo Doc is forced towards the Pit
The first battle of the infamous rivalry, Robo Doc was hit side on by King Buxton, who shoved it with little trouble, into the PPZ, where it was buffeted by the pendulum, Matilda and Dead Metal. Robo Doc then rammed King Buxton, but was easily overpowered and pushed into Shunt before its own lifter could get put into play. After having some close shaves with the pit, almost reversing in and then almost pushed in by the combined efforts of Matilda and King Buxton, the match went to the judges, with Robo Doc ending the fight upside down. King Buxton were awarded the victory.
Winner: King Buxton
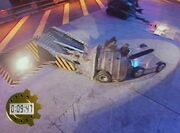
All Torque vs. Prometheus

Prometheus' saw spins off into the distance


Prometheus gets caught on the pit
All Torque immediately rammed Prometheus' side and caused it to skid onto the flame pit, Prometheus caught fire briefly and then All Torque slotted behind it and attempted to push it into the pit, but backed off halfway then rammed Prometheus again, but still failing to get it down. Prometheus darted to the other side of the arena, but All Torque was quick to catch up to it and swung around, slamming into Prometheus. Prometheus turned away from All Torque, but the circular saw at the front of it was knocked off by the pendulum. Prometheus turned towards the pit and got stuck on the edge, so All Torque rammed it in.
Winner: All Torque
Final
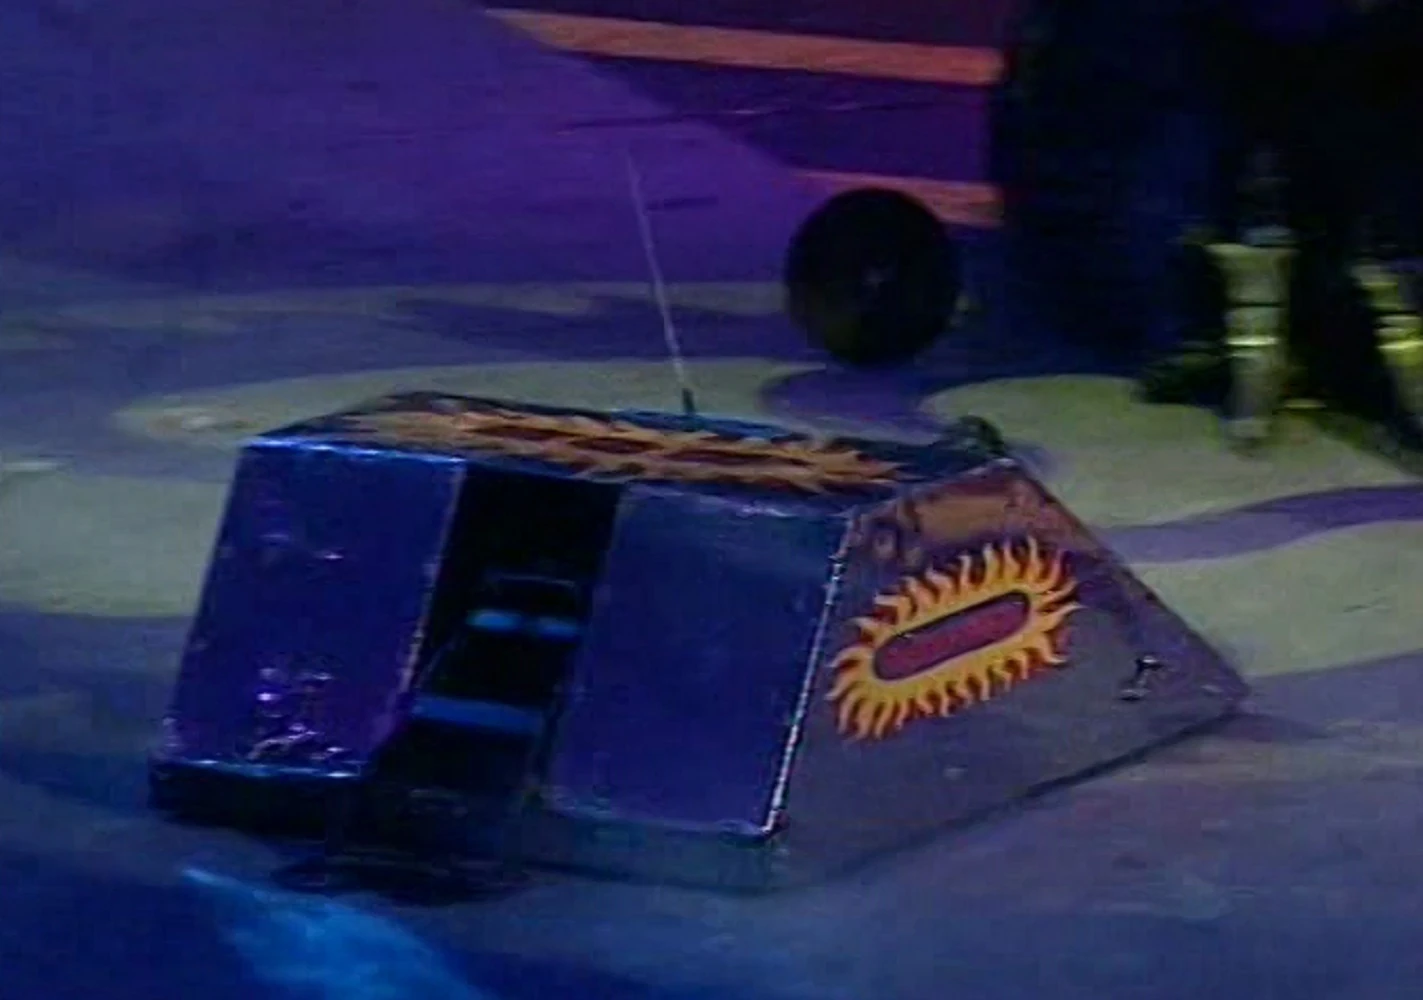
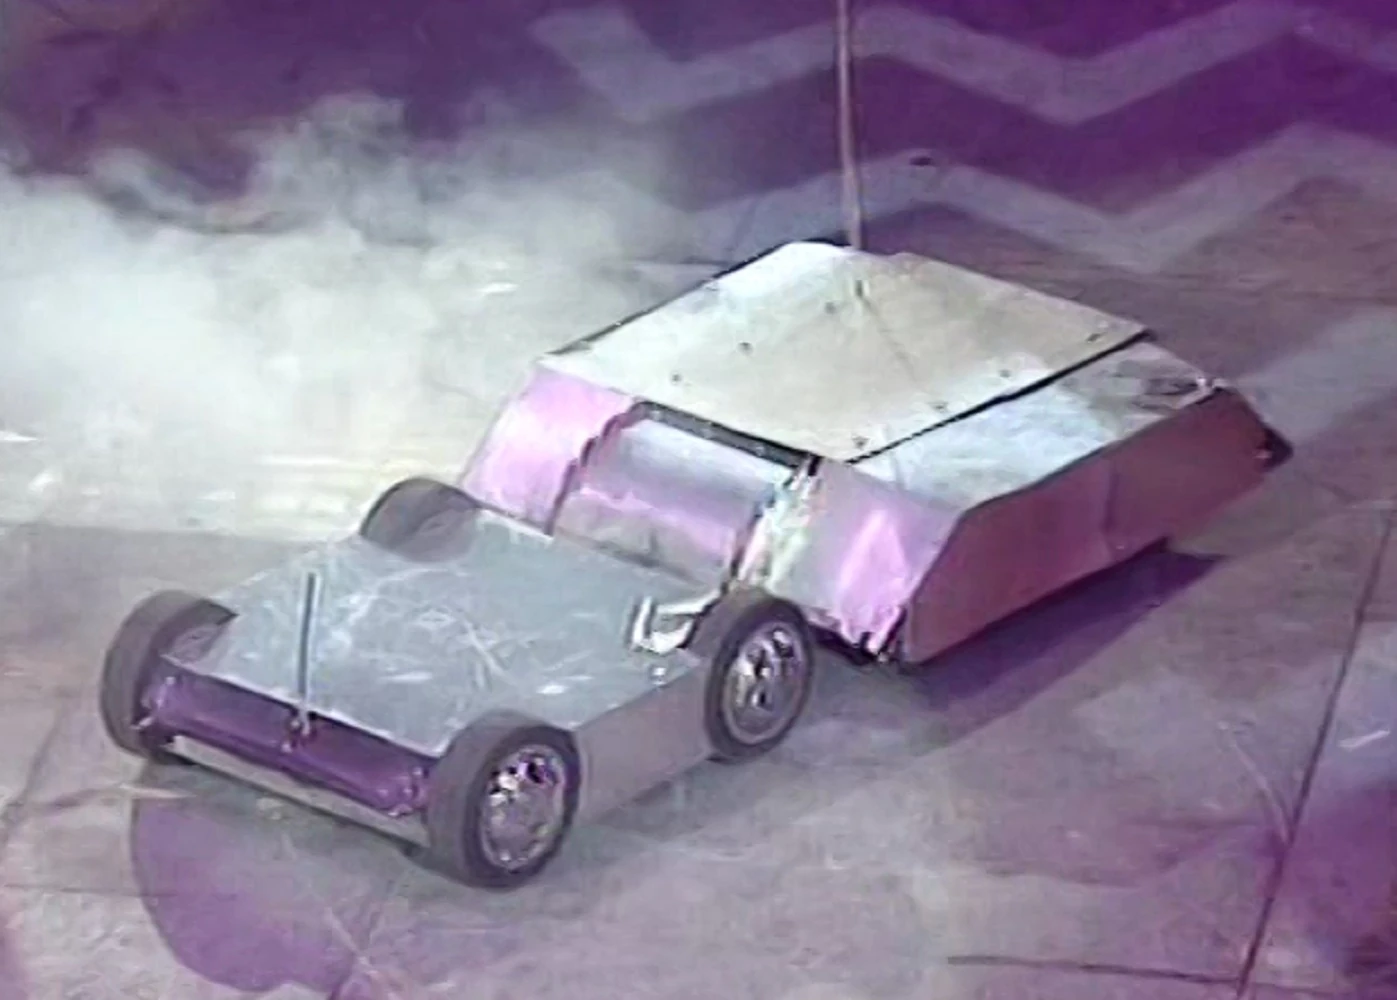
King Buxton vs. All Torque

The two competing machines lock horns
King Buxton pushes All Torque onto the pit
Both robots shot out of their starting areas almost instantly, but King Buxton turned to the side so All Torque battered into it. The two ran past each other, then King Buxton turned around and attempted to get behind All Torque, but couldn't. Instead it rammed All Torque head on, All Torque began by pushing King Buxton back first but was shoved back itself soon enough. King Buxton pushed it all the way onto the edge of the pit, then repeatedly hammered into the beached machine. Sir Killalot soon put it out of its misery and nudged it in.
Heat Winner: King Buxton
- "Warning all countries, defend your shores, you're being invaded, by Robot Wars!"
- — Craig Charles' sign-off
Trivia
- This heat marked the beginning of King Buxton and Team 101's famous rivalry.
- The most famous occurrence of this heat was All Torque's victory over Matilda in the Joust Trial.
- This heat was one of two episodes containing the gauntlet that would see no competitor complete it, the other being Heat L of the Second Wars.
| |||||||||||||||||||||||