The Second Wars - Heat J was one of twelve heats which determined the Semi Finalists of Robot Wars: The Second Wars. The episode featuring Heat J was originally broadcast on January 22, 1999 on BBC Two.
Competing Robots
Newcomers
Broot
From Southampton
- Team Members: Ben Symons, Katy Symons & Mark Symons
- Weight: 80.2kg
- Dimensions: 120 x 64 x 42cm
- Speed: 6mph
- Turning circle: Zero
- Ground Clearance: 60mm
- Power: 2 x 12V batteries
- Weapons: Spring loaded rod (300kg)
- Notes: Speed controller from a British Legion wheelchair. Cost £140 to build
Ivanhoe
From Norwich
- Team Members: Craig Weightman & Stuart Weightman
- Weight: 79.5kg
- Dimensions: 105 x 70 x 65cm
- Speed: 6mph
- Turning circle: Zero
- Ground Clearance: 25mm
- Power: 2 x 12V batteries
- Weapons: Lance and axe
- Notes: Axe chopping rate at one per second. Batteries & motors from wheelchair
Kill Dozer
From Southampton
- Team Members: Paul Hart, Steve Scotcher & Howard Andrews
- Weight: 79.1kg
- Dimensions: 150 x 73 x 30cm
- Speed: 5mph
- Turning circle: 0.1m
- Ground Clearance: 10mm
- Power: 2 x 12V batteries
- Weapons: 2000 PSI hydraulic lifting blades
- Notes: Pivots around rear axle. A carbon fibre and aluminium shell
Penetrator
From Halifax
- Team Members: Andrew Kettle & Stephen Lister
- Weight: 74.7kg
- Dimensions: 125 x 70 x 38cm
- Speed: 6mph
- Turning circle: Zero
- Ground Clearance: 5mm
- Power: 6 x 6V batteries
- Weapons: Spikes and cutting disc
- Notes: Took 4 months to build at a cost of £400. Motors from a kid's go-kart
Talos
From Oldham
- Team Members: Ian Wilkinson, James Hibbert & Mike Luke
- Weight: 75.2kg
- Dimensions: 115 x 68 x 36cm
- Speed: 5mph
- Turning circle: Zero
- Ground Clearance: 40mm
- Power: 2 x 12V batteries
- Weapons: 2 x Fixed steel spikes/lance
- Notes: Cost over £500 and took 3 months to build. Home made speed controllers
Veterans
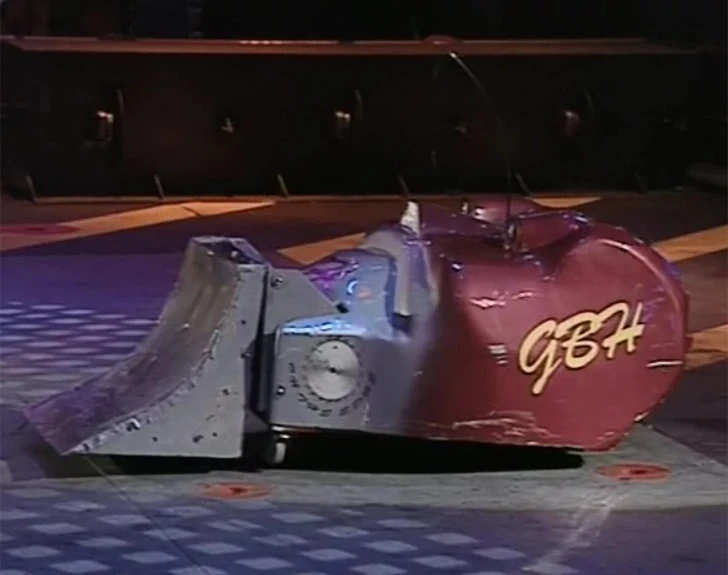
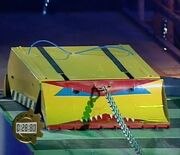
G.B.H.
From London
G.B.H., Winner of Heat J
- Team Members: Mike Rickard, Mike Smith & Charles Lavery
- Weight: 79.3kg
- Dimension: 131 x 70 x 45cm
- Speed: 5mph
- Turning circle: Zero
- Ground Clearance: 25mm
- Power: 2 x 12V batteries
- Weapons: Lifting ramp and rear 7' circular saws
- Notes: Fought in the first wars with Scrapper
Gauntlet
Configuration
- Left route: Barrels, two pits, Shunt, Matilda, Dead Metal .
- Centre route: Breezeblocks, See-saw, Spikes
- Right route: Ramrig, flame pit, and Sergeant Bash
Competitor runs
Ivanhoe smashes down the bricks
1. Ivanhoe - Completed - Ivanhoe chose the ramp route, effortlessly powering through the breezeblocks. It then drove onto the ramp, but became stuck on it. Matilda nudged it from behind and inadvertently freed it, but then it became beached again. Matilda forced it off the ramp, therefore it could continue its run. Ivanhoe got momentarily stuck on a side due to its lance, giving Shunt enough time to close in. It tried to move away from Shunt sluggishly, then was lifted by his scoop. Ivanhoe escaped, made a last-ditch attempt to get over the line, only to be lifted by a spike. The spike eventually dropped Ivanhoe though, so it took the chance and made it over the finishing line.
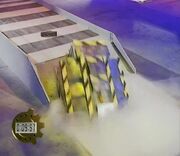
GBH pushes against Dead Metal
2. G.B.H. - Completed - Choosing the ramp route, G.B.H. effortlessly forced its way through the breezeblocks. A block stayed on top of the robot as it trundled over the ramp, then was ambushed by Shunt and Dead Metal. Dead Metal grasped hold of it and sliced into its armour. It was dragged a little further to the finish line as Dead Metal now began cutting into the scoop at the front. G.B.H. forced Dead Metal back, almost at the finish line now. Eventually it pushed itself over it, putting itself second on the leaderboard.

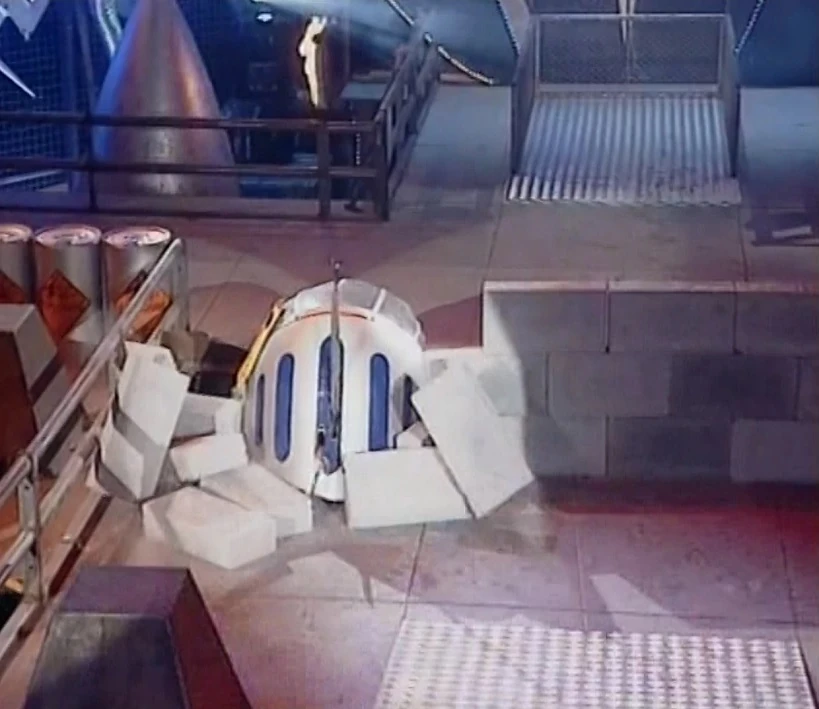
Dead Metal is pitted
3. Talos - 6.5m - Choosing the the house robot route, Talos bumped through the barrel with little difficulty, but was caught on a spike and bounced. Matilda buffeted it, then Talos hit back by reversing into her. It was outclassed for pushing power though as Matilda forced it back, but Talos was allowed to momentarily escape. Dead Metal rammed it, but he also let Talos get away. Talos covered a large distance across the gauntlet, but was pursued by Dead Metal and caught. Dead Metal closed his pincers on Talos, but then backed into the pit with a little help from the box-shaped machine. Shunt didn't take too kindly to this as he pushed Talos partly into the now occupied pit, and began puncturing it. Matilda sliced into it with her chainsaw also, as cease was called and Talos was absolutely battered. Shunt had made numerous puncture marks on the top armour and had severely dented it down, while Matilda had made a deep cut into it.
4. Kill Dozer - 5.8m - Kill Dozer chose the ramp route, momentarily caught on the spikes on its way there. It decided to try and lift the wall instead of push through it, which caused the bricks to fall in an awkward position for it to progress. It managed to get onto the ramp but its low ground clearance gave it difficulty. Matilda then sliced through the aluminium armour until cease was called.
5. Penetrator - 5.2m - Choosing the ramp route, Penetrator buffeted the wall, failing to knock it down on the first attempt, but the second got it down. It then reversed for a run-up to get up the ramp, easily getting up it, but was ambushed by Shunt as he repeatedly pounded the top armour of Penetrator. Shunt smashed a stray breezeblock in half, as Dead Metal joined in on the attack on Penetrator. Dead Metal viciously sliced into the armour of Penetrator, then forced it back, deducting valuable points. Despite this, Penetrator made it through.
6. Broot - 3.0m - Broot chose the ramp route and buffeted down part of the breezeblock wall, then reversed for another ram at it. However, Broot couldn't get through the wall before Matilda closed in and rammed it with her tusks. Broot desperately tried to knock down the wall, but Matilda charged at it with her chainsaw. Broot attempted an escape, but was caught and Matilda sliced into one of the wooden wheels. Matilda relentlessly sliced into the same wheel, then she grazed the bodywork. From this point on, Broot was pressured by Matilda's chainsaw until cease was called.
- "It's a "tired" challenge from Broot... Matilda won't "retire" after this, that's for certain!"
- — Some of Jonathan Pearce's tyre puns as Matilda slices into a wheel of Broot.
Eliminated: Broot
Trial (Tug of War)
- "Ah, look at that, the front shovel, pneumatically powered, biting down, to give torque."
- — Jonathan Pearce

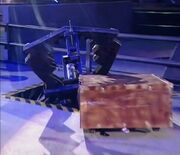
Kill Dozer digs in against Matilda
1. Kill Dozer - Survived - The favourite for the event used its scoop to dig into the floor leaving Matilda absolutely incapable of budging it. It tried to pull Matilda in but because of the design it couldn't back down the ramp so had to settle for surviving.
2. Ivanhoe - 22.35s - Ivanhoe was immediately yanked backwards by Matilda, but pulled itself forwards a little afterwards. It was forced backwards again, then regained a little more ground each time. However it was gradually being pulled towards the pit more than Matilda was, and was eventually pulled into the pit.
3. Talos - 21.47s - Despite being wrecked in the gauntlet, Talos seemed to be in perfect shape for the trials. Talos was pulled back at first, but quickly recovered that lost ground. Talos managed to pull the house robot back on one ocassion, but Matilda ended the run soon after this with a quick tug.
4. G.B.H. - 20.03s - The team had added spikes on G.B.H. to the bottom to dig into the floor, these proved effective at first, managing to pull Matilda back and hold its ground well. Matilda angrily yanked on the chain, trying to get GBH into the pit as quickly as possible. Eventually the spikes began to lose effect, and G.B.H. was pulled into the pit.

Penatrator is defeated
5. Penetrator - 9.75s - The robot from Yorkshire didn't have enough power to pull back Matilda, therefore it was tugged dangerously near to pit in the opening seconds. On the second tug, it was on the very brink of the pit, then the third yanked it in.
Eliminated: Penetrator
- "You can't do that!"
- — Jonathan Pearce scolds the Matilda fan who turned round her sign to reveal Kill Dozer when it became apparent Matilda would not defeat Kill Dozer
Arena
Semi-Finals
Kill Dozer vs. Ivanhoe

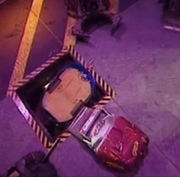
Kill Dozer is hoisted into the air
The two bumped each other side-on to start the battle, then Kill Dozer tried to use the spikes on the bottom of the scoop to do some damage on Ivanhoe. Ivanhoe retaliated by using the axe on Kill Dozer's top armour, causing no damage. Ivanhoe drove onto the scoop of Kill Dozer and was almost lifted over, but Kill Dozer couldn't move while it had Ivanhoe on the scoop, therefore it dropped it. Kill Dozer drove onto the spikes and was stuck momentarily, then hit by the axe of Ivanhoe. Kill Dozer was manoeuvred into the PPZ by Ivanhoe, then bounced by a spike. Shunt bulldozed Kill Dozer into Dead Metal, then Killalot plucked it off the ground. Killalot burnt Kill Dozer over the flame pit, finally dumping it into the pit.
- "Burn baby burn, dozer inferno!"
- — Jonathan Pearce as Sir Killalot roasts Kill Dozer over the flame pit.
Winner: Ivanhoe
Talos vs. G.B.H.

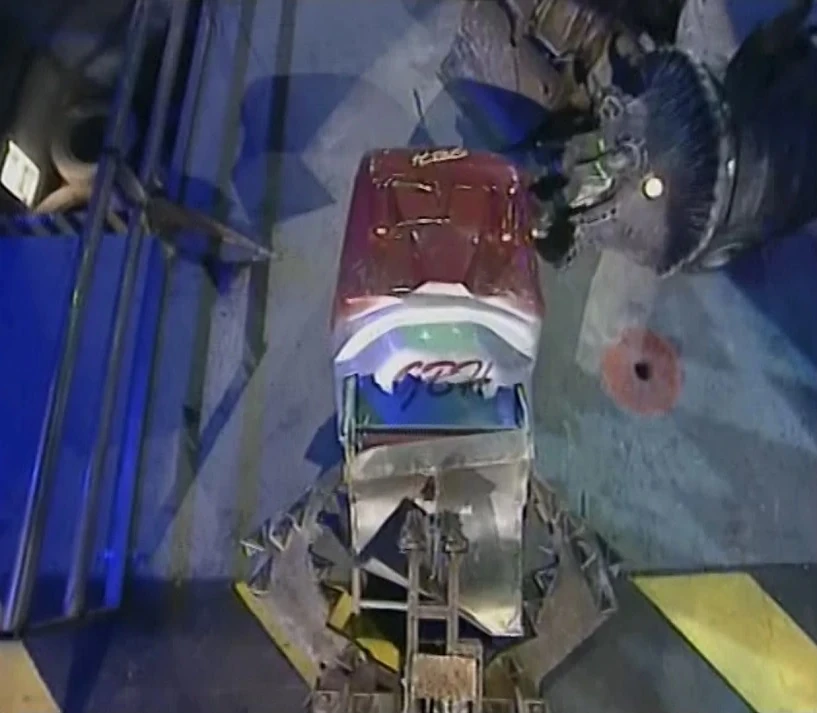
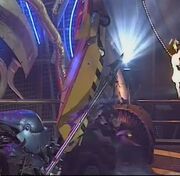
Talos is flipped
Talos had added a large spike to the front and given the robot a new paint job. G.B.H. was completely unfazed by this as it charged straight at Talos while the latter spun aimlessly. G.B.H. was then quick to slot the scoop under Talos and lift it up, but then dropped it. G.B.H. pursued Talos as it tried to escape, then lifted it again and flipped it onto its back.
- "We didn't think we were going to get it to work, but with the help from some other guys in there (the pits), it worked, and we were really glad to see it flip something"
- — The G.B.H. Team
Winner: G.B.H.
Final
G.B.H. vs. Ivanhoe

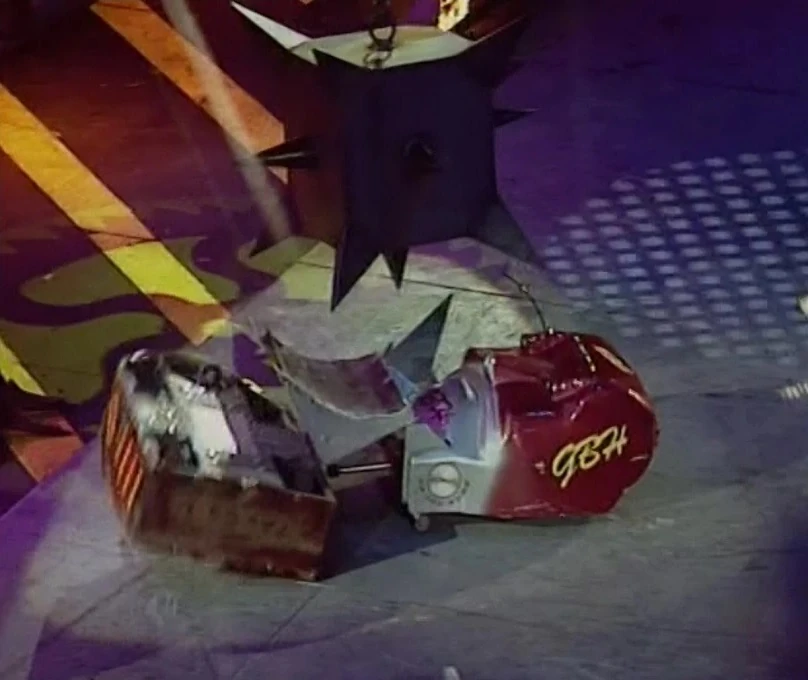
G.B.H. shoves Ivanhoe down the pit
Ivanhoe buffeted the side of G.B.H. as activate was called, pushed it a fair distance across the arena then tried to hit it with the axe. It missed, then G.B.H. caught Ivanhoe in a side-on attack and instantly lifted it as soon as it got underneath it. G.B.H. then carefully rolled Ivanhoe onto its side, the rollover design taking no effect at all. This provoked a very enthusiastic reply from the G.B.H. team, as cease was called. As the credits rolled, G.B.H. was seen shoving Ivanhoe down the pit.
Winner: G.B.H.
- "G.B.H.- grand, brave, honourable winners surely!"
- — Jonathan Pearce
| |||||||||||||||||||||||