- "It’s time to get deadly serious, with the first of our Robot Wars Semi-Finals. Now, Washington Irving once said: “it is the natural principal of war, to do as much damage to your opponent, with the least damage to yourself”. Clever man! But while it’s easy to take the mick out of someone who states the blindingly obvious, it’s good advice to our contenders. We’ve had six rounds of battles to get to this semi-final, and the robots who failed to harm their enemies are now rusting in a scrap heap in Surbiton. Only the six most brutal have made it through to this."
- — Craig Charles' introduction
Semi-Final 1 of Robot Wars: The Second Wars was the first of two Semi-Finals to determine which two of six heat winners would proceed to the Grand Final of Robot Wars: The Second Wars. As usual, a Gauntlet would eliminate one robot, while the Trial (Pinball) would eliminate another. The remaining robots would pair off and fight to determine which two robots moved on to the Grand Final.
The episode featuring Semi-Final 1 was originally broadcast on February 19, 1999 on BBC Two. It managed to attract 6.01 million viewers, an increase of 290,000 viewers when compared with the previous episode. According to BARB, it fell to second in the top thirty highest rated BBC 2 broadcasts during 15-21 February, behind Red Dwarf.
Competing robots
Newcomers
 | ||
|---|---|---|
| Behemoth (winner of Heat D) | ||
| Weight | 67.7kg | |
| Dimensions | 0.95 x 0.5 x 0.55m | |
| Speed | 5mph | |
| Turning Circle | 0m | |
| Ground Clearance | 15mm | |
| Power | 2 x 12V batteries | |
| Weapons | 1000kg front lifting shovel | |
| Notes | Weapon powered by 'sodastream' CO2 cylinder | |
| From: Hemel Hempstead | ||
| Team Members: Anthony Pritchard, Michael Pritchard & Edward Pritchard | ||
 | ||
|---|---|---|
| Mace (winner of Heat B) | ||
| Weight | 79.4kg | |
| Dimensions | 1.3 x 0.8 x 0.4m | |
| Speed | 6mph | |
| Turning Circle | 0m | |
| Ground Clearance | 15mm | |
| Power | 2 x 12V batteries | |
| Weapons | 2000rpm flail and lifting arm | |
| Notes | Can lift over 115kg | |
| From: St. Leonards-on-Sea | ||
| Team Members: Shane Howard & Brian Fountain | ||
 | ||
|---|---|---|
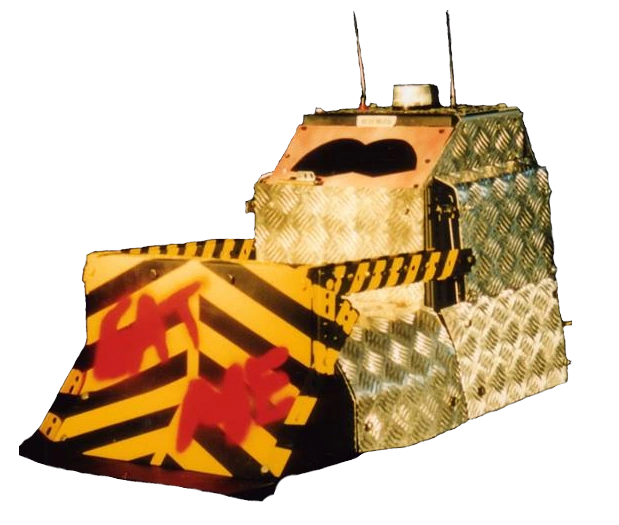
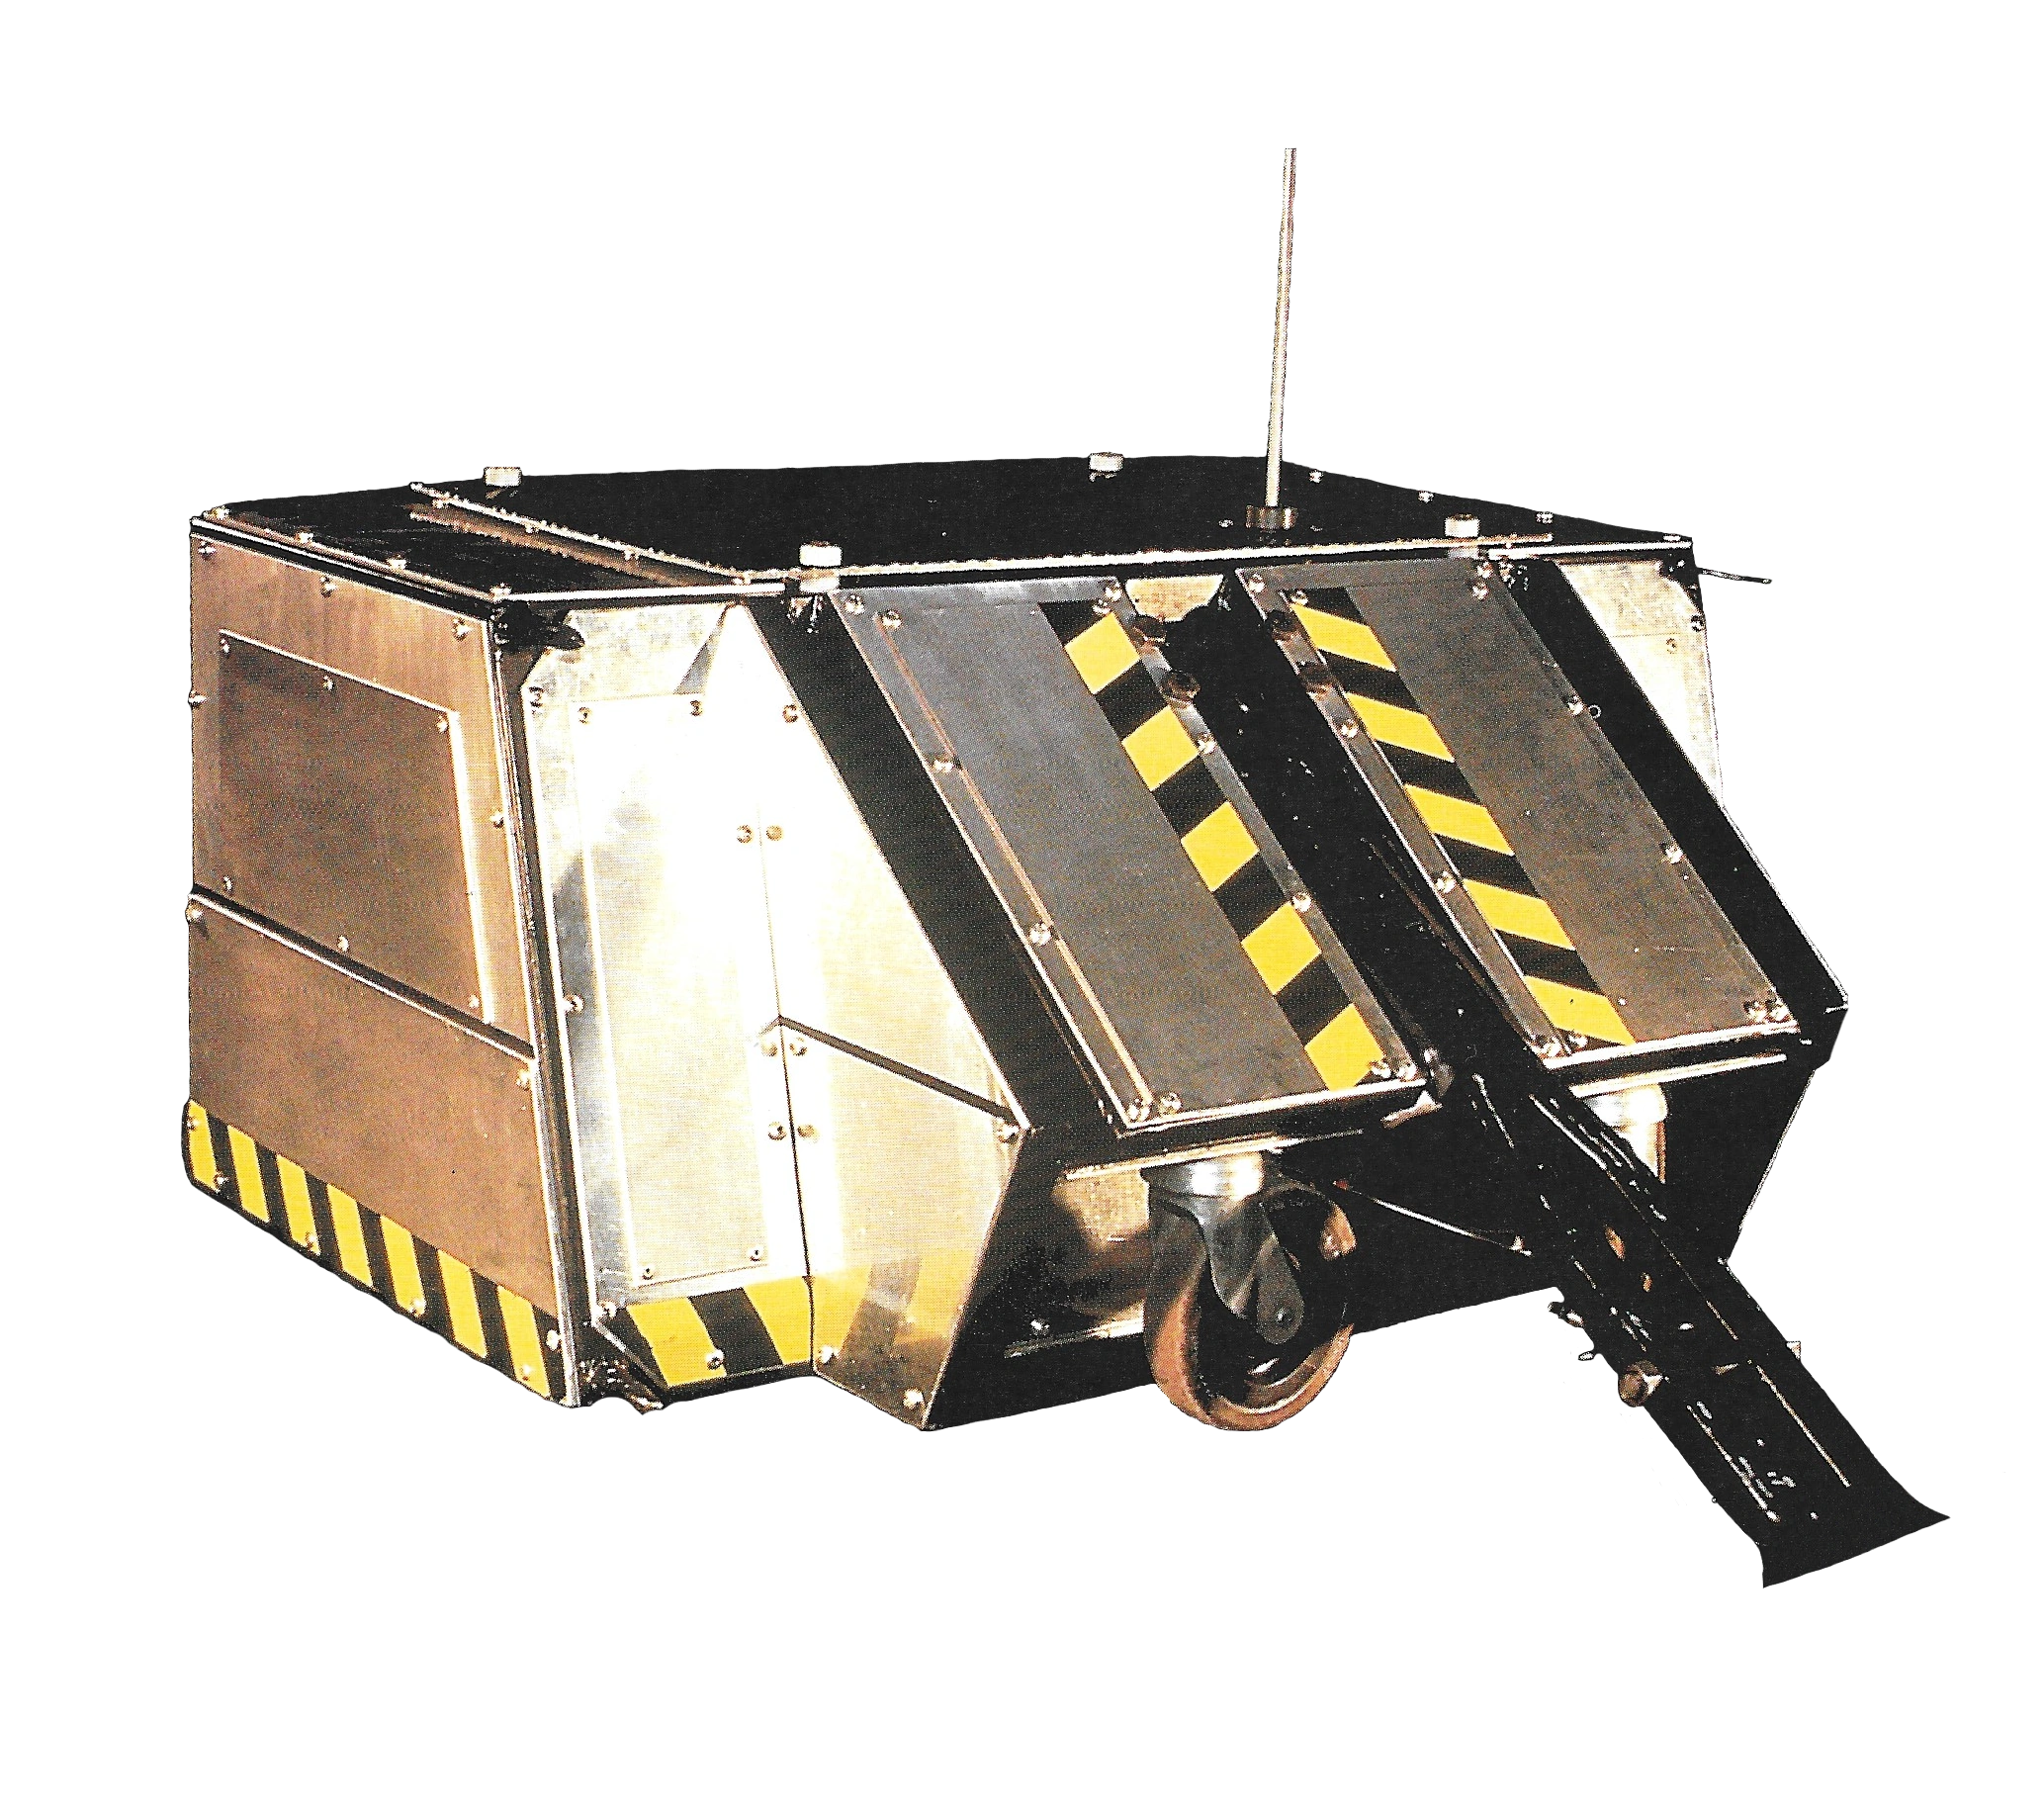
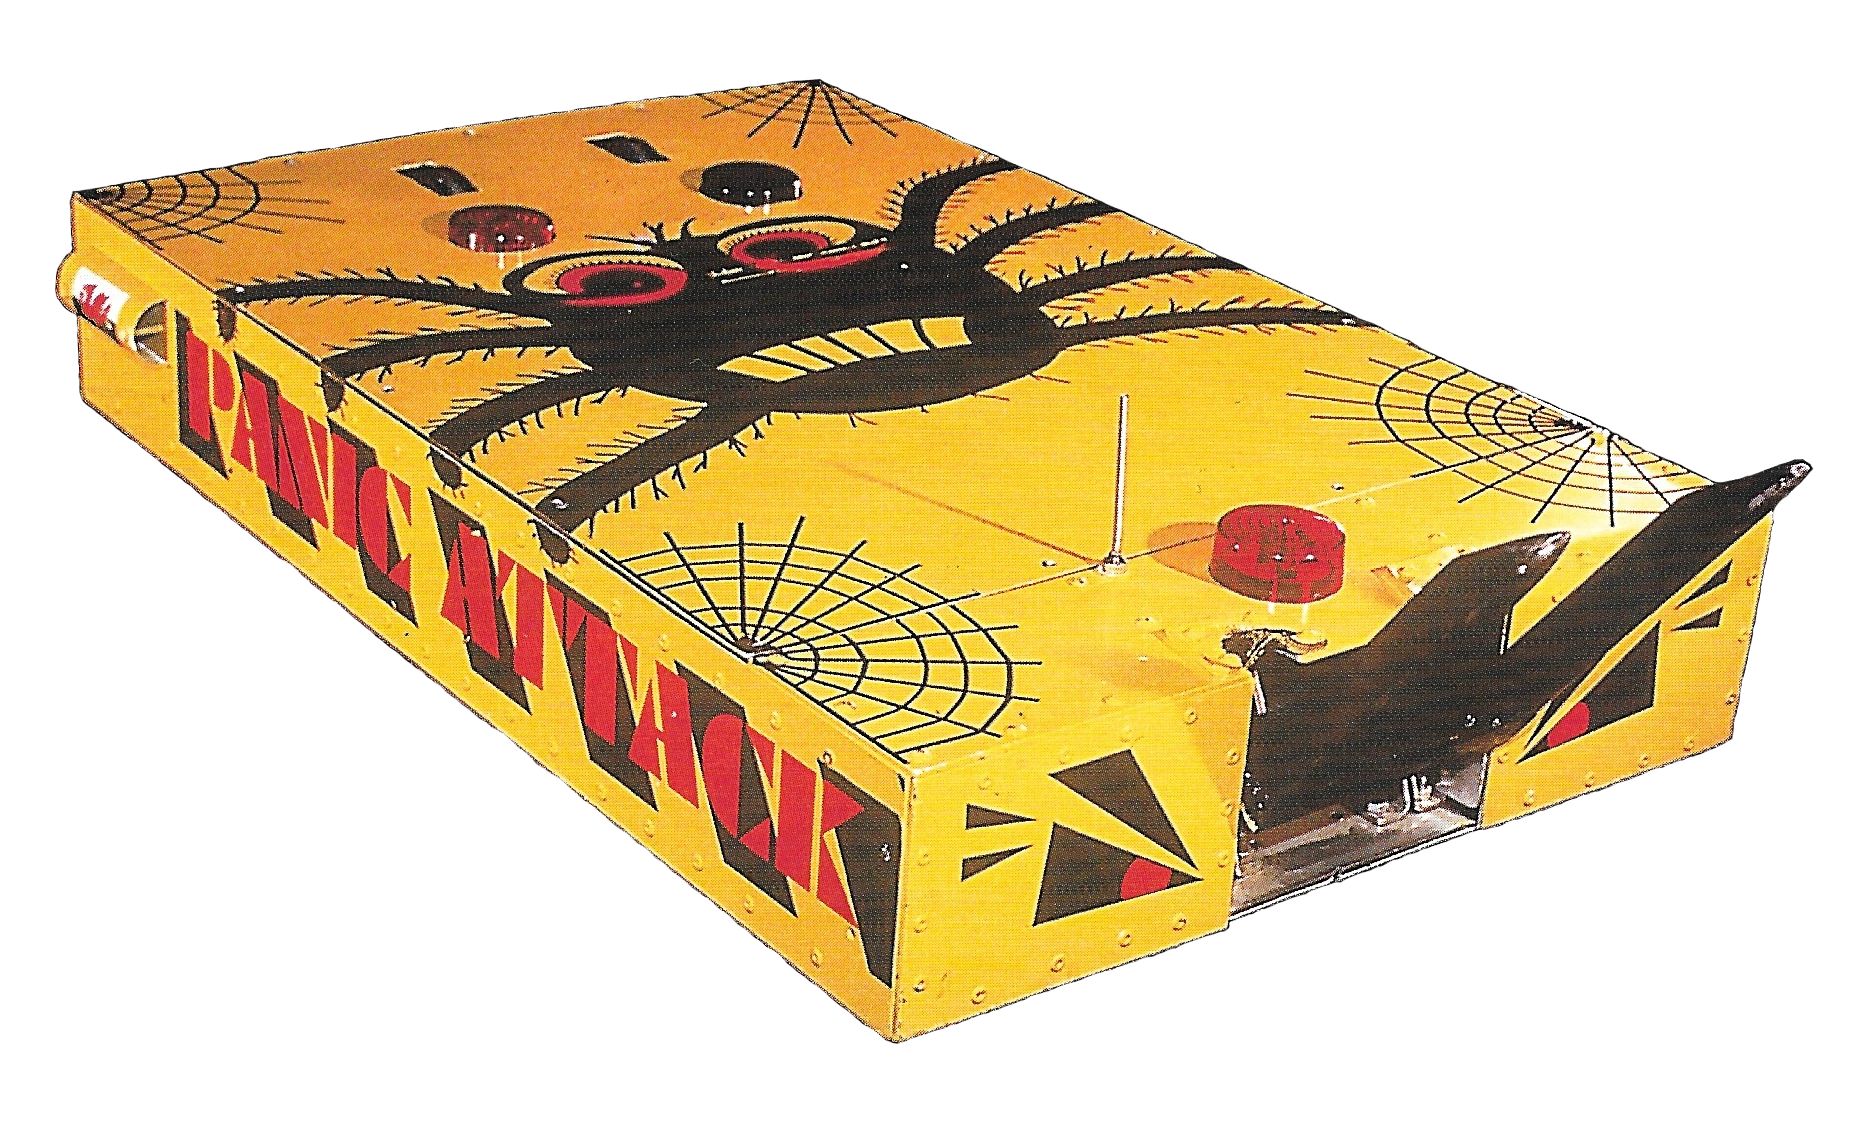
| Panic Attack (winner of Heat F) | ||
| Weight | 81.8kg | |
| Dimensions | 1.25 x 0.7 x 0.2m | |
| Speed | 9mph | |
| Turning Circle | 0m | |
| Ground Clearance | 25mm | |
| Power | 2 x 12V batteries | |
| Weapons | Electric lifting spikes | |
| Notes | Spider graphics by a Year 7 pupil | |
| From: Cwmbran, Wales | ||
| Team Members: Kim Davies, Kevin Pritchard & Lee Wicombe | ||
Veterans
 | ||
|---|---|---|
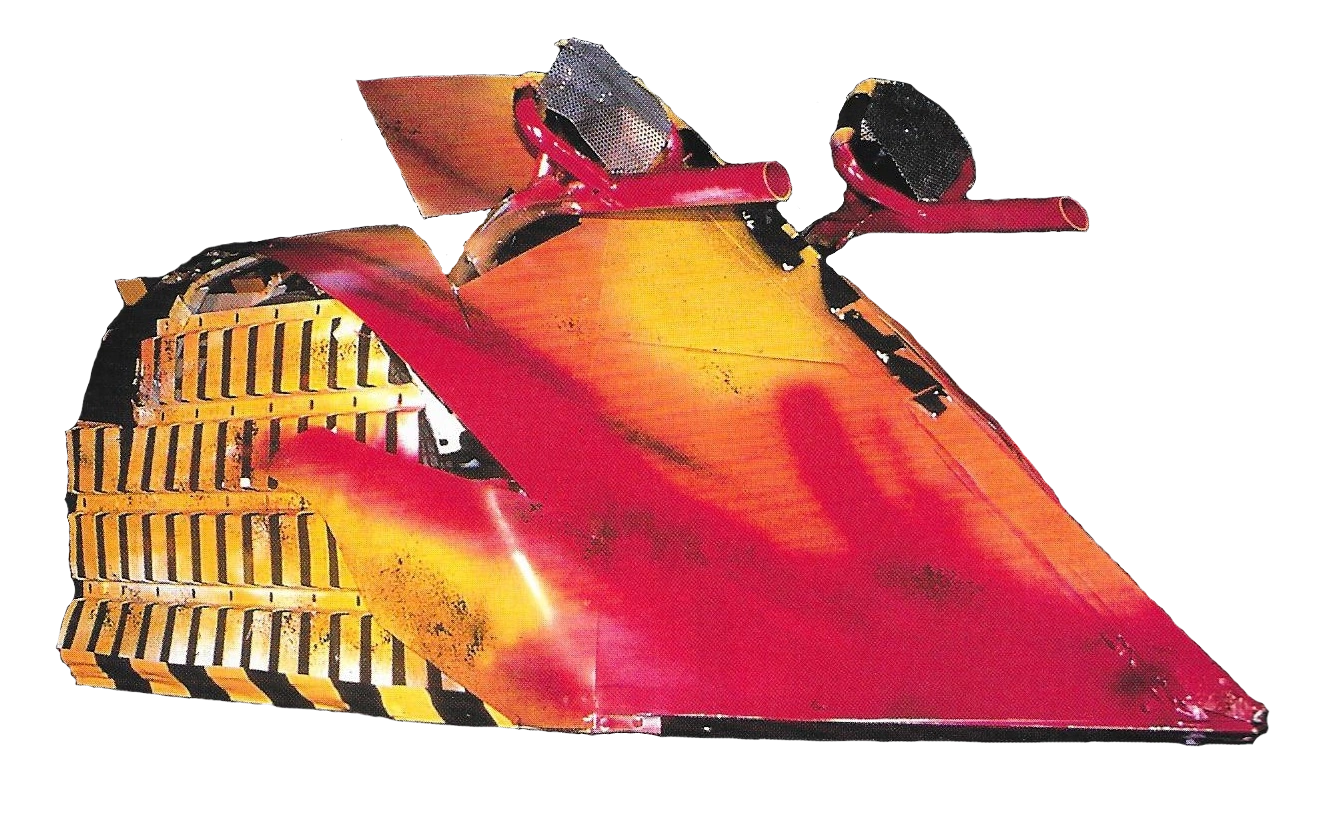
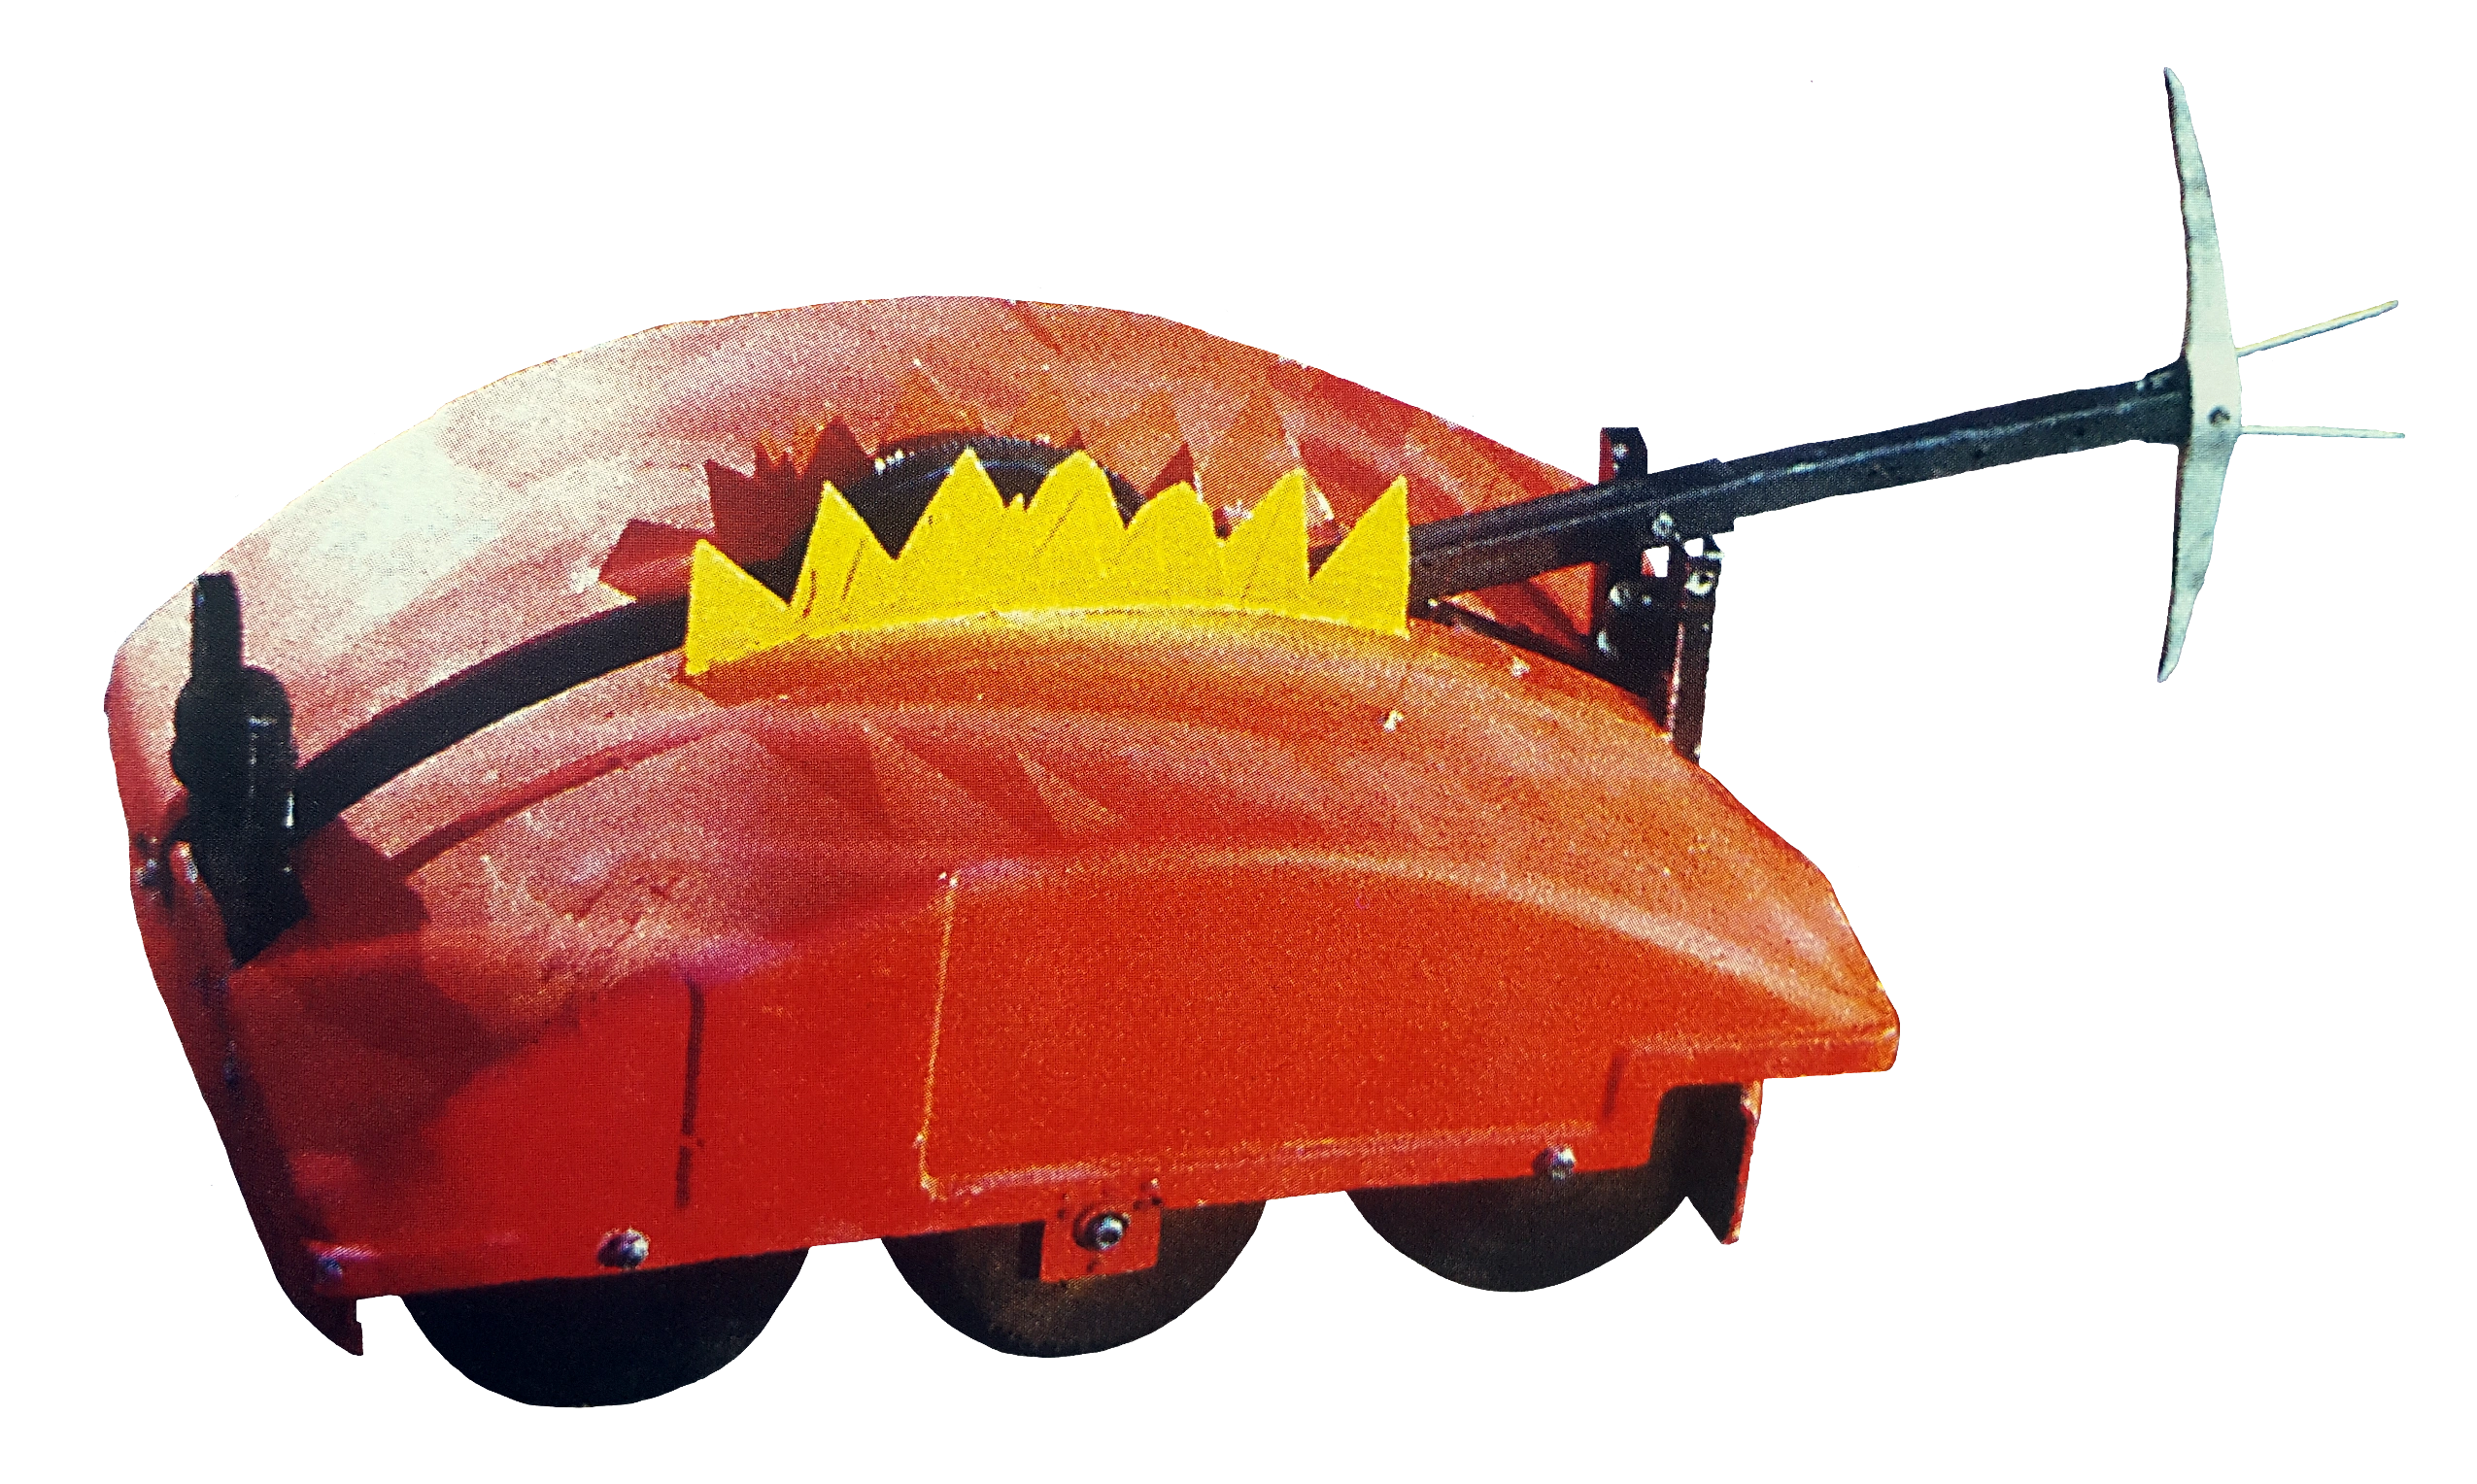
| Napalm (winner of Heat A) | ||
| Weight | 84.1kg | |
| Dimensions | 2.00 x 1.00 x 1.25m | |
| Speed | 15mph | |
| Turning Circle | 0m | |
| Ground Clearance | 5mm | |
| Power | 2 x 12V Batteries | |
| Weapons | Stainless Steel Rear Mandibles & 16" Chainsaw | |
| Notes | Previously Entered Robot Wars with Detonator | |
| From: Dartford Girls Grammar School | ||
| Team Members: David Crosby, Claire Greenaway, Rebecca Glenn | ||
 | ||
|---|---|---|
| Mortis (seeded 2nd, winner of Heat C) | ||
| Weight | 78.3kg | |
| Dimensions | 1.3 x 0.75 x 0.39m | |
| Speed | 9mph | |
| Turning Circle | 0m | |
| Ground Clearance | 50mm | |
| Power | 8 x 12V batteries (high discharge) | |
| Weapons | Tempered tanto blade | |
| Notes | Welded alloy chassis with kevlar/titanium laminated shell | |
| From: Cambridge | ||
| Team Members: Rob Knight, Arthur Chilcott & Ben Impey | ||
 | ||
|---|---|---|
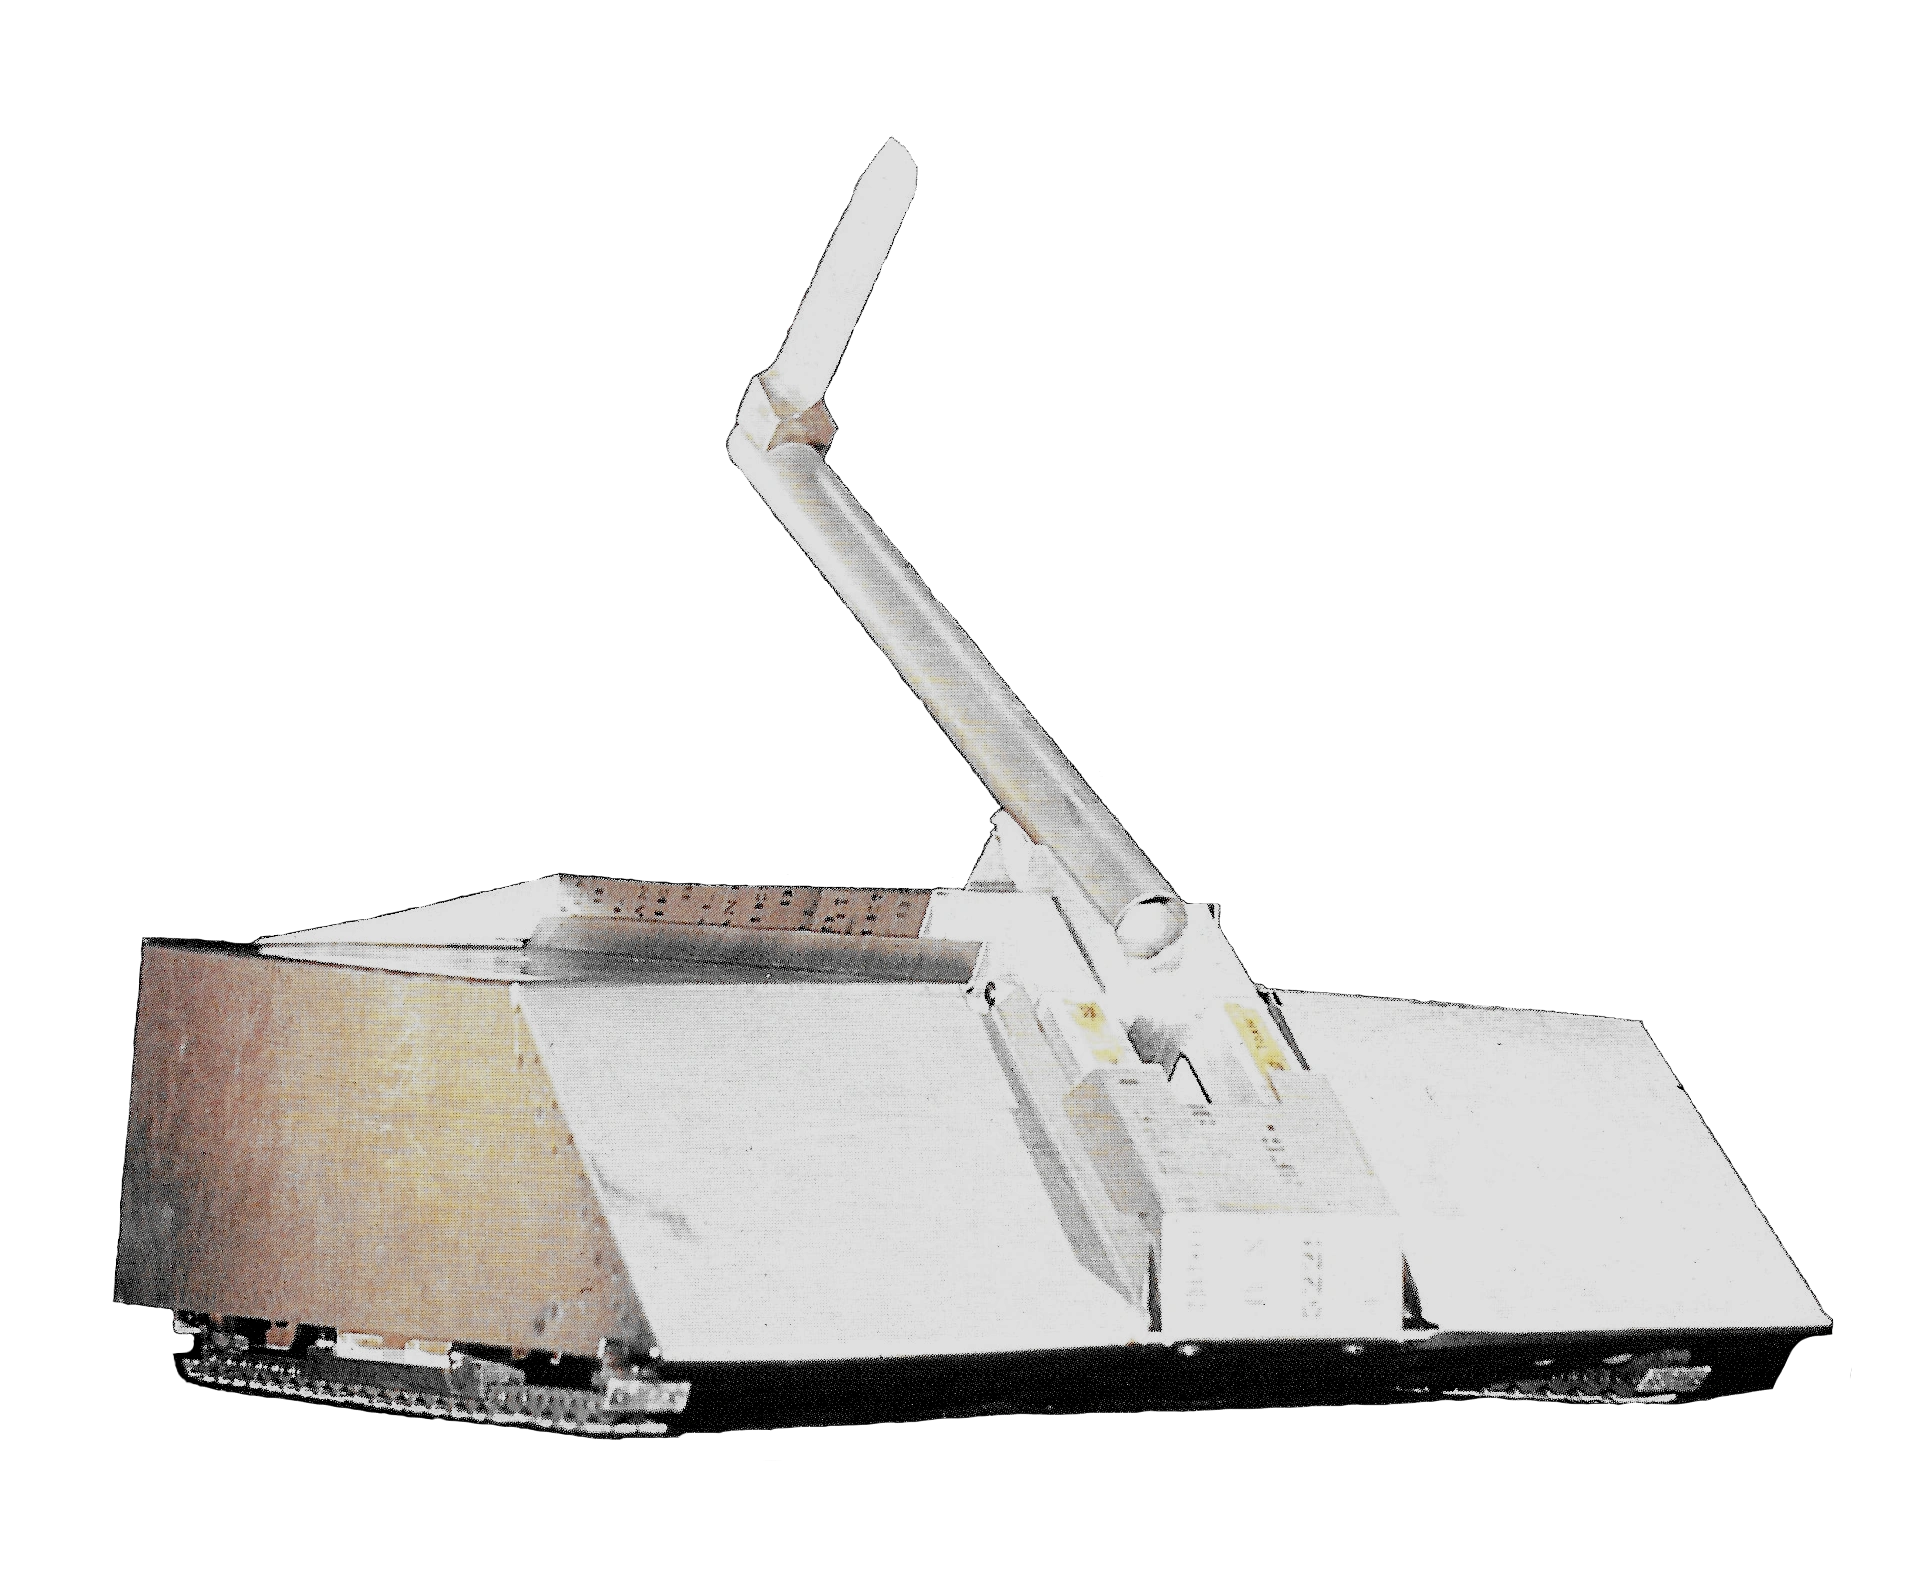
| Killertron (seeded 4th, winner of Heat E) | ||
| Weight | 75.0kg | |
| Dimensions | 1.45 x 0.7 x 0.6m | |
| Speed | 15mph | |
| Turning Circle | 0m | |
| Ground Clearance | 100mm | |
| Power | 2 x 12V batteries | |
| Weapons | Pick axe | |
| Notes | A veteran of Robot Wars - but no longer tickled pink! | |
| From: Bromley in Kent | ||
| Team Members: Richard Broad, Abdul Degia & Ian Degia | ||
Gauntlet
Competitor runs
| Left Route | Centre Route | Right Route |
|---|---|---|
| The Sentinel, Matilda and two pits | See-saw or The Sentinel and static ramp, pit, spikes and Shunt | Ramrig, Sphere, flame pit, and Sergeant Bash |
Napalm

Napalm is flipped in the end zone
Napalm edged forwards to pick its route, deciding to attempt the see-saw. Napalm drove up and over the see-saw, clipping the wall to reorient itself, and dropped down, only to be blocked by a broadside Shunt. The House Robot reversed to get into position to push Napalm, but Napalm turned the correct way and instead drove around the front of Shunt and into the end zone. Matilda turned up and was waiting, and flipped Napalm over as it drove onto her tusks.
- "Napalm, 15 seconds!"
- — Craig Charles revels in the speed of Napalm's completed run
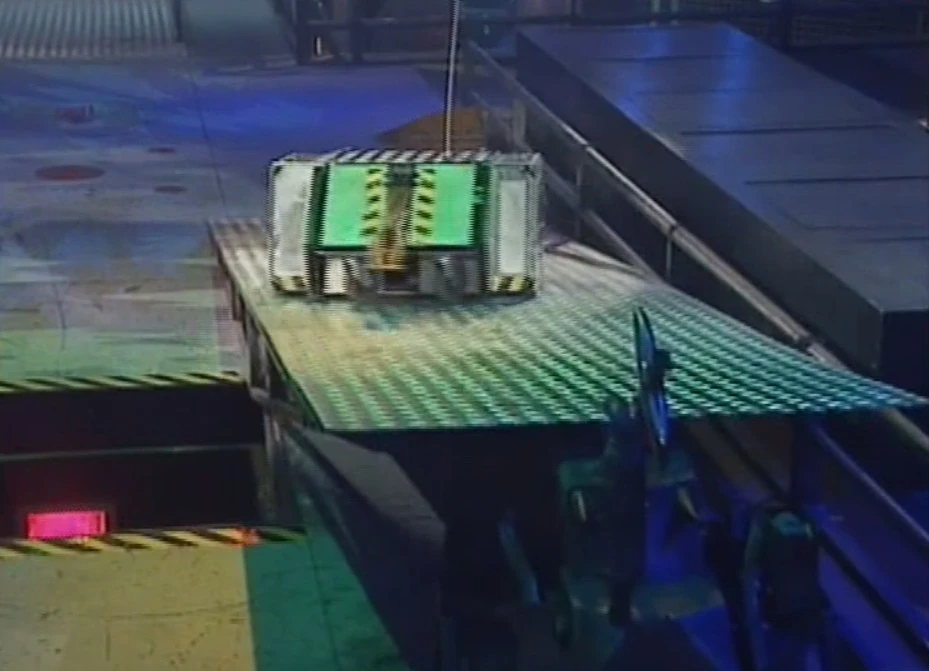
Behemoth

Behemoth is trapped by the House Robots
Behemoth drove out of the start area and fired its weapon, electing to raise the scoop and keep it held up. It drove up the see-saw without the scoop getting stuck and dropped the scoop down as it crested the see-saw. However, due to its slow speed, there was enough time for Shunt to drive underneath the see-saw and catch it as it fell. Shunt bent the see-saw and pushed it back with Behemoth still balanced on. Behemoth drove off and wedged under the side of Shunt, trying to flip the House Robot over, but to no avail. Matilda helped trap Behemoth in as Sergeant Bash flicked flames towards them. Shunt fired its axe at Behemoth multiple times as the competitor tried to escape being pinned in, until Shunt lined up its front scoop and flipped Behemoth over, coming to rest underneath the see-saw.
Mortis

Mortis almost successfully self-rights
Mortis was quick out of the block, feinted towards The Sentinel's ramp, but turned and darted for the see-saw. Mortis carefully began to climb the see-saw, but wasn't going to be able to get off, as Shunt was sitting under the other side. Realising that the end wouldn't drop, Mortis sped up and jumped off the end, landing on the fence and rolling off behind Shunt.
- "Oh magnificent stuff, Evel Knievel!"
- — Jonathan Pearce
Stuck upside-down, Mortis was set upon by Matilda and Shunt. Mortis fired its axe to try and right itself, but it ended up propped up on the fence. Shunt drove at Mortis and hammered the side of Mortis. Mortis had fired its axe and got the blade caught on Shunt, meaning Mortis was dragged away from the fence when Shunt reversed. Matilda gave Mortis a shove, where it fell back onto its tracks and wasted no time in reversing over the line to complete the run. Mortis gave Matilda one final whack with the axe after Cease.
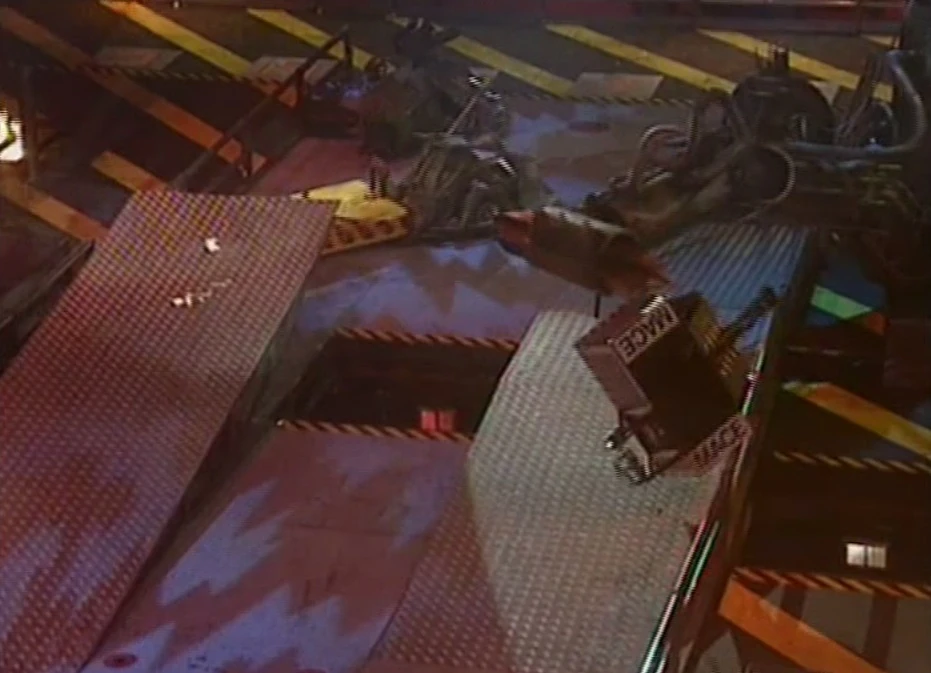
Mace

Mace traverses the see-saw
Mace took its time to choose a path when it left the start zone, before driving up the ramp towards The Sentinel. Mace drove up the ramp, and was met with the Sentinel flexing its arm at the top. Mace quickly turned and drove down the ramp, turned around the floor spikes and carefully lined up a run over the see-saw. Mace squirmed over the see-saw and dropped down right into Shunt's scoop. Shunt pushed Mace and the see-saw back, dropping Mace into the pit.
Killertron

Killertron gets past Matilda
Killertron was very slow out of the start zone, even getting caught on the floor spikes at one point. It eventually put on a burst of speed to climb the see-saw, but was met by Shunt at the bottom. Killertron aimed at the fence to stop Shunt pushing it towards the pit and was pinned for a few seconds. Killertron bounced past Shunt, but Matilda came in and also trapped Killertron against the wall, flipping it up. Shunt tried to hit Killertron with its axe, holding Killertron back so Matilda could turn around. Killetron was spun about as Matilda advanced with the chainsaw, but Killertron reversed across and into the end zone.
Panic Attack

Panic Attack is trapped in the ramrig
Panic Attack moved out of the start zone and dithered side-to-side as it chose a route. Panic Attack eventually decided to go towards the ramrig and try its luck there. Panic Attack lined up and sped through the first half, but as it hit the large sphere, it was deflected off course and spun into the side. Panic Attack was wedged on a raised section of the ramrig with the sphere stopping Sergeant Bash from getting close. Time ticked down and Matilda eventually managed to get past the sphere (by flipping it over Panic Attack]] and gave the Welsh robot a shove to try and free it. Panic Attack managed to creep forwards a tiny bit, but got caught again slightly further up as time ran out.
Results
- "We have a very interesting result here. Interestingly enough, you [Panic Attack] have travelled exactly the same distance as Mace. So you and Mace are going to have to run the Gauntlet again!"
- — Craig Charles telling the Panic Attack team their distance measurement after the gauntlet run.
| Rank | Robot | Distance |
|---|---|---|
| Napalm | Completed | |
| Killertron | Completed | |
| Mortis | Completed | |
| Behemoth | 7.5m | |
| Mace | 6.9m | |
| Panic Attack | 6.9m |
Race-off

Mace is flicked into the air whilst Panic Attack battles Shunt
Due to the tie between Panic Attack and Mace, the two robots had a race-off by running the Gauntlet again, at the same time. Derek Foxwell held a coin-toss between the captains, which was won by Mace, who decided to start on the left side.
Panic Attack was fastest out of the block, but found itself lifted by the arena spikes. The spikes knocked both robots off course, and both hit the walls before climbing their respective ramps. Panic Attack rode up the see-saw, dropping into Shunt's scoop, as Mace struggled to climb up the ramp with The Sentinel blocking its way. The Sentinel buffeted Mace around, but did manage to pin it and push it back onto the ramp when Mace nearly fell into the pit.
Panic Attack pushed into Shunt, taking a few whacks from the axe as mace tried again to get past The Sentinel, but was lifted up by the arm and almost flung onto its back. Sergeant Bash had joined Shunt in pinning Panic Attack in place as Mace finally got over the mid-section of the ramp, still being harassed by The Sentinel. Panic Attack tried to push through as mace was blocked repeatedly by The Sentinel, until a good hit unbalanced Mace and sent it into the pit. With Panic Attack both further on and not in the pit, Mace was eliminated.
Eliminated: Mace
Trial (Pinball)
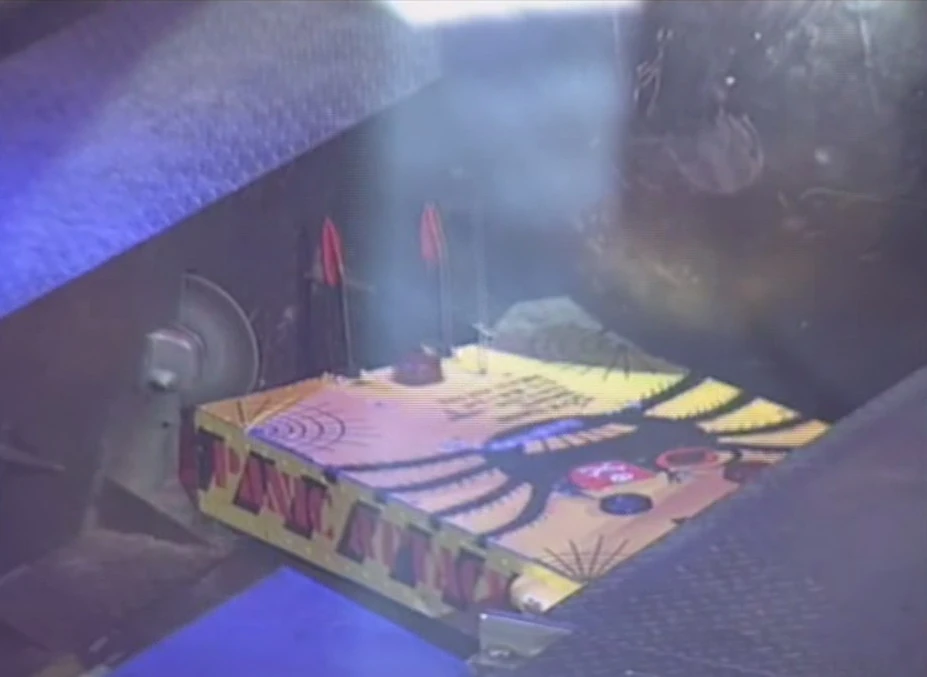
Panic Attack
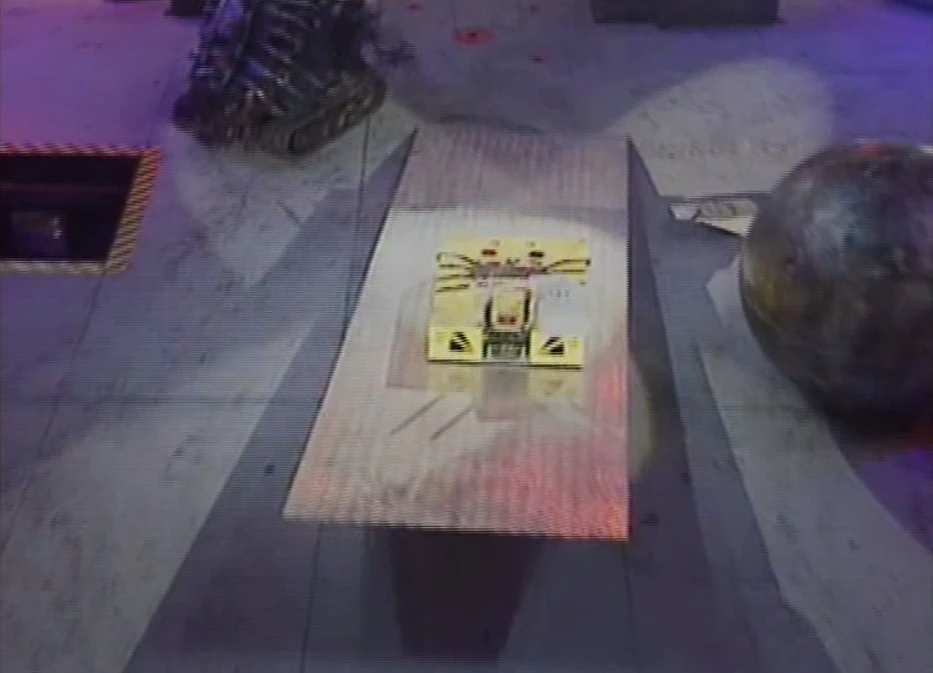
Panic Attack climbs the see-saw
Panic Attack headed into the centre of the arena, turned and drove into the right breezeblock wall and set of barrels behind. Panic Attack reversed away (with a barrel impaled on its forks) and aimed for the barrels on the opposite side of the arena, knocking most down. Panic Attack tried to push the breezeblocks down from the side, but ended up ramping onto the first, so reversed away from a losing battle. Panic Attack drove at the see-saw from the side and got caught on the edge, so had to reverse and try again as Sir Killalot was baring down on it. Panic Attack flew over the see-saw and into the pincers of Dead Metal. Unable to push the House Robot back, Panic Attack instead reversed through the set of breezeblocks and barrels on its side. Panic Attack weaved past Dead Metal again to hit the final corner of breezeblocks, but failed to capitalise when Dead Metal left its tyre unprotected, instead getting caught on the fence and having to drive forwards, through the breezeblock wall and towards Matilda. Matilda lifted Panic Attack up and Sir Killalot protected Matilda's unguarded tyre. Panic Attack drove away through some more breezeblocks and into Shunt as cease was called.
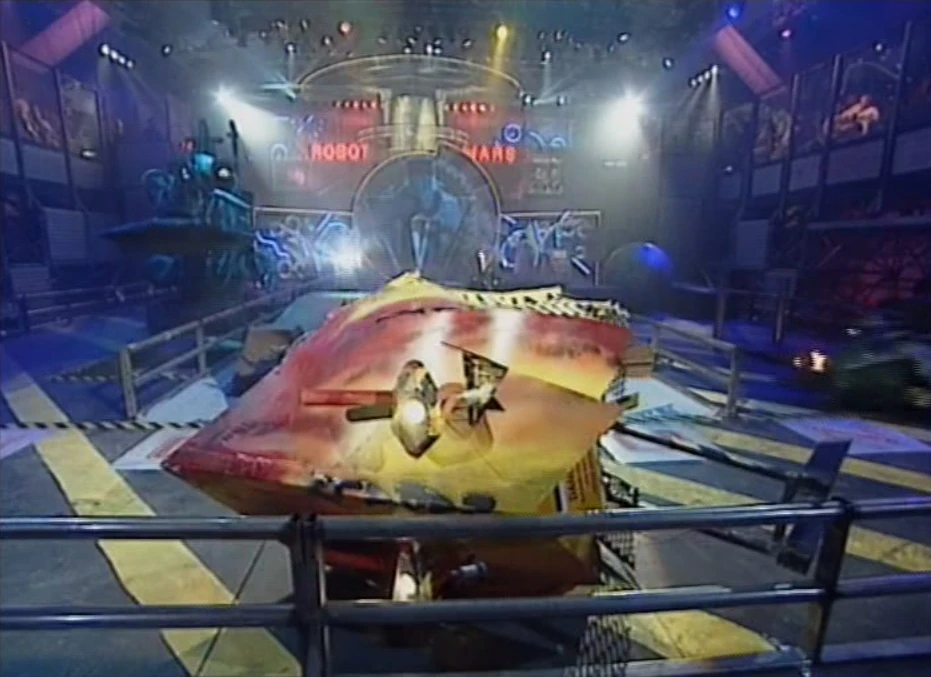
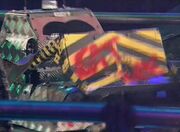
Napalm

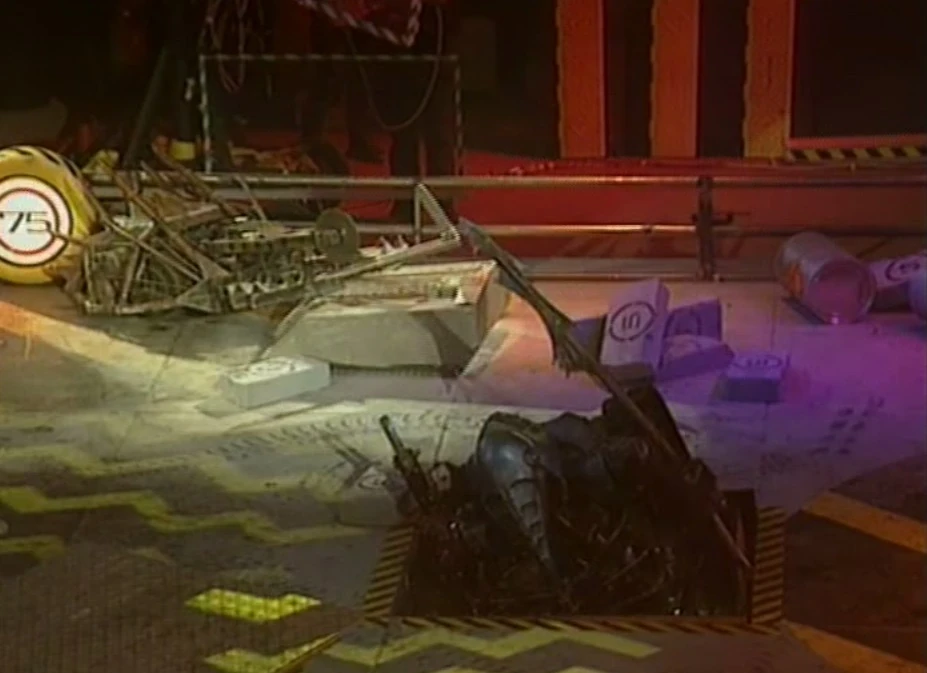
Napalm is lifted by Sir Killalot
Napalm bounced off the ramrig and turned to its left out of the start zone. After a quick stop, it accelerated at the breezeblock wall and knocked a bunch of bricks over. However, the front of the robot ramped up a brick and lifted the drive wheel off the ground. Napalm fired its rear axe, which was enough to free the robot, so it reversed back to get a run-up, slamming into the barrels a second time. Napalm reversed away and went to climb the see-saw, but a change in direction halfway up saw napalm fall off the ramp and get stuck half-fallen off. Napalm tried to bounce itself free with the axe, but it didn't work. Sir Killalot shoved the sphere into Napalm before lifting the competitor up with his lance. Napalm rested on its back as Sir Killalot gripped onto the base of Napalm with its claw, carrying Napalm onto the flame pit.
Behemoth

Behemoth flips some barrels over
Behemoth slowly moved out of the start zone and drove to its left, flipping the giant sphere away towards Sir Killalot. Behemoth reversed behind the first breezeblock wall and carefully pushed the barrels away, knocking a few down with the breezeblocks. However, Behemoth spent so much time pinned in the corner that Sir Killalot drove in, lancing under the scoop and lifting Behemoth up. Behemoth was carried around the arena and dropped into the pit having only attempted one corner, but knocking most of the bricks and barrels over.
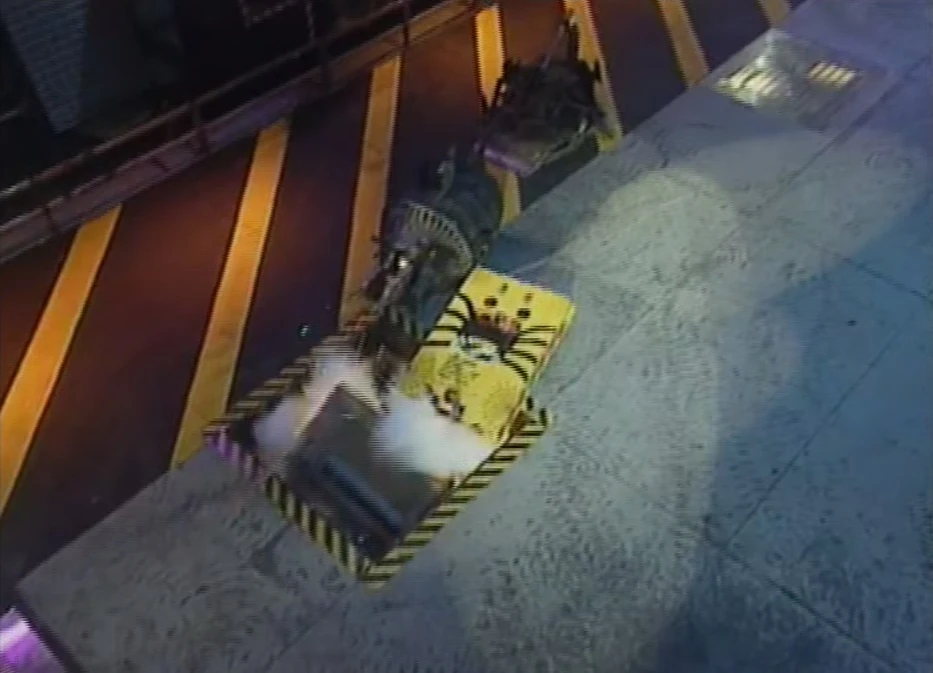
Mortis

Sir Killalot reverses into the pit
Mortis struggled to move out of the ramrig and was unable to climb the see-saw as Sir Killalot was raising it up. Mortis fired its axe a few times at the see-saw and was stuck in place trying to cross the obstacle, eventually being pinned in by Sir Killalot. Mortis eventually escaped, pushing the sphere out of the way and getting caught in Dead Metal's grasp. Mortis escaped and drove at a breezeblock wall and barrels, knocking most down and reversing free. As Mortis decided to fire its axe a few times at House Robots, Sir Killalot accidentally reversed into the pit as time ran out.
However, this run shown was the second one filmed as in the first run, briefly shown in the Grudge Matches episode, Mortis sped out of its starting position, only to become immobilised by an arena spike which damaged one of its tracks. Under normal circumstances, Mortis would have been eliminated with no points; however, the producers decided to give it a second run, despite Rob Knight (Mortis' driver and team captain) believing that this would be unfair to the other competing teams. This was why Ben Impey could be seen driving Mortis for its broadcast run.[1]
Killertron
Killertron gets caught on the breezeblock wall
Killertron drove out of the ramrig and aimed for the breezeblock wall to its left. Killertron knocked a few down, but was unable to drive across, so reversed away as the big sphere knocked a few breezeblocks down too. Killertron drove around and spun on the spot, whacking the barrel tower with its axe and causing a few to fall over. Sir Killalot trapped Killertron in, but Killetron fought back with its axe. Sir Killalot lifted Killertron up with its claw, gripping the front of the robot and lifting. Killertron managed to escape though and pushed the big sphere into another breezeblock wall, knocking a few bricks down itself as time ran out and Sir Killalot flicked Killertron up again.
Results
After Mortis' unbroadcasted initial run was chalked off and the new one was scored high enough to get them through, Napalm were therefore eliminated for having the lowest scoring run.
| Rank | Robot | Score |
|---|---|---|
| Panic Attack | 320 | |
| Killertron | 135 | |
| Mortis | 100 | |
| Behemoth | 95 | |
| Napalm | 65 |
Arena
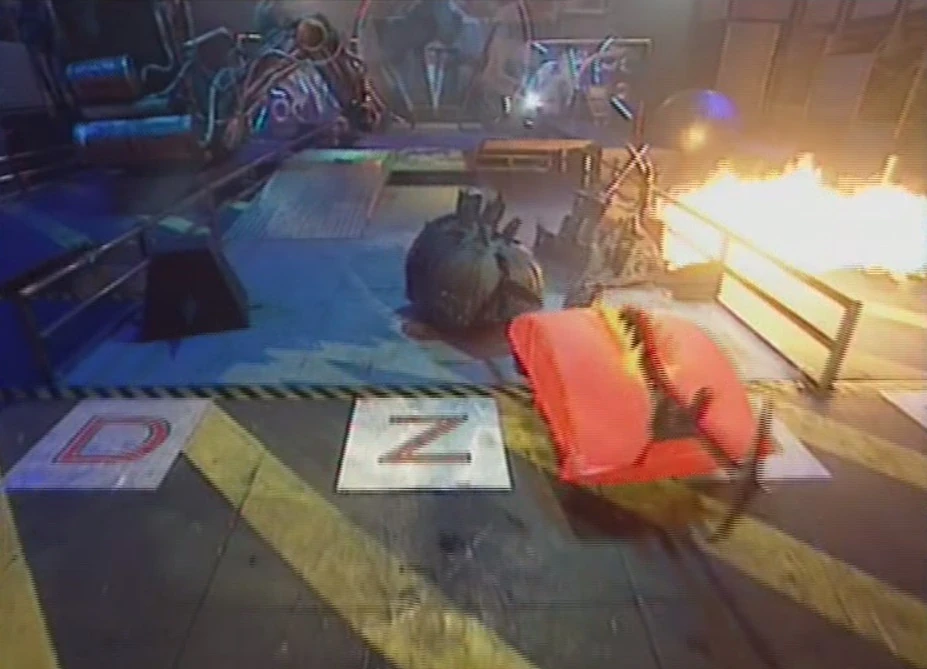
Mortis (2) vs Panic Attack
Mortis is pitted
Due to the incident from the Pinball trial, the Mortis team were no longer in the competitive spirit, which ultimately lead to a poor performance.
Panic Attack stormed towards Mortis and turned just as it reached the front of their opponent, only just avoiding being hit by Mortis' axe as it retracted before getting low enough to strike. Panic Attack reversed away, just avoiding Shunt and skirted around as Mortis just sat in the middle of the arena. After a few circuits in which Mortis came very close to striking Panic Attack again, Panic Attack began to shove Mortis from the side towards the PPZ. Mortis strayed into the PPZ as it was released, but no House Robots were on that side. panic Attack pushed Mortis from the broadside again, this time into a full PPZ. Matilda flipped the front of Mortis up, and Panic Attack used the chance to push Mortis into the pit.
- "Almost flipped- oh goodness me, what a surprise! Mortis have gone out!"
- — Jonathan Pearce makes no secret of Mortis' favourite status.
Winner: Panic Attack
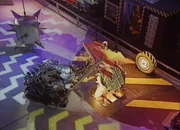
Killertron (4) vs Behemoth
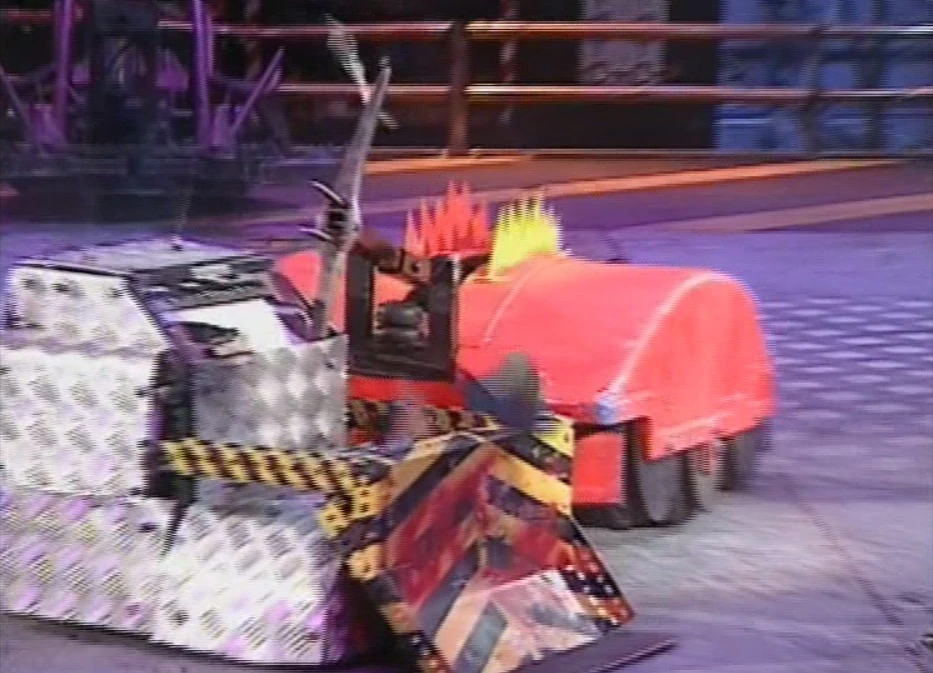

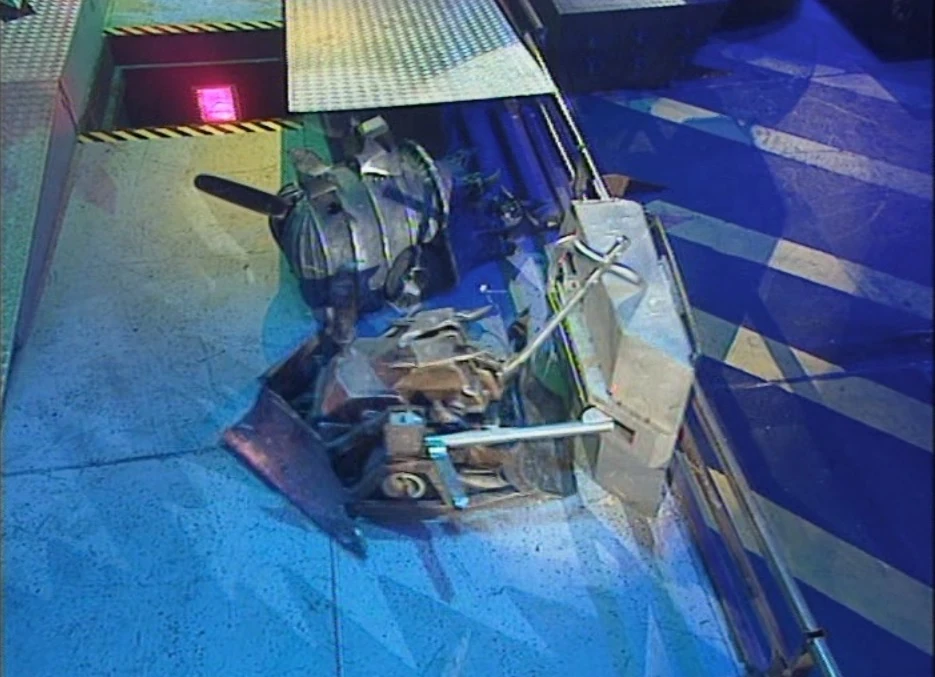
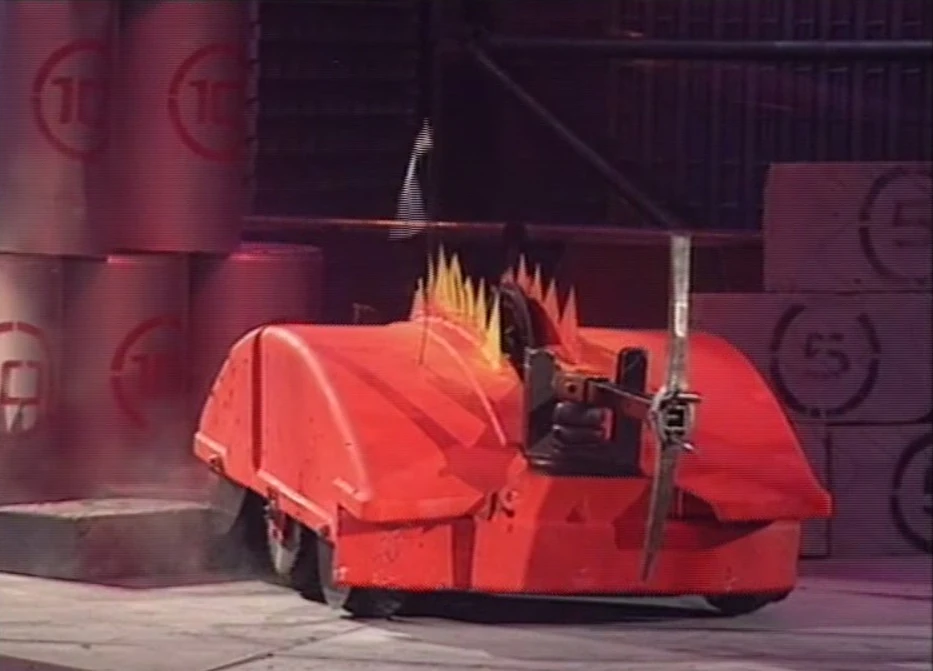
Killertron smashes into Behemoth
Both robots steadily drove into the centre of the arena, trying to get around the side of each other. Behemoth lined its scoop under the front of Killetron and both fired their weapons simultaneously, with the lifting from Behemoth causing Killertron's axe to miss. Behemoth pushed past Killertron, but it allowed the axe-wielder to get to the side of Behemoth, and it fired the pickaxe into the top of Behemoth, smashing a panel and getting the axe wedged inside. Killertron retracted the axe and reversed away, turning on the spot to try and get a good aim at Behemoth.
Behemoth got its scoop under the side of Killertron, but weren't able to flip. Killertron moved forwards and got the axe lined up with the already damaged panel and began repeatedly firing its axe into the top of Behemoth. After 5 hits in a row, behemoth didn't move when Killertron backed up, so Killertron fired its axe into the top of Behemoth again. This time, it kept its axe buried and began rocking forwards and backwards, eventually pulling Behemoth onto its side with one last heave.
- "Killertron well on top here- and pulling, and pushing and rocking and rolling, and toppling!"
- — Jonathan Pearce as Behemoth is flipped.
As cease was called, Killertron moved forwards and dropped behemoth back onto its wheels as the victors.
Winner: Killertron
- "If you get excited by sight-seeing tours, you've probably exploded, watching Robot Wars!"
- — Craig Charles' sign-off
References
- ↑ Correspondence between Rob Knight and User:VulcansHowl, 20th February 2019.
| |||||||||||||||||||||||